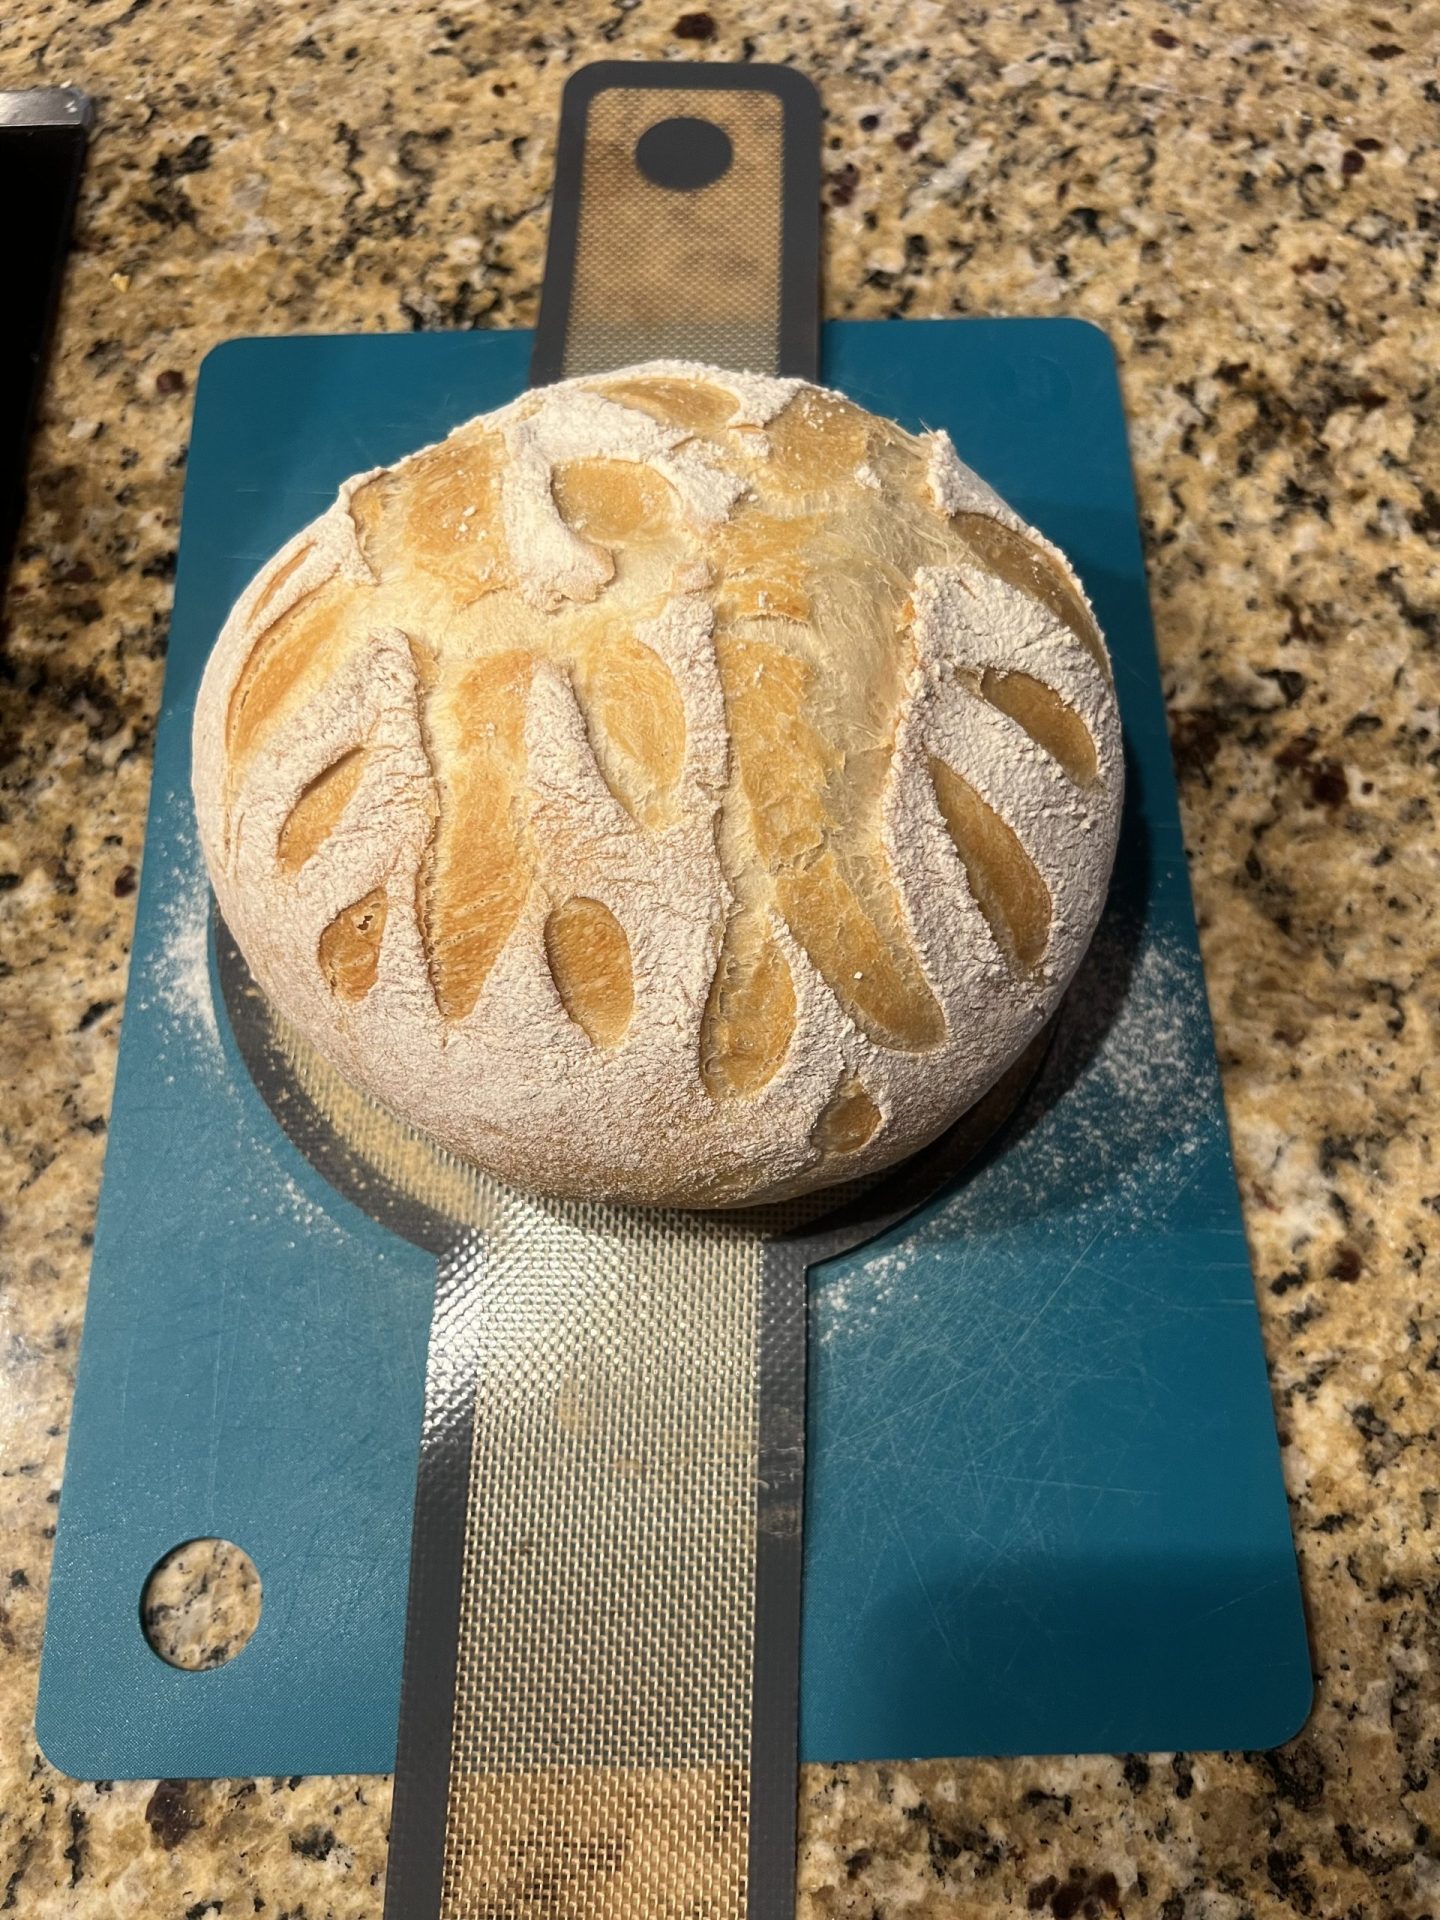
Every Saturday, Mimi and I bake a loaf of this bread together. Somewhere along the way it became our “thing” as empty nesters. The kids are grown and scattered across the country, the house is a lot quieter than it used to be, and Saturday mornings now smell like fresh bread. One of us stirs, the other one hovers, and by supper there’s a crackly golden loaf on the table.
It also fits the way we eat these days. Mimi and I are serious about clean eating and cutting out processed foods as much as we can. Flip over a bag of store-bought bread sometime and count the ingredients you can’t pronounce. This loaf has just six, every one of them real: flour, water, salt, yeast, a spoonful of local honey and a drizzle of olive oil. No preservatives, no dough conditioners, no refined sugar. Just real bread, the way folks made it for generations.
Folks, this is the easiest bread I’ve ever made, and the best. Five minutes of stirring, and then the counter does all the work while you go about your day. The secret is a long, slow rise and a good Italian 00 flour. We use Polselli. This style of loaf comes from the hills outside Rome (pane dei Castelli Romani), and the method was inspired by Italian pastry chef Emma Fontanella. Mimi and I added a couple of tweaks of our own to make it ours.
Why Polselli 00 Flour?
Italian 00 flour is milled extra fine, which gives this loaf a soft, tender crumb. Grab a Polselli 00 made for bread or pizza, not pastry. Check the bag for protein, and look for about 11% or higher. That strength is what gives you a crackly crust and an airy middle.
Our Homestead Tweaks
- Local honey. A teaspoon or two stirred into the warm water gives the yeast a little boost and the crust a touch more color. Buy it from a local beekeeper if you can.
- An olive oil coat. Right before the long rise, we coat the dough in olive oil. It keeps the dough moist all day and stops a dry skin from forming on top.
- A wetter dough. I like my dough wetter than most recipes call for, so I use 1 1/2 to 1 3/4 cups of water depending on how the dough looks and feels. More water means a more open, airy crumb.
The Long, Lazy Rise
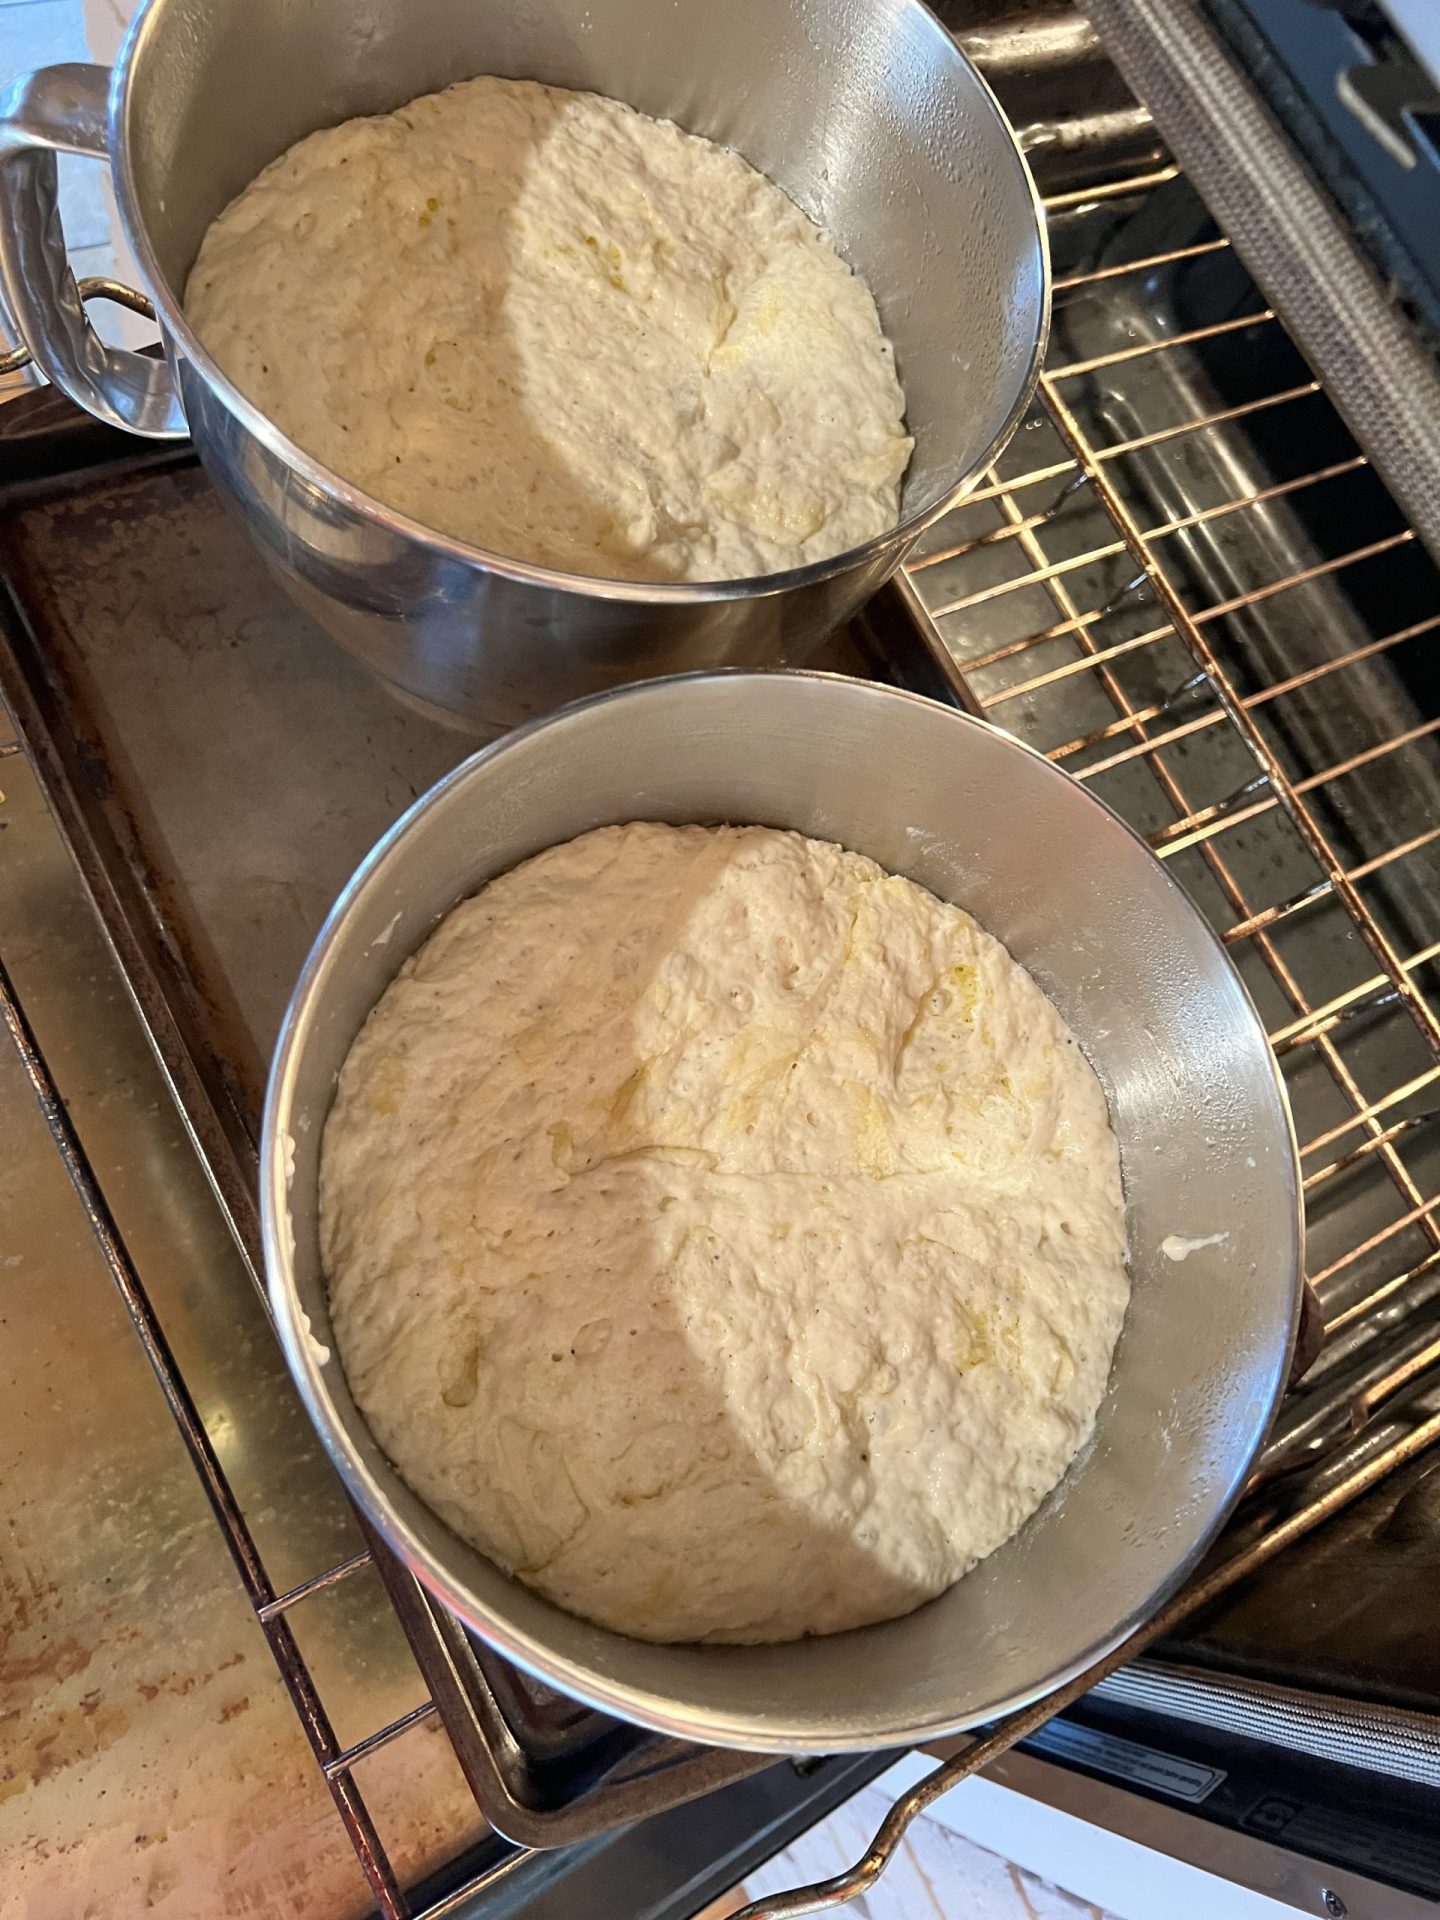
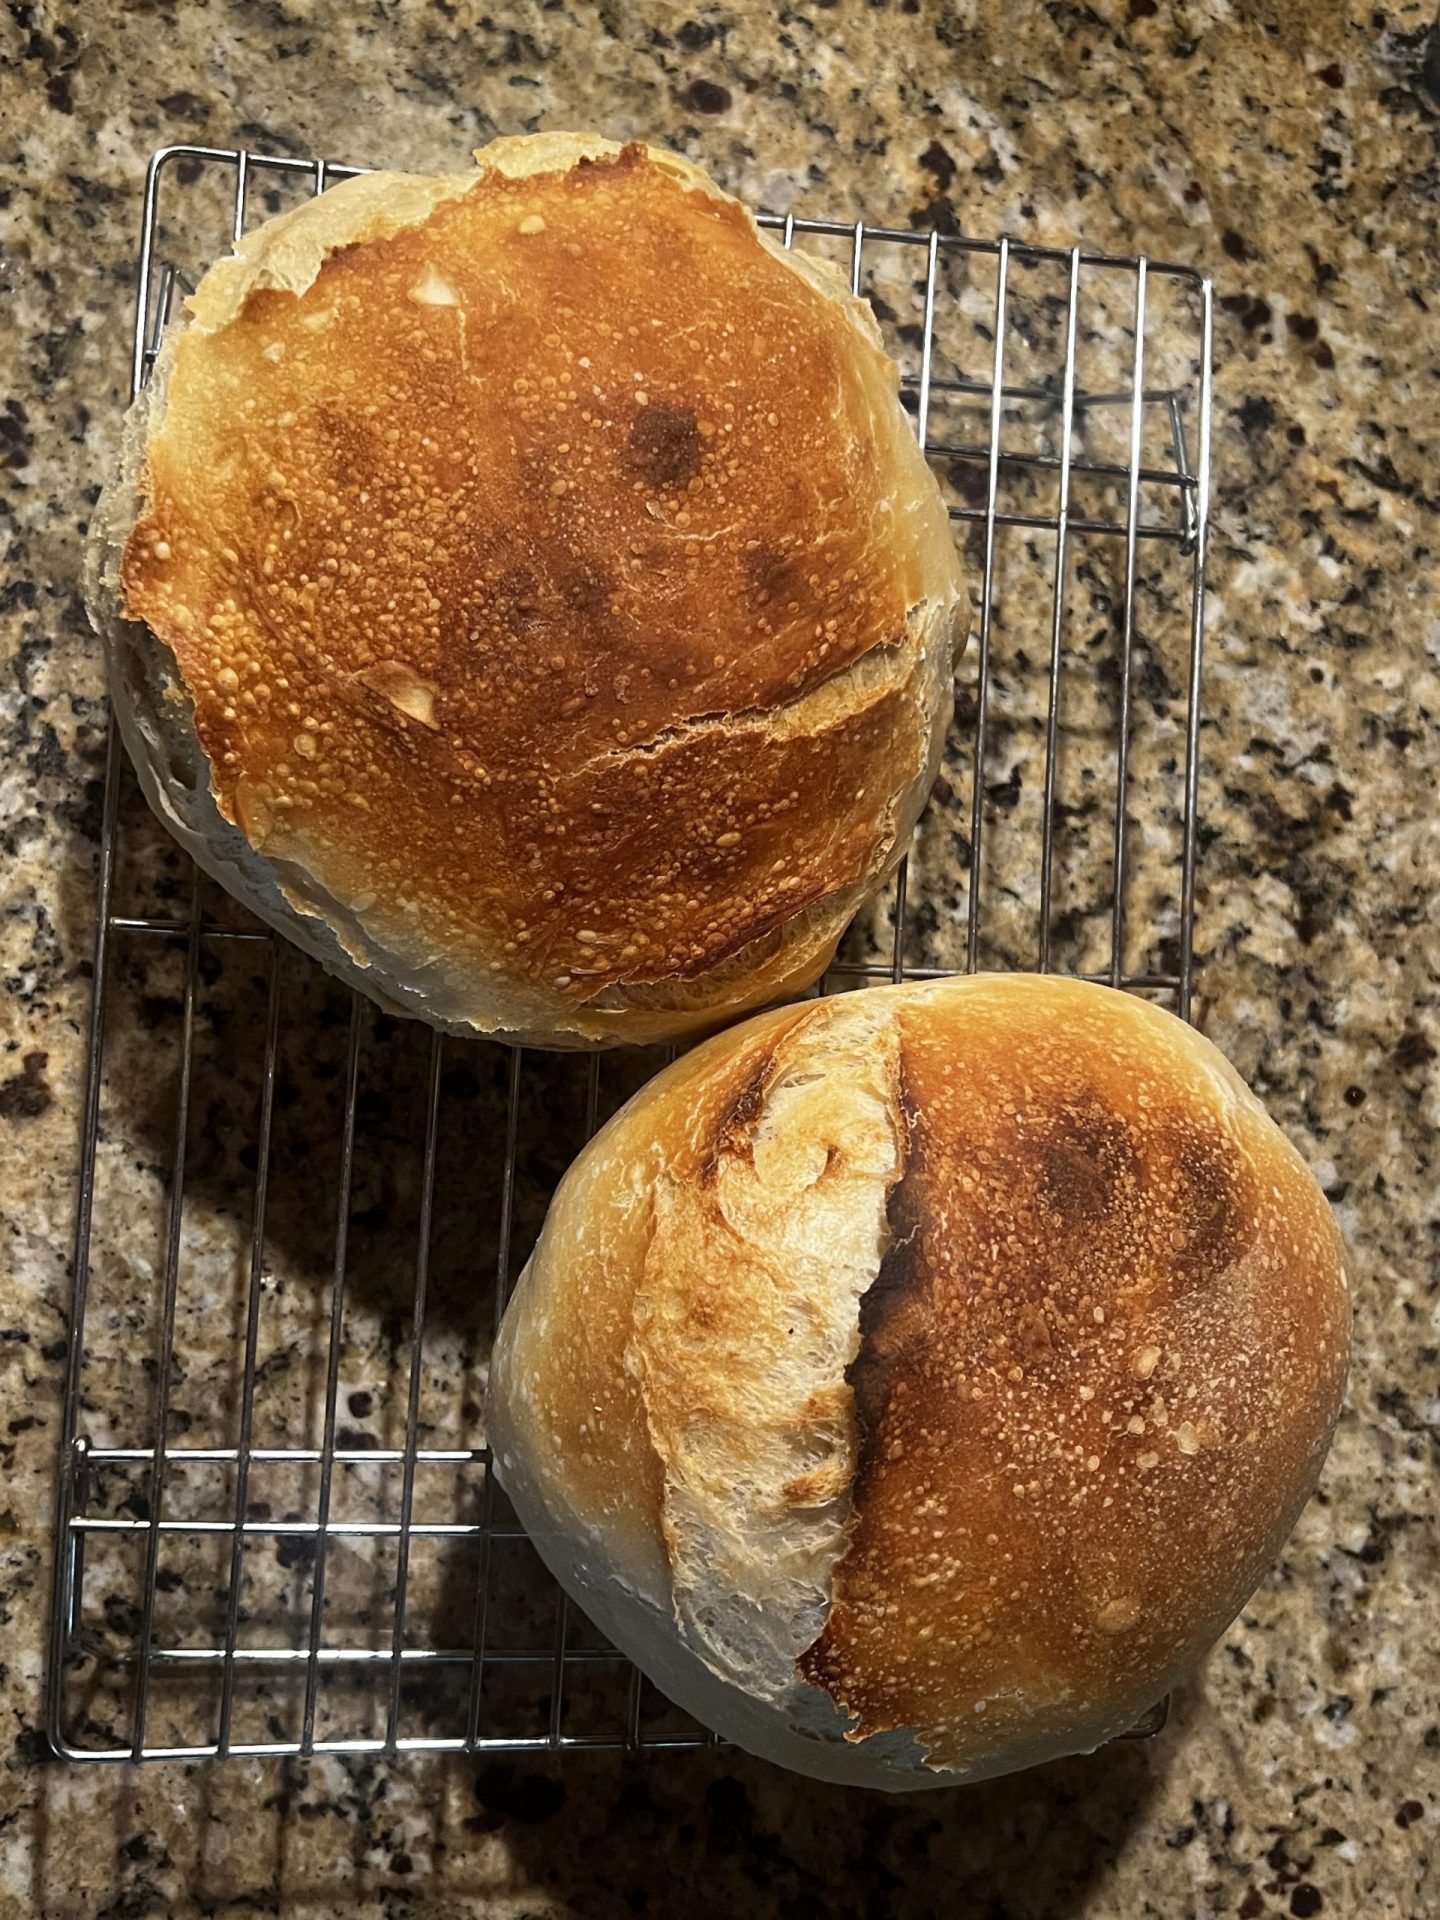
Here’s where the magic happens. The dough sits on the counter for 6 to 12 hours, puffs way up, then sags and looks like it went too far. Don’t worry. That long rise is where all the flavor comes from, and a quick set of folds right before baking brings it back to life.
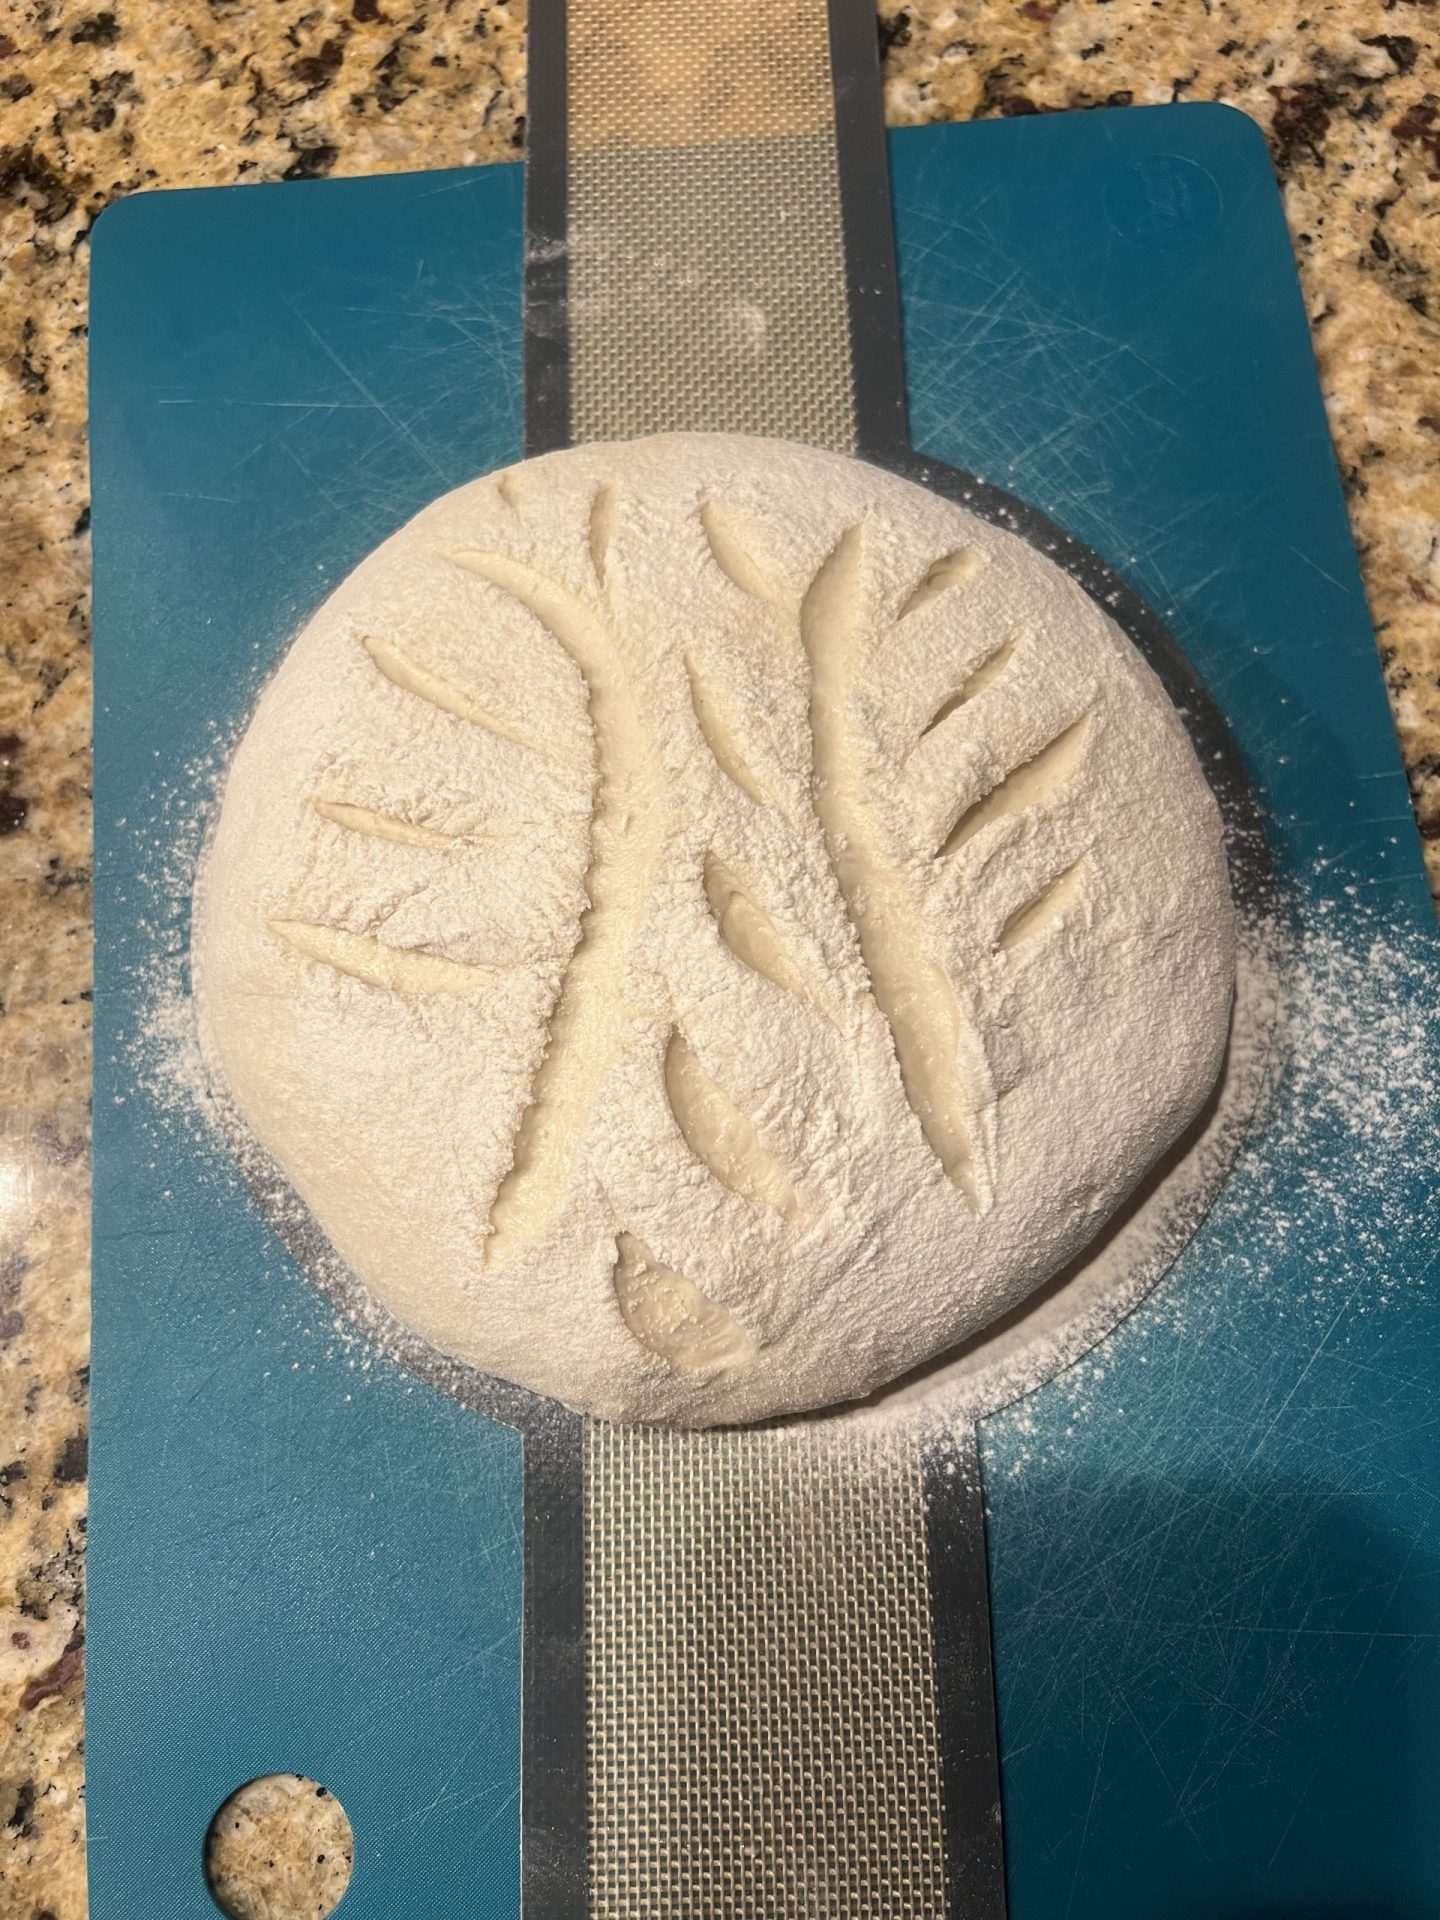
You can get as fancy as you like with the scoring, but one quick snip with scissors works just fine. We lower the dough into the hot Dutch oven on a silicone bread sling, which keeps fingers well away from a 450°F pot. A sheet of parchment paper works too.
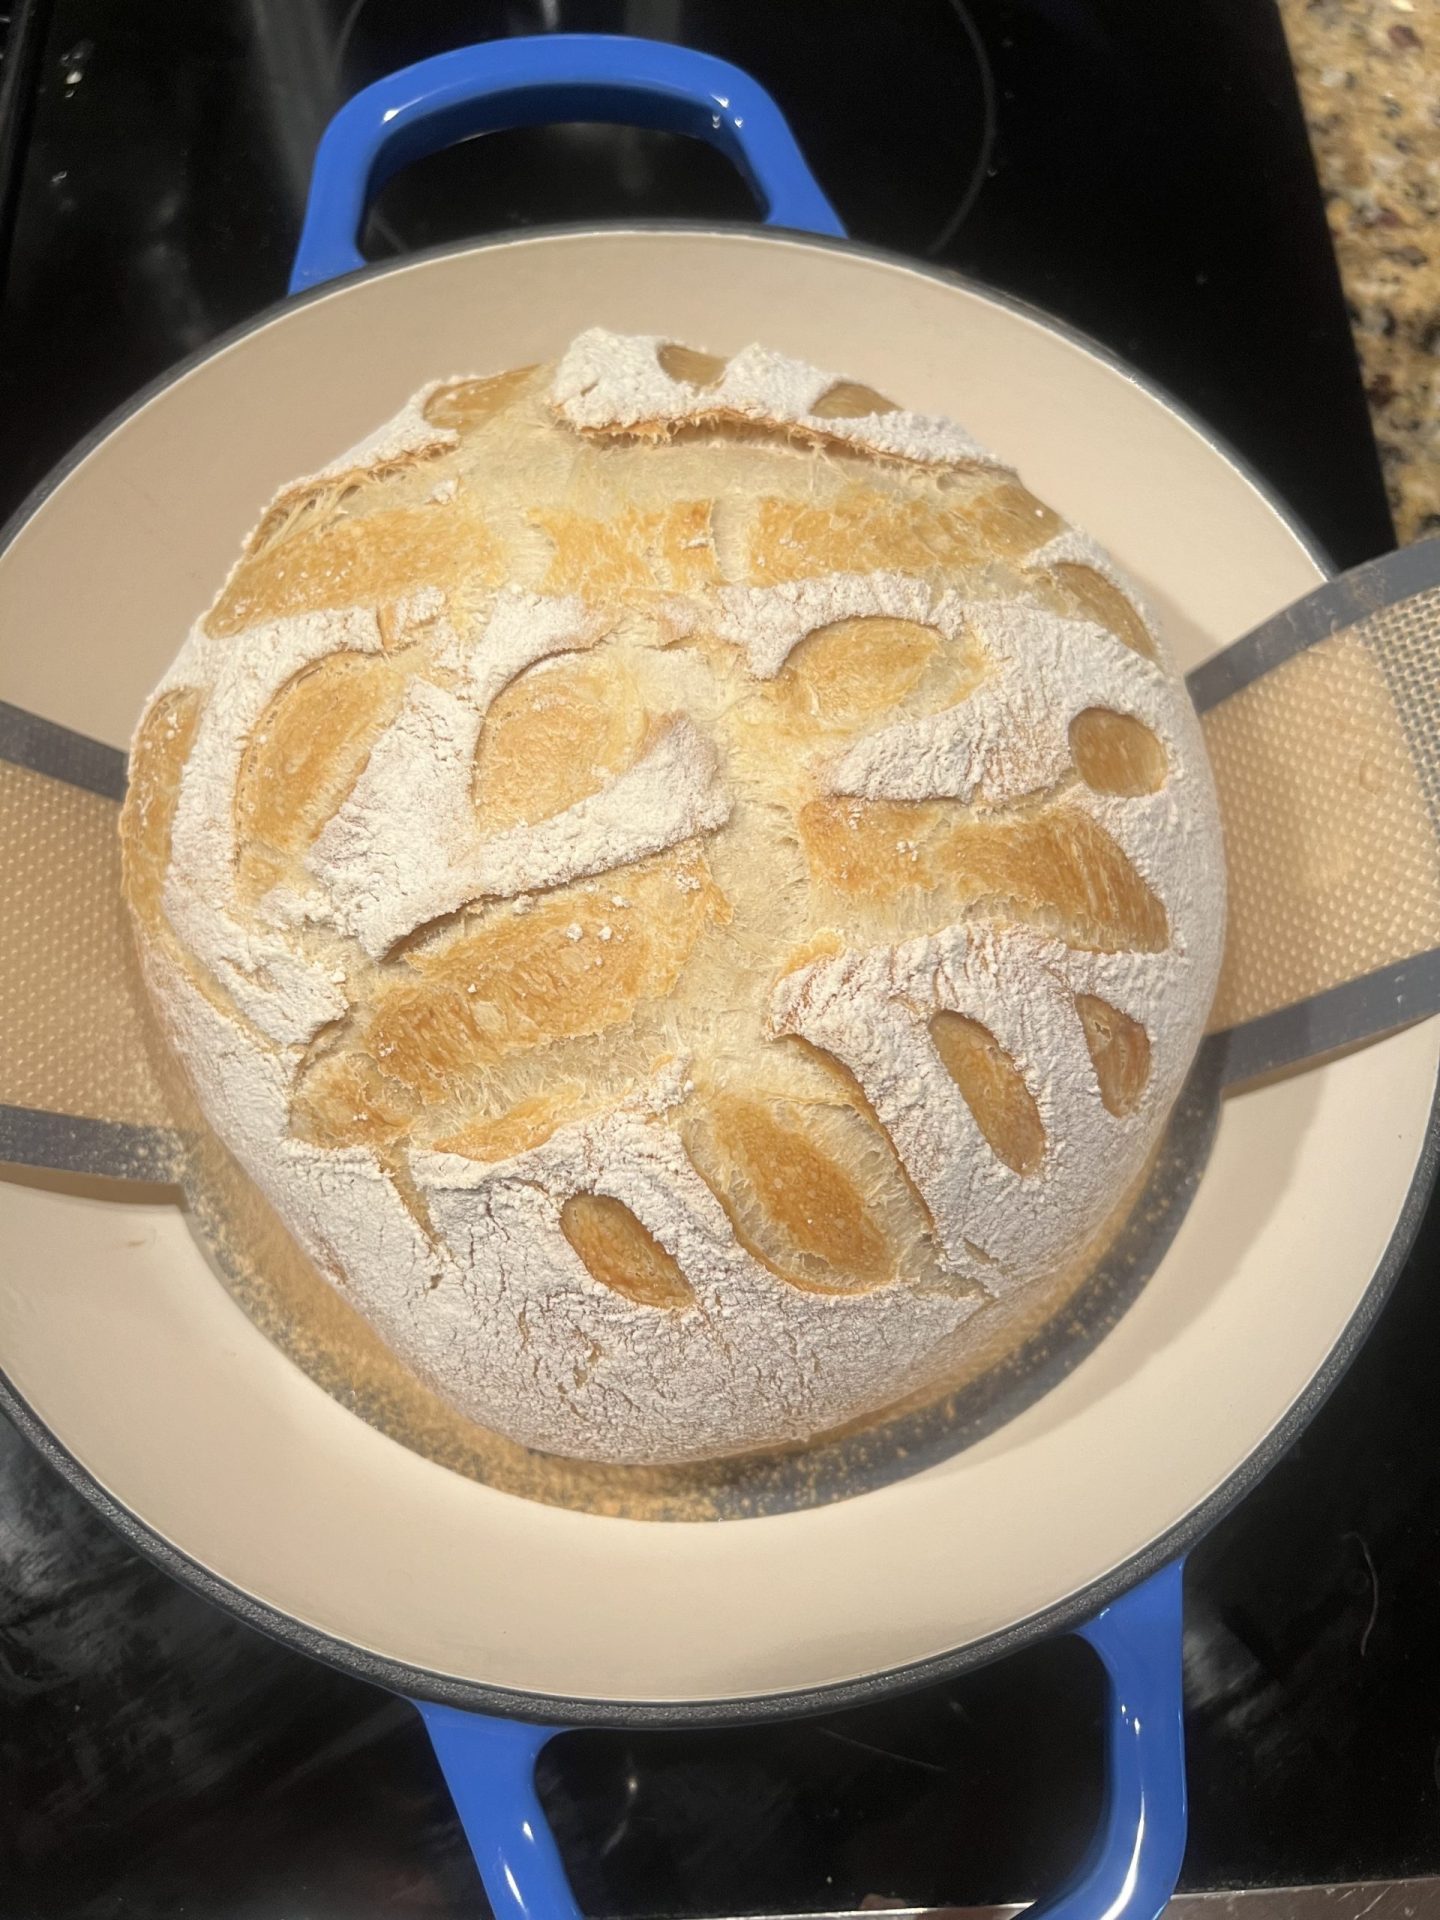
The Less Gassy Pap Steve
Here’s a happy side effect we noticed: this bread doesn’t leave me feeling bloated like store-bought bread does. Turns out there’s science behind it. Wheat contains carbs called fructans that your gut turns into gas, and during a long rise the yeast eats a big share of them before the bread ever hits the oven. One study found a rise of four and a half hours cut those gas-causing carbs by up to 90%. Ours goes all day.
Mimi has officially noticed, and she gives the long rise full credit for the “less gassy Pap Steve.” Thirty years of marriage, and it took a loaf of bread to finally get me back in her good graces.
Everyone’s gut is different, and I’m a home baker, not a doctor. This isn’t medical advice, and it isn’t gluten-free.
How We Eat It
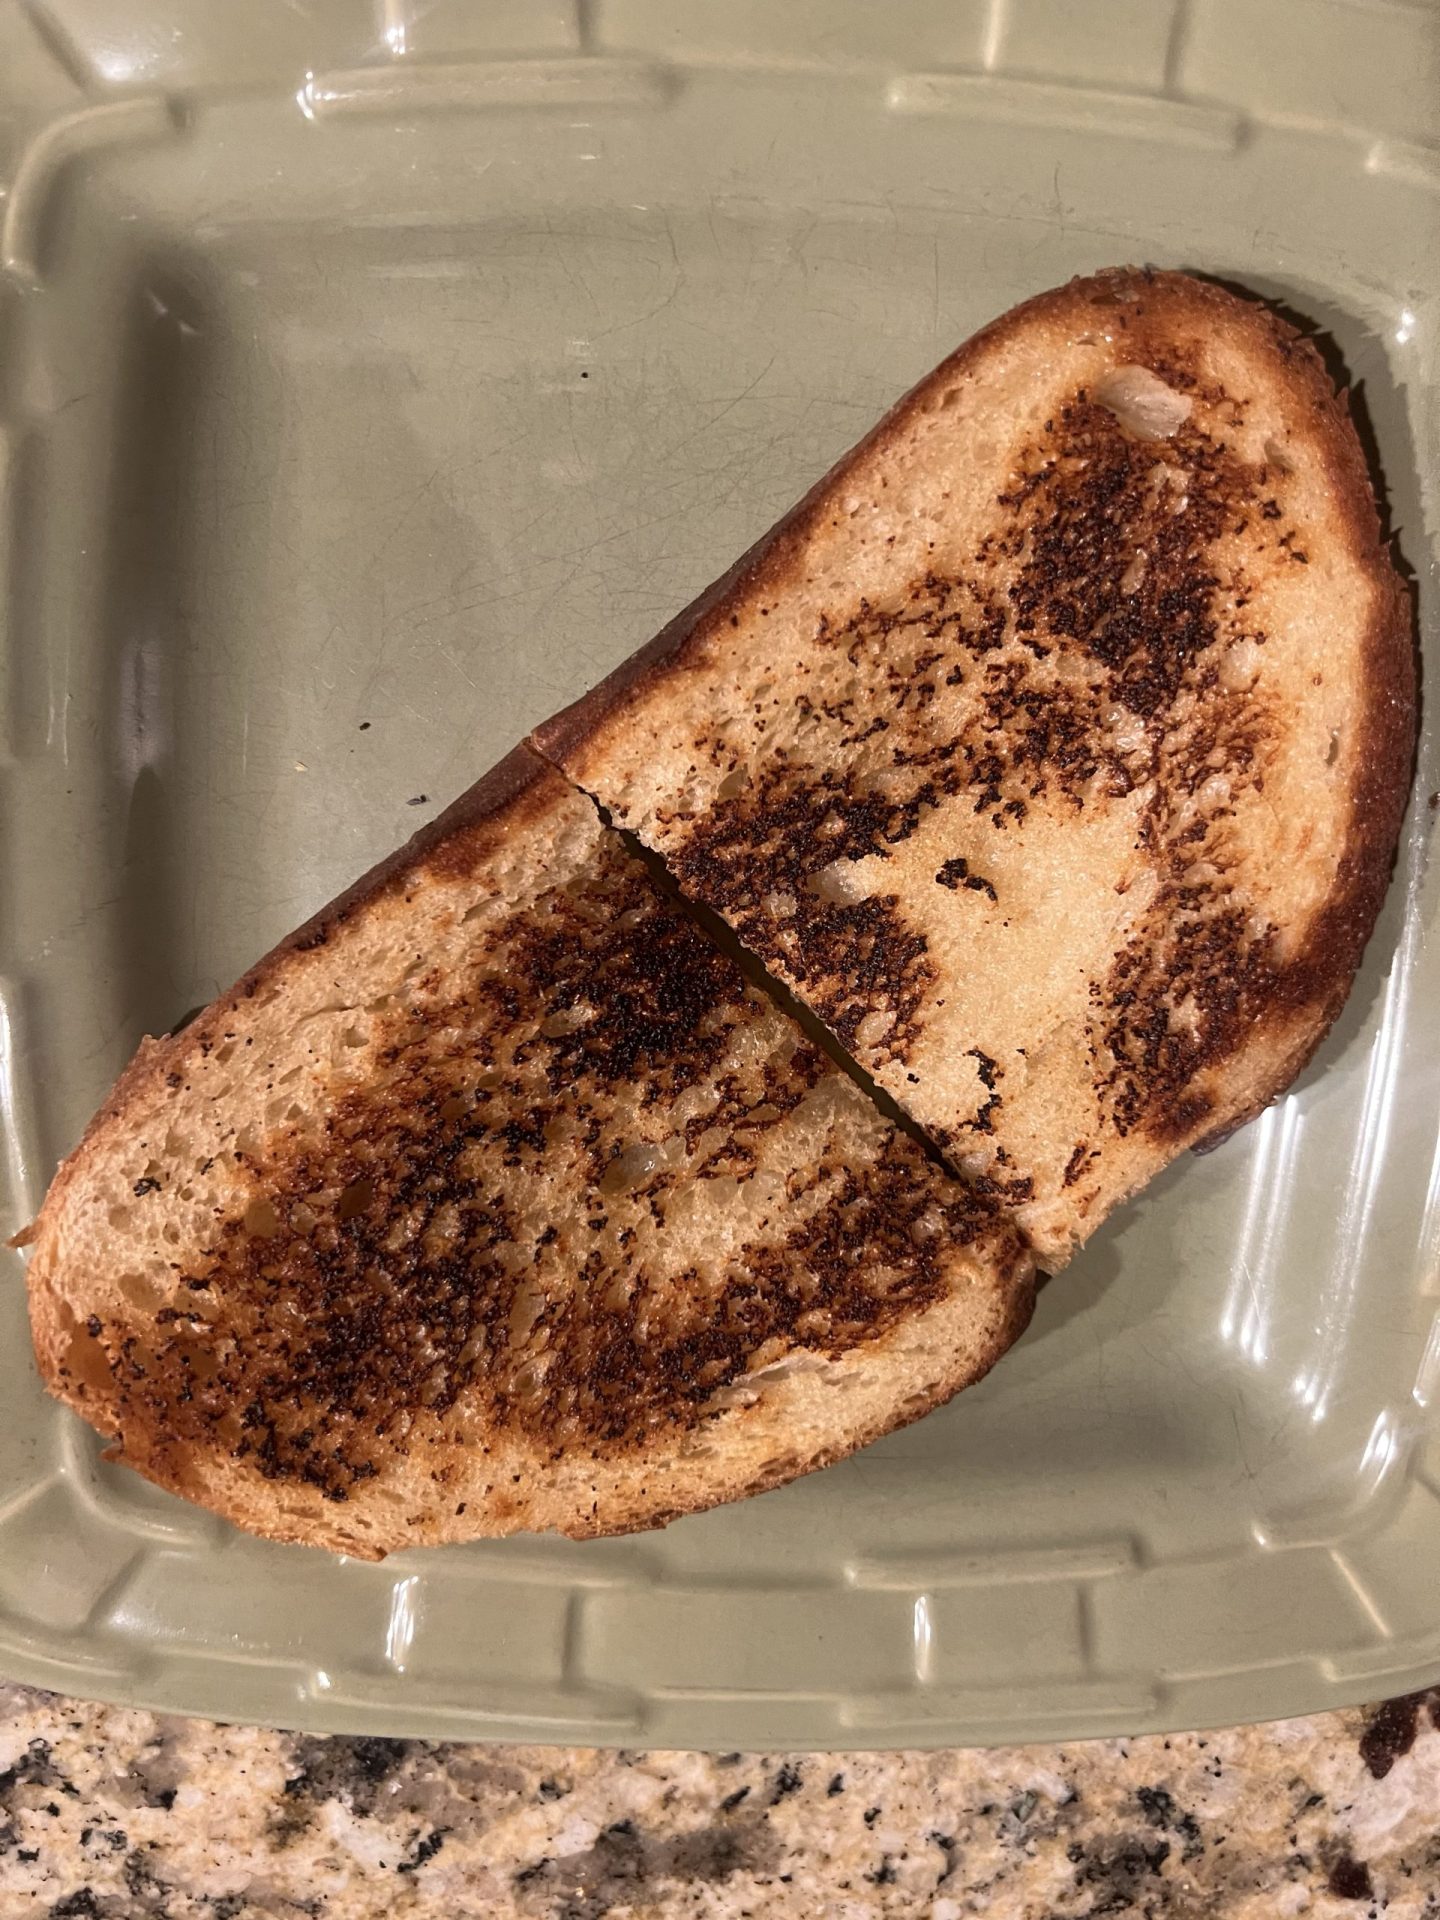
A slice with good olive oil is hard to beat, but here are two of our favorite ways to dress it up. Toast thick slices in a skillet or under the broiler first.
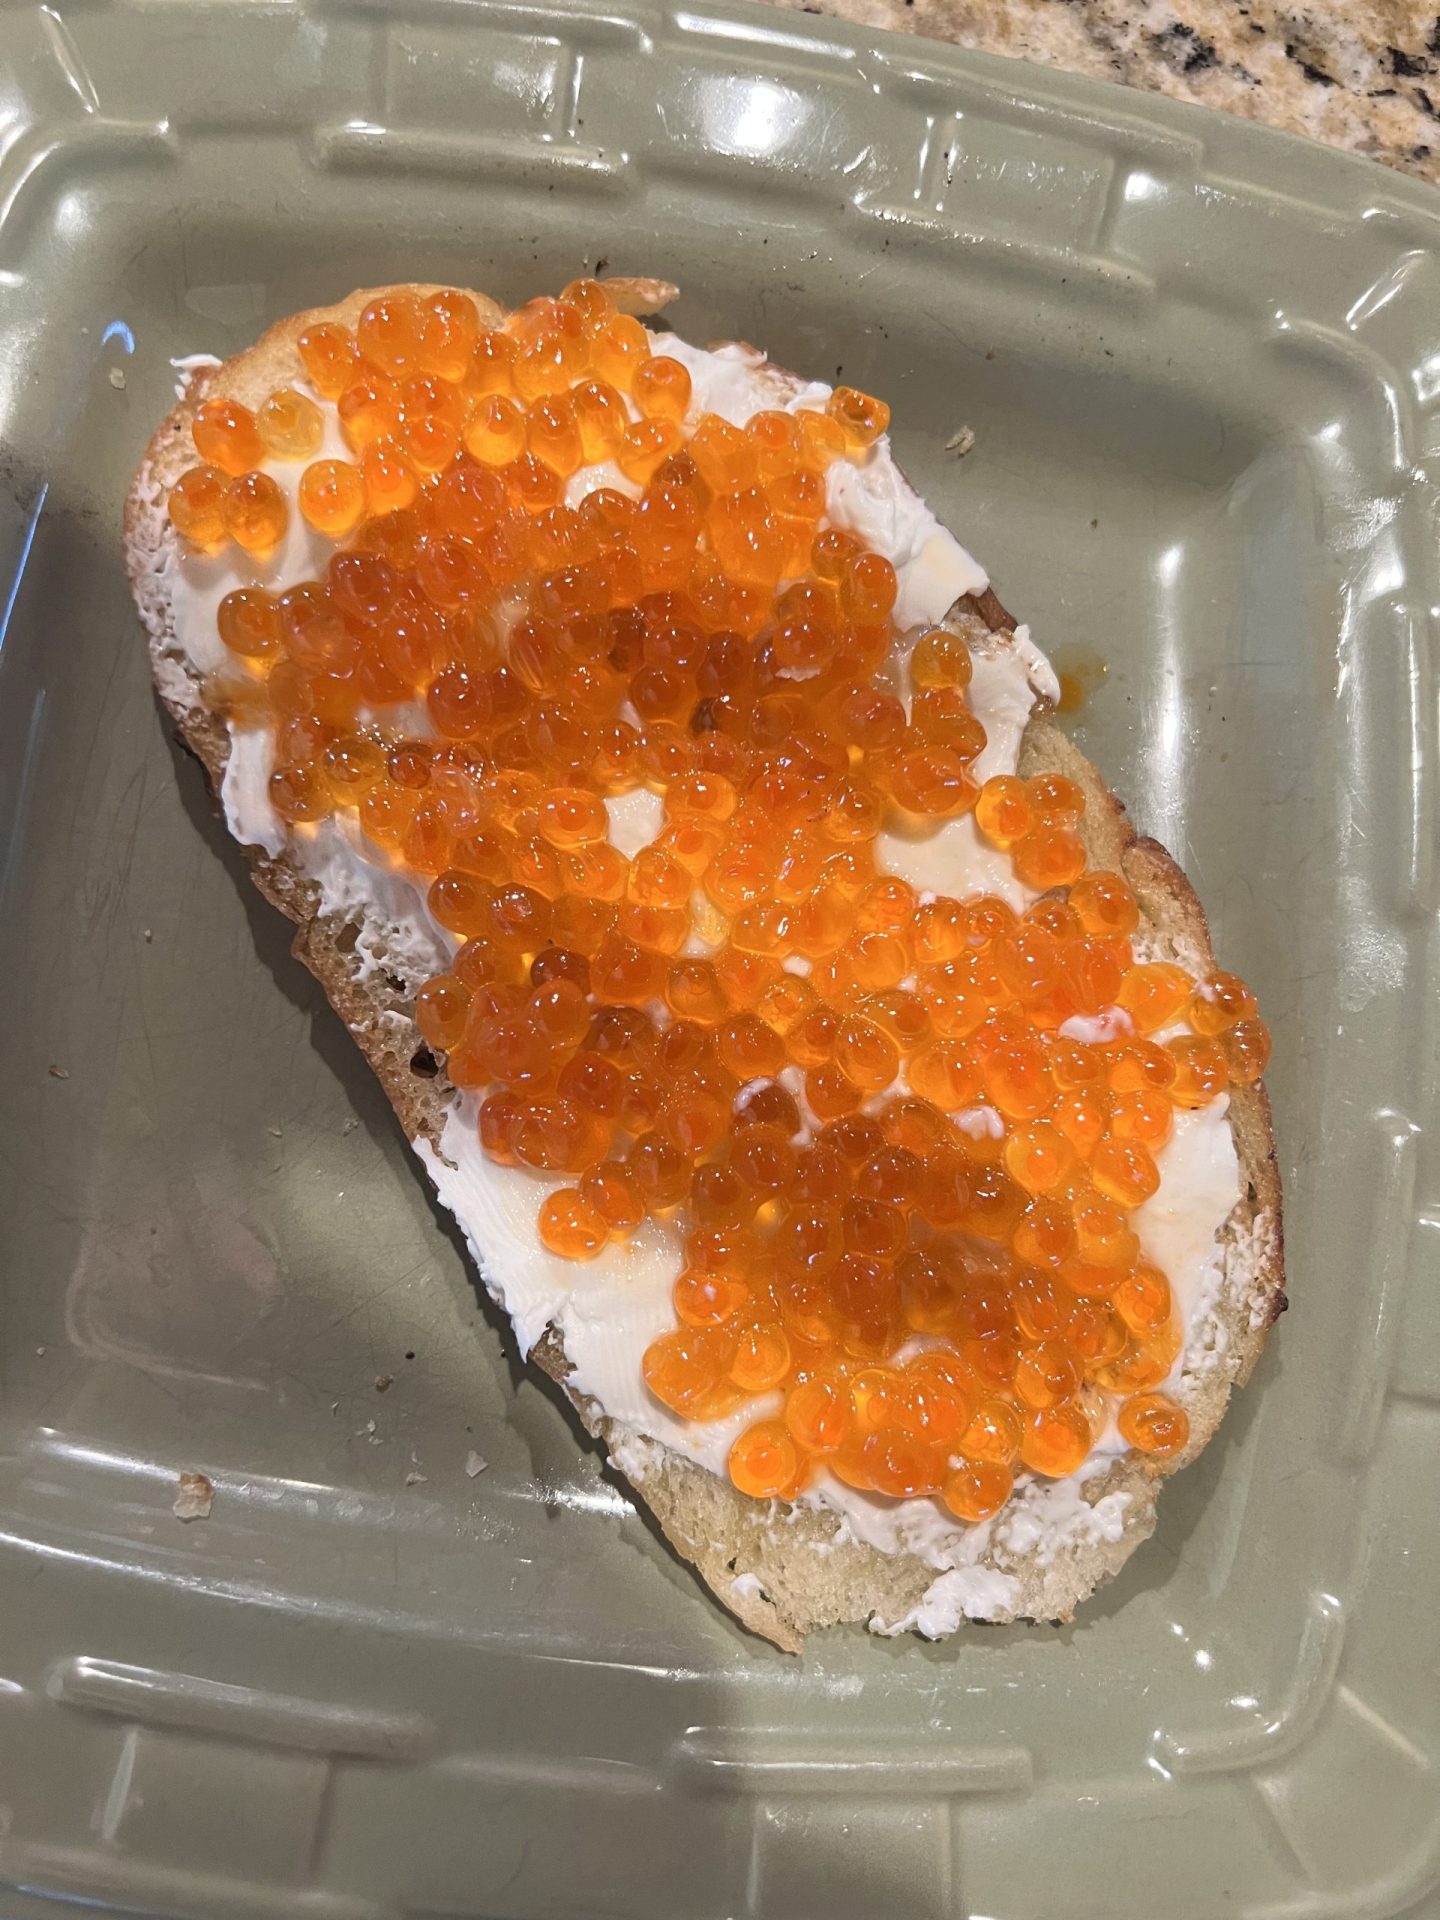
For breakfast: cream cheese and salmon roe. Spread a toasted slice with fresh cream cheese and top it with a spoonful of salmon roe. It’s rich, salty and a little fancy, and it’s one of our favorite weekend breakfasts.
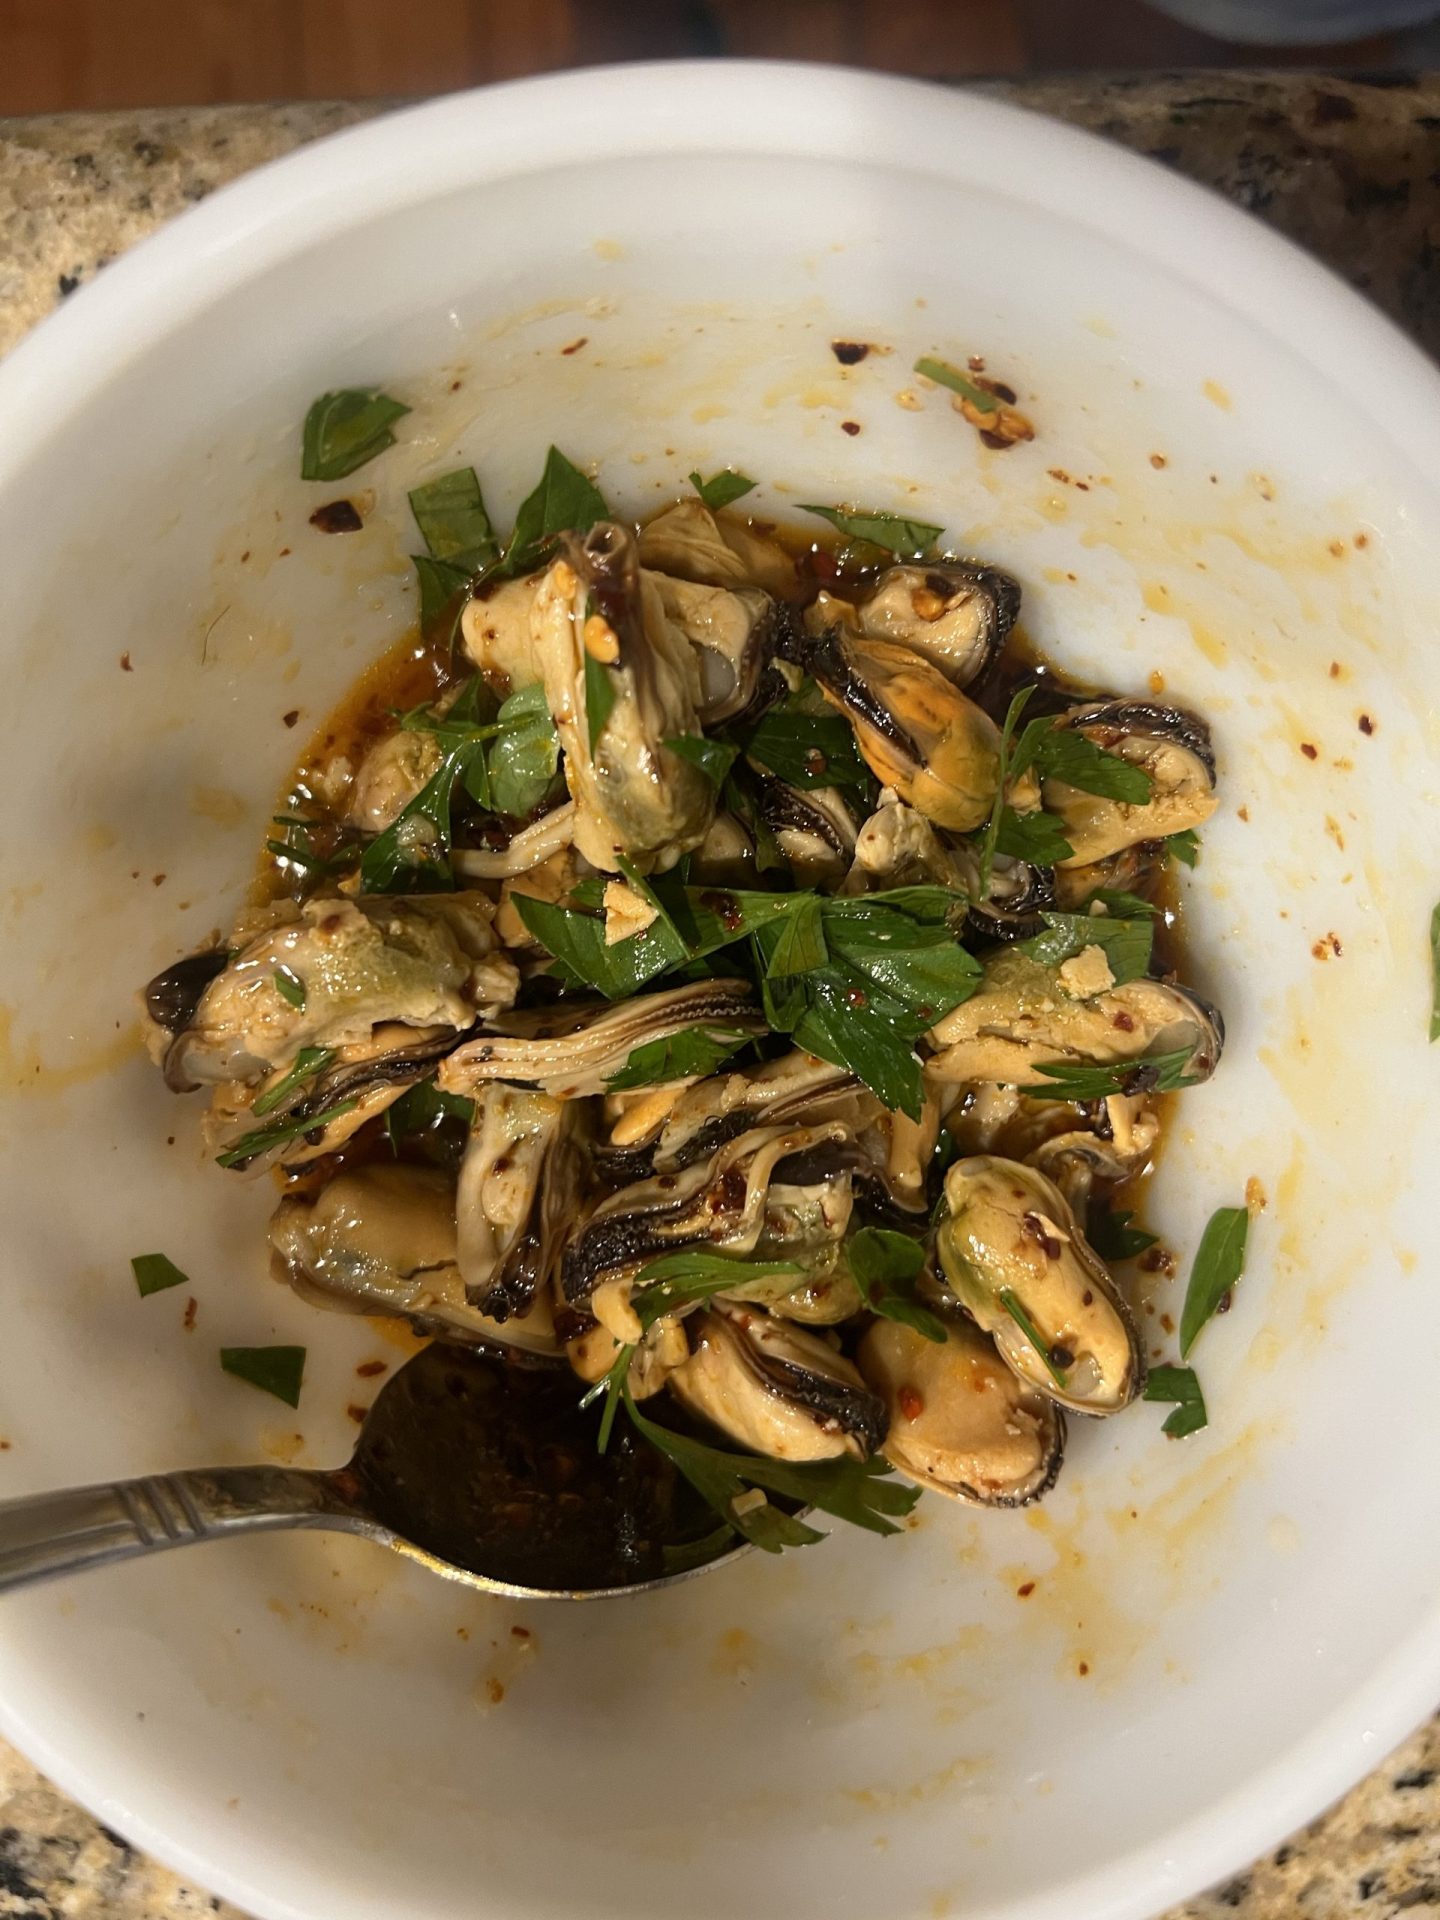
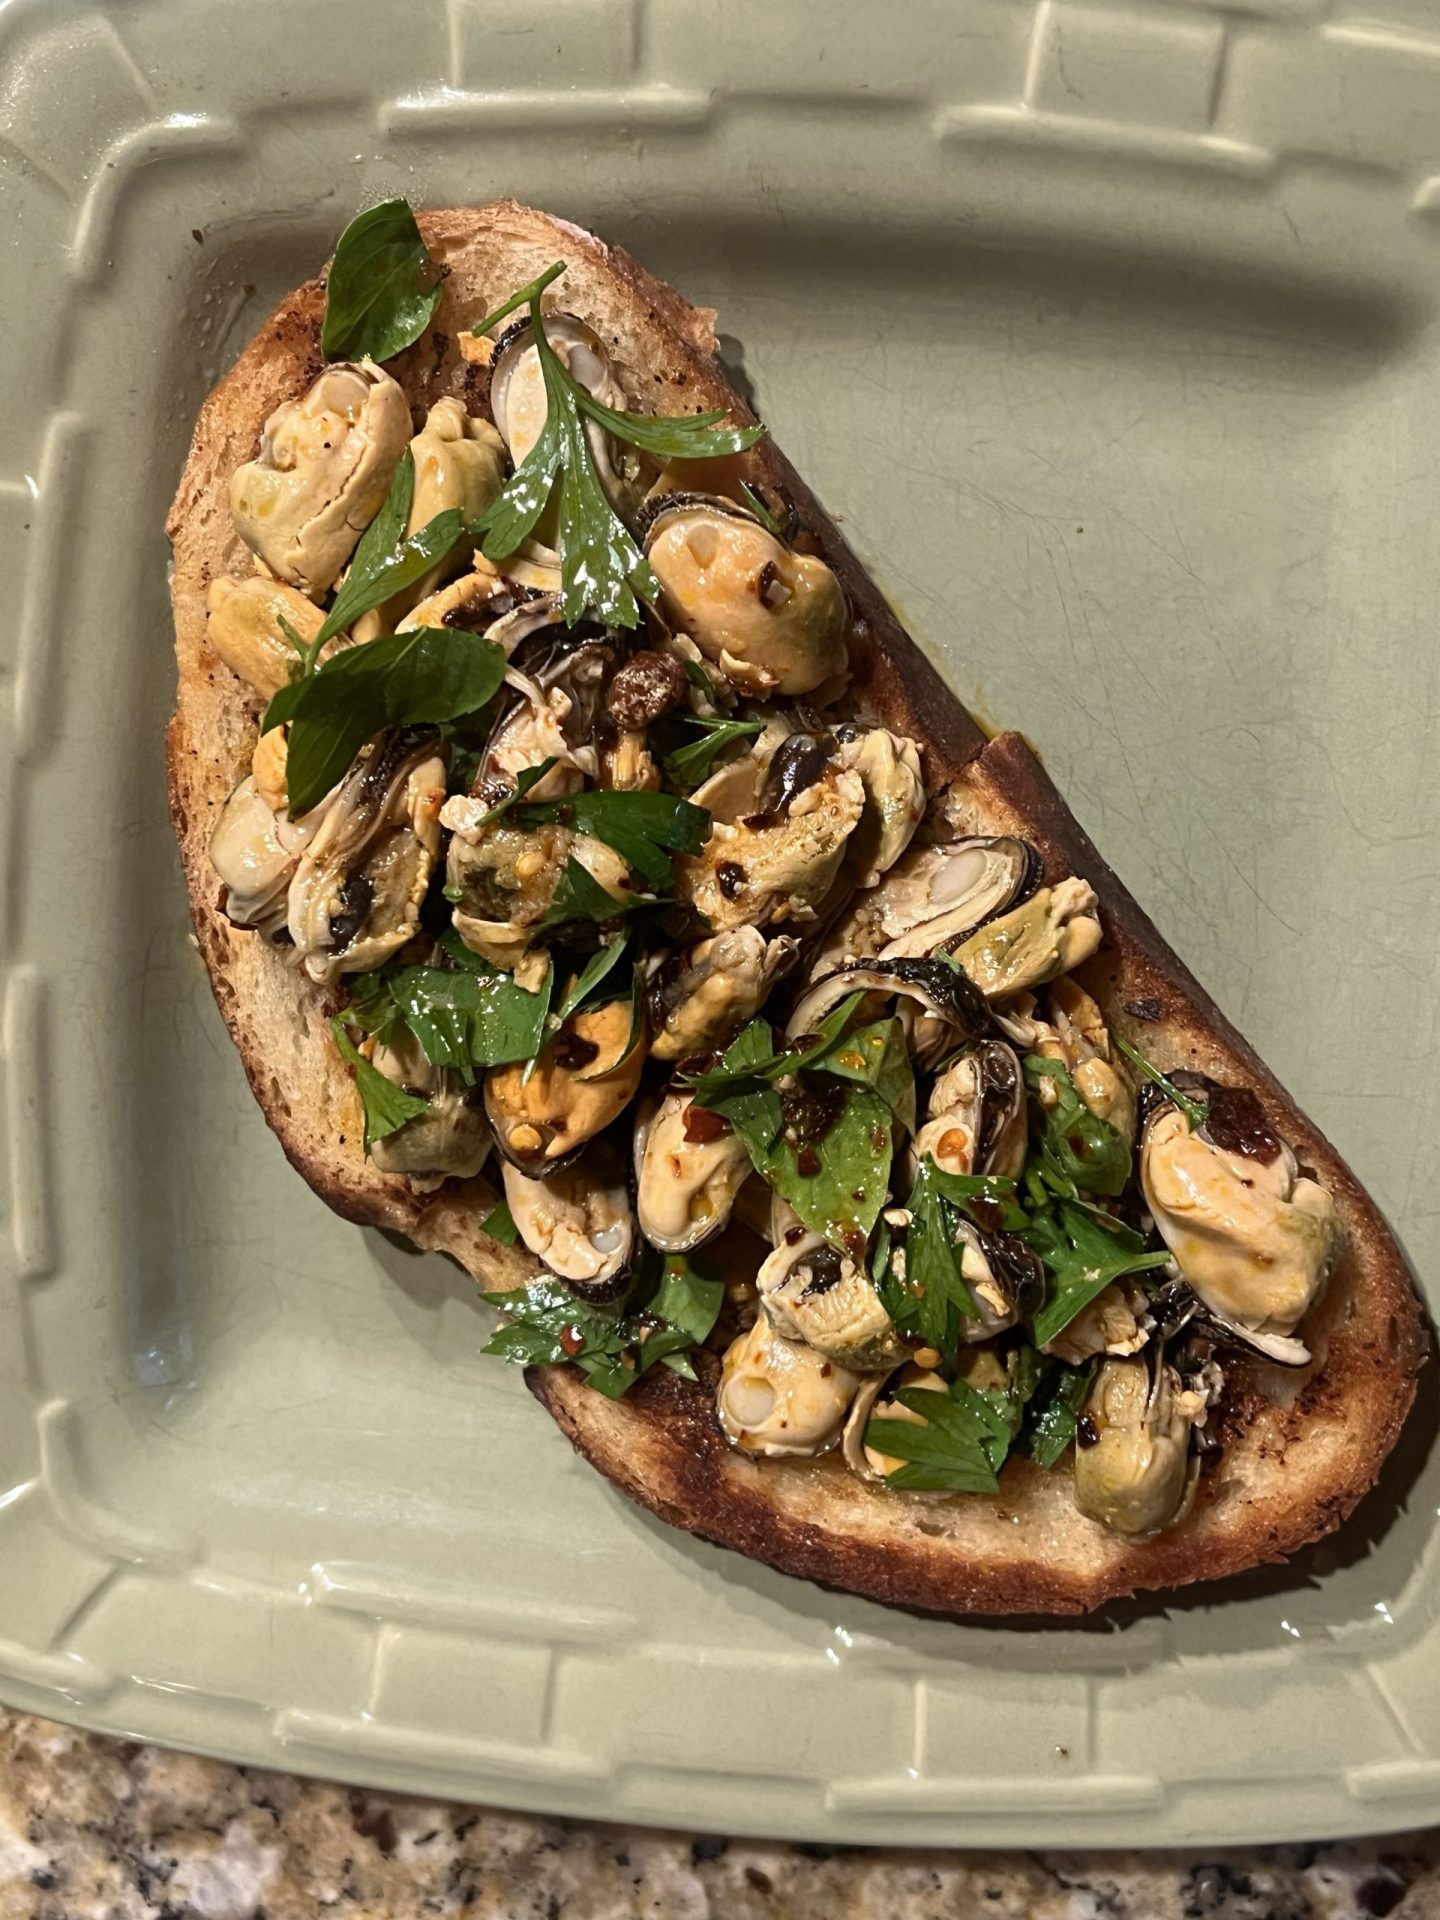
For lunch or an evening snack: mussel toast. We toss mussels with lemon, chili oil, garlic and fresh parsley and pile it on a toasted slice. Get the full smoked mussels crostini recipe here.
Same Dough, Different Bread: Italian Focaccia
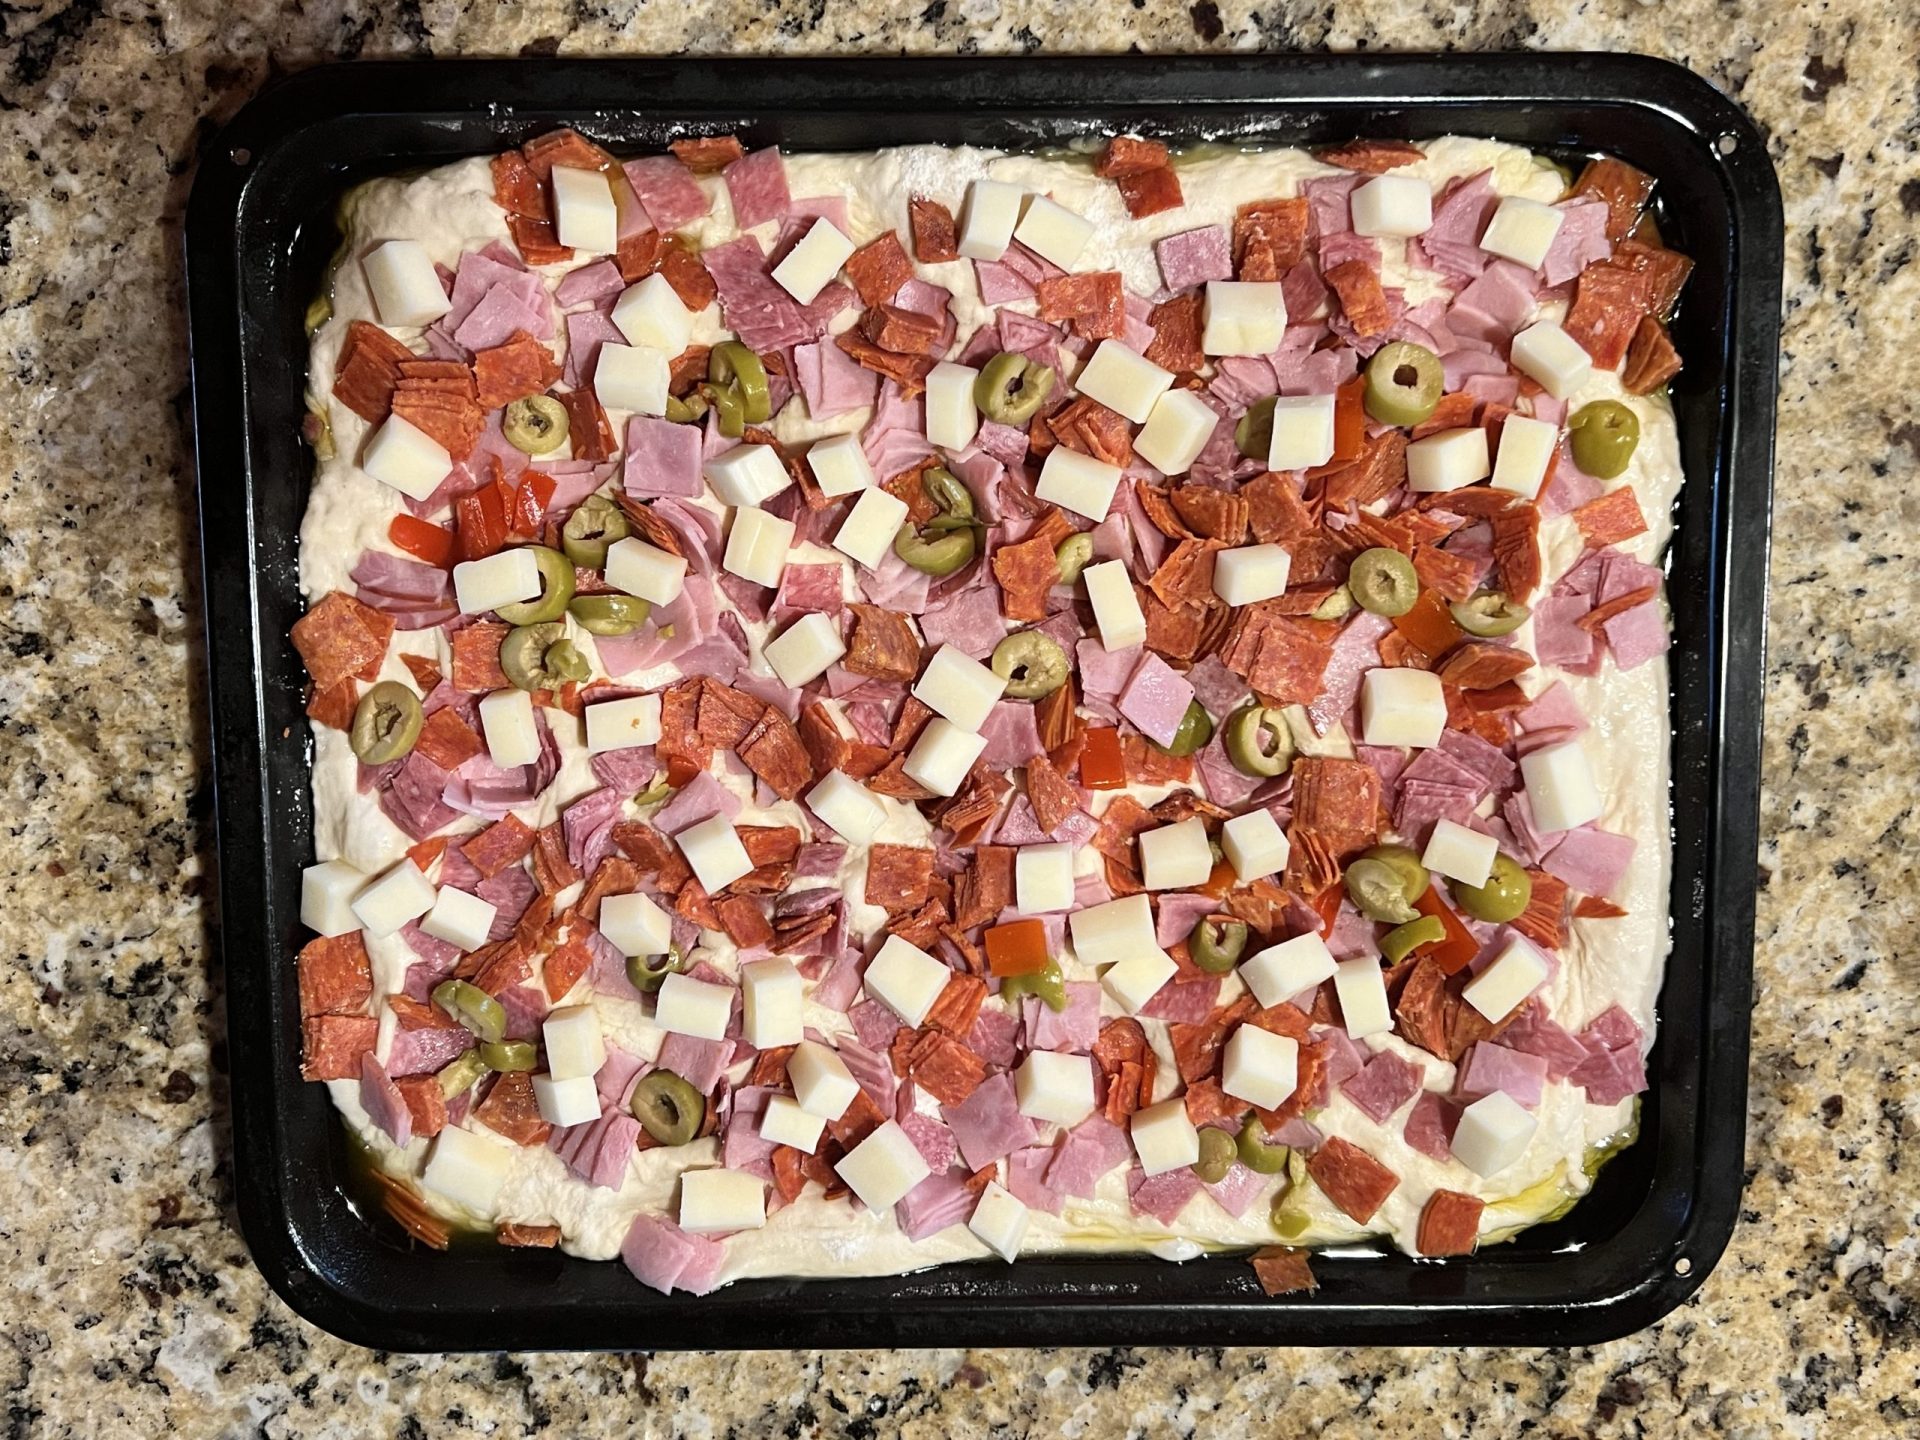
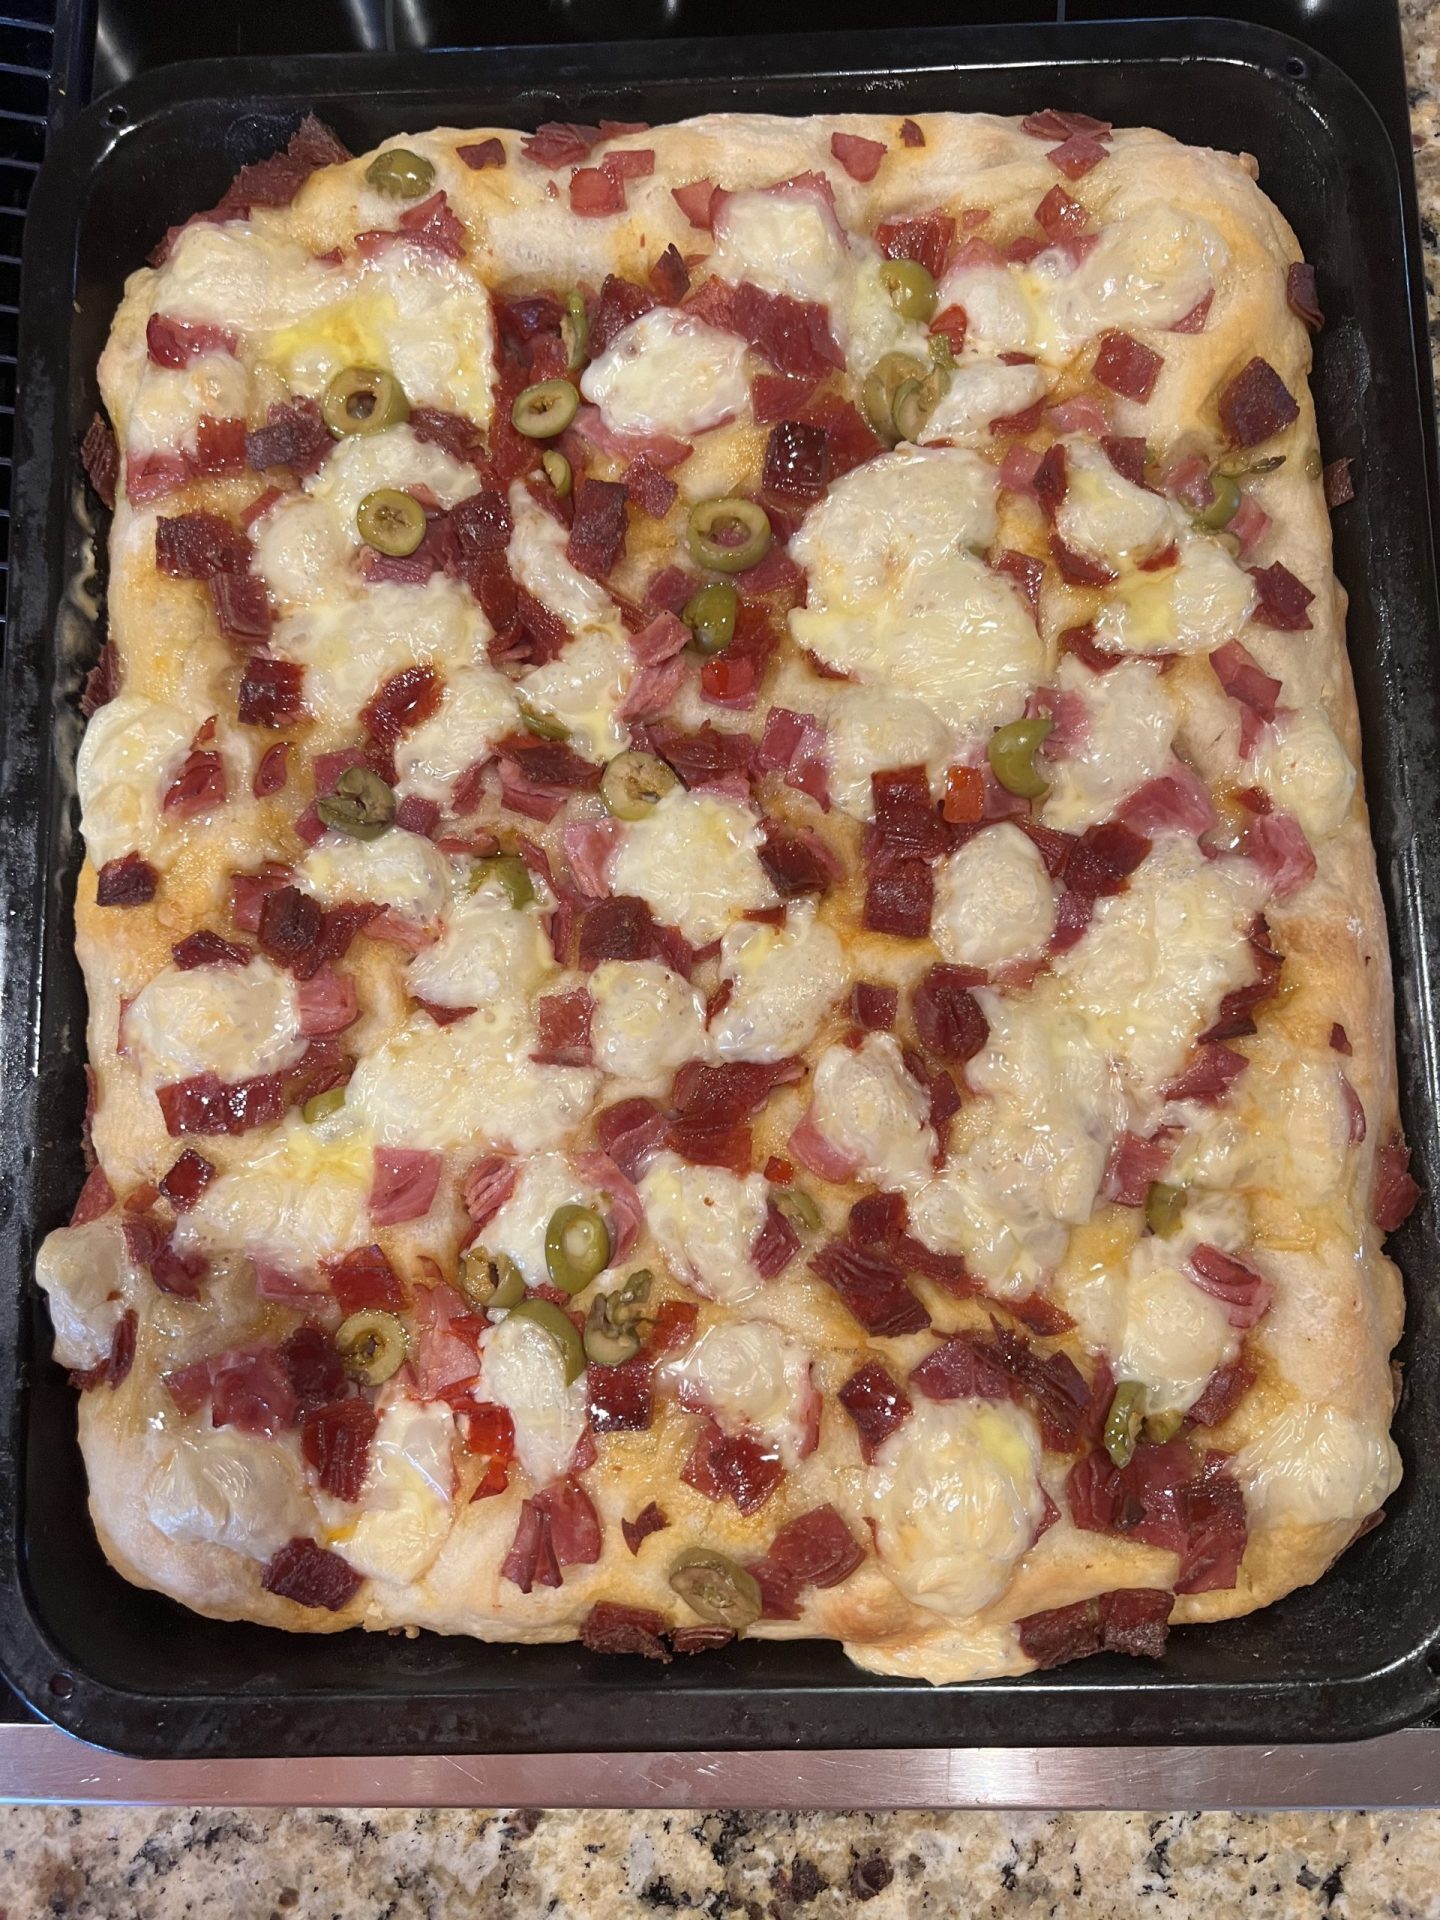
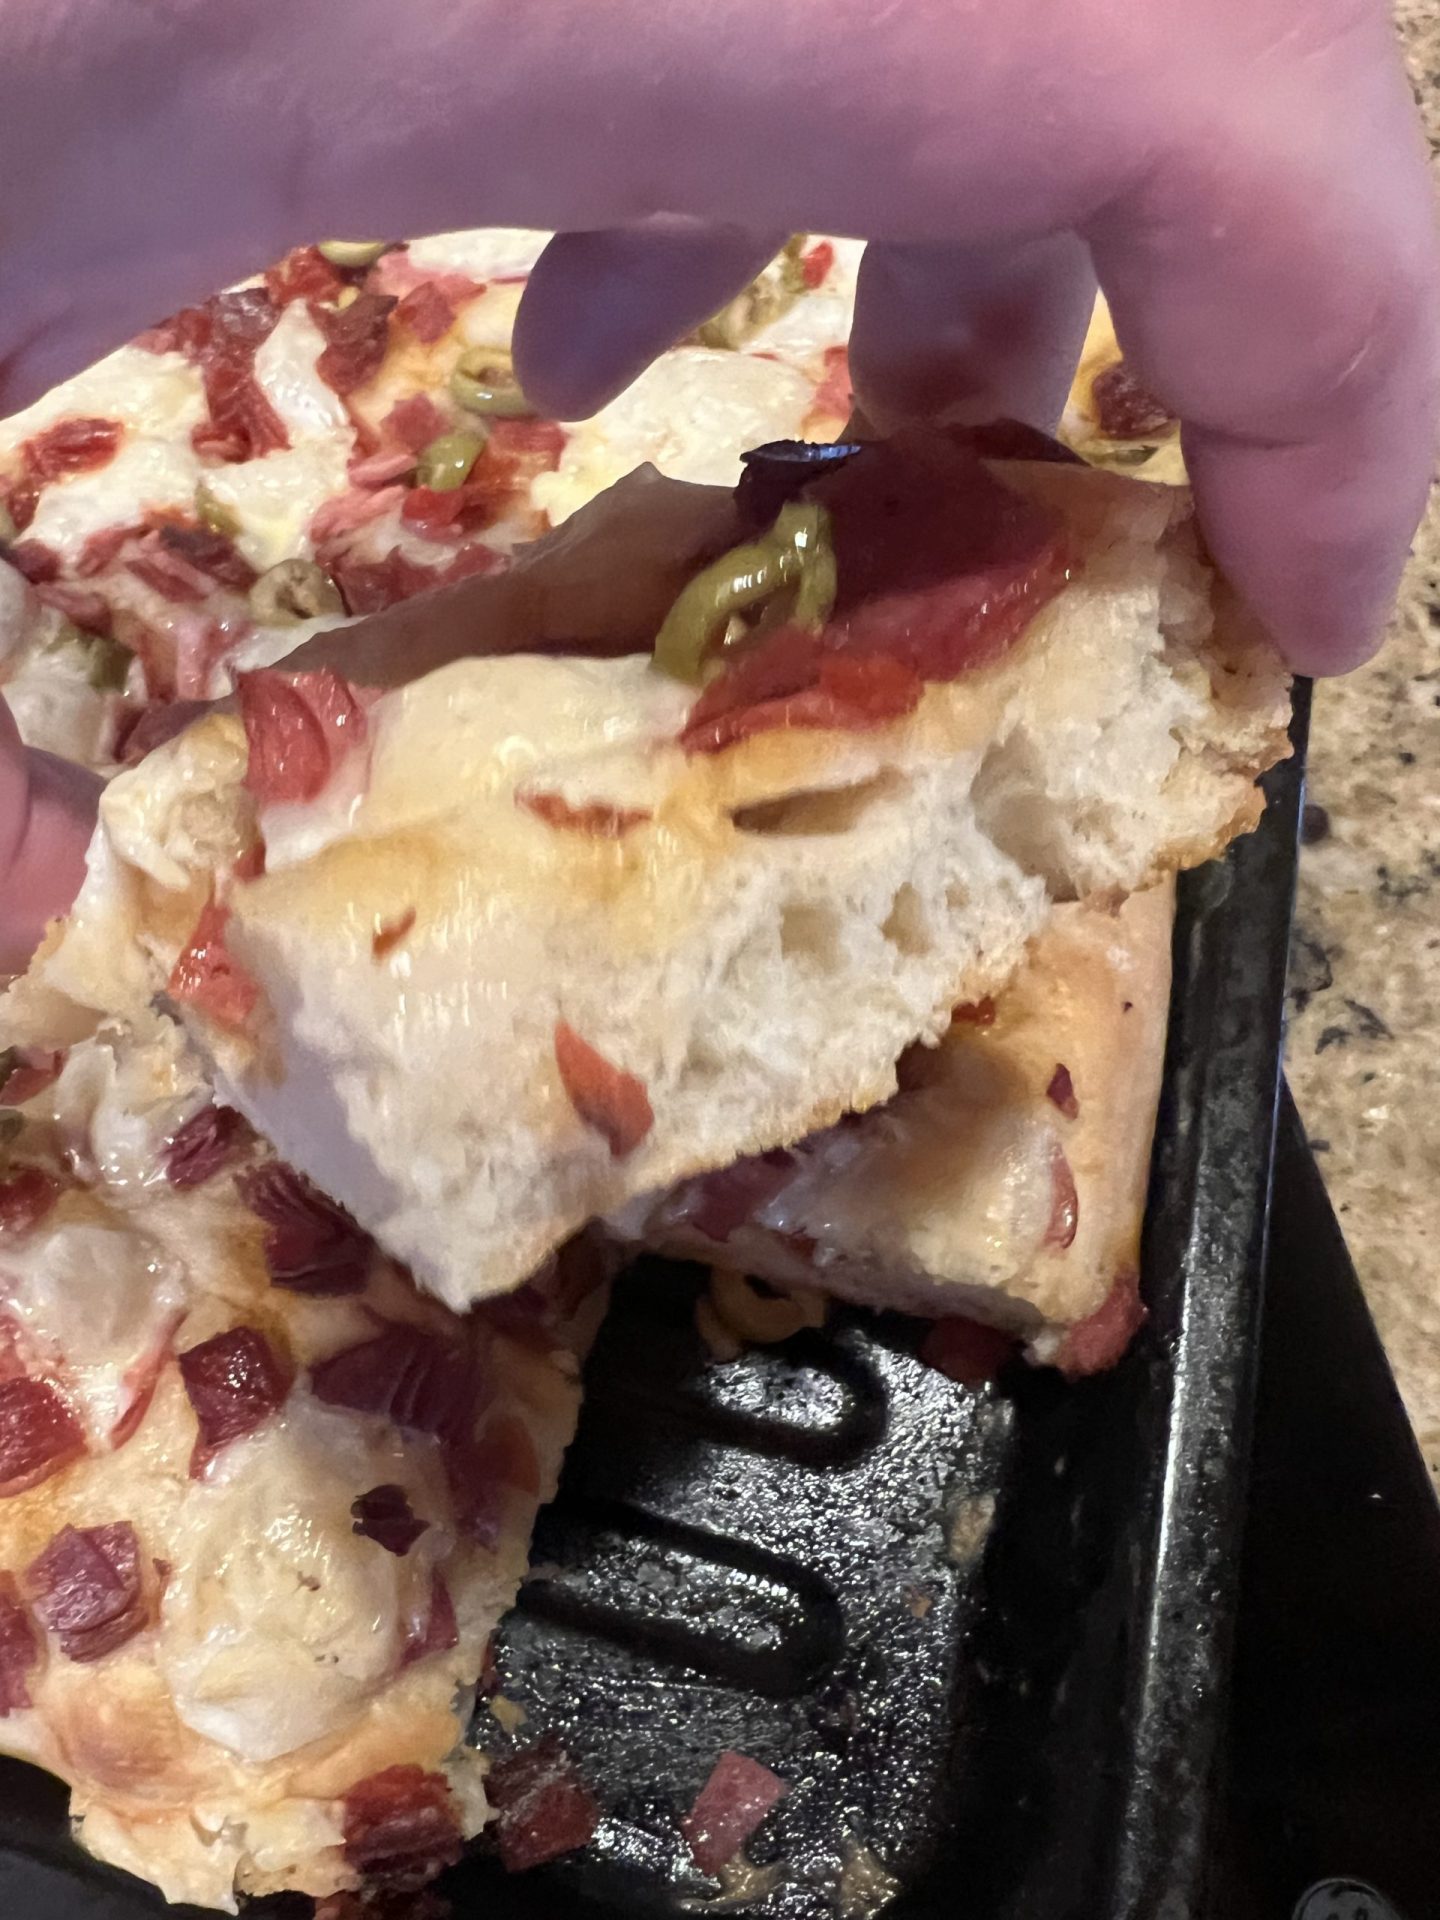
Here’s a bonus: this same dough makes a terrific focaccia. Press it into an oiled pan, load it up with mixed Italian meats, cheeses and green olives, and bake. [Full focaccia recipe coming soon.]
Pap Steve’s No-Knead Italian Bread with Polselli 00 Flour
Ingredients
Equipment
Method
- Stir 1 1/2 cups of the water with the honey, salt and yeast in a big bowl until the honey dissolves. Add all the flour and stir until no dry flour remains. Pap Steve likes a wetter dough: add the remaining water a little at a time until the dough is very sticky and slack, like a thick batter that just holds together.
- Drizzle the olive oil over the dough and coat the top and sides. Cover the bowl and leave it on the counter for 6 to 12 hours. It will rise, then sag. In a warm kitchen (78 F or warmer), check it at 6 to 8 hours.
- Put the Dutch oven, lid on, in the oven and preheat to 450 F for 30 to 45 minutes.
- With a wet hand, stretch one side of the dough up and fold it over the middle. Turn the bowl a quarter turn and repeat three more times. Rest 15 minutes in summer or 30 in winter.
- Turn the dough out onto a silicone bread sling or parchment, dust with flour and score or snip the top. Carefully lower it into the hot pot and cover.
- Bake covered for 30 minutes. Uncover, reduce to 400 F and bake 10 to 15 minutes more, until deep golden brown and the inside reads 205-210 F.
- Lift the loaf onto a wire rack and cool at least 45 minutes before slicing.
Notes
Pap Steve’s Tips
- Weigh your flour. Cups of 00 flour can vary a lot depending on how you scoop.
- Weigh your salt, too. Two teaspoons of Morton’s kosher salt is almost twice as salty as two teaspoons of Diamond Crystal.
- Preheat the pot for a full 30 to 45 minutes. A pot that isn’t hot enough gives you a pale bottom crust.
- Warm Southern kitchen? In summer, check the dough at 6 to 8 hours so it doesn’t go too far.
- No Dutch oven? Any heavy oven-safe pot with a lid works.
- Storage: it keeps 2 to 3 days in a paper bag on the counter. For longer, slice it and freeze it, then toast slices straight from the freezer.
- Add-ins: fold in chopped rosemary, olives or shredded parmesan during the stretch-and-fold step.
Give it a try this weekend, and let me know in the comments how your loaf turns out. Happy baking, friends!



 English