Pap Steve here. Garlic is the most patient crop on the homestead. You put it in the ground when the leaves are turning, you forget about it through Christmas, and come early summer you pull up a bulb that makes the grocery-store stuff taste like packing peanuts. It’s the closest thing gardening has to a 401(k).
Here in South Carolina the timing trips folks up, because most of the garlic advice online is written for people up north. Up at the family farm in the Catskills, you plant garlic and it sleeps under snow. Down here it barely naps. So I went to the source the Clemson folks put out, and here’s what it says, plus how I put it to work.
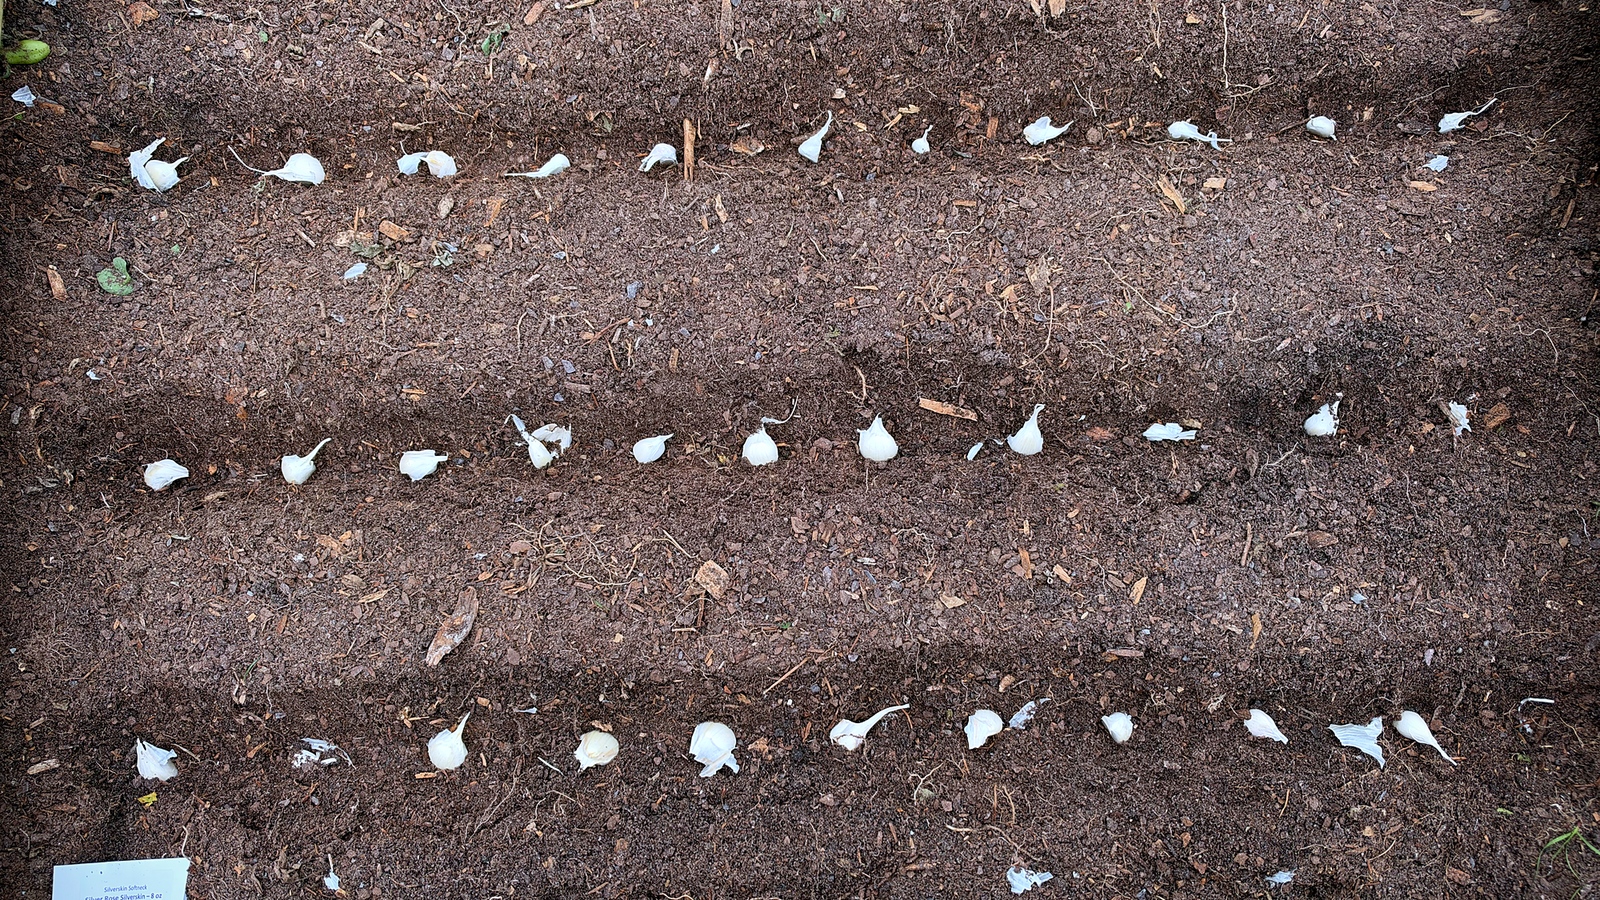
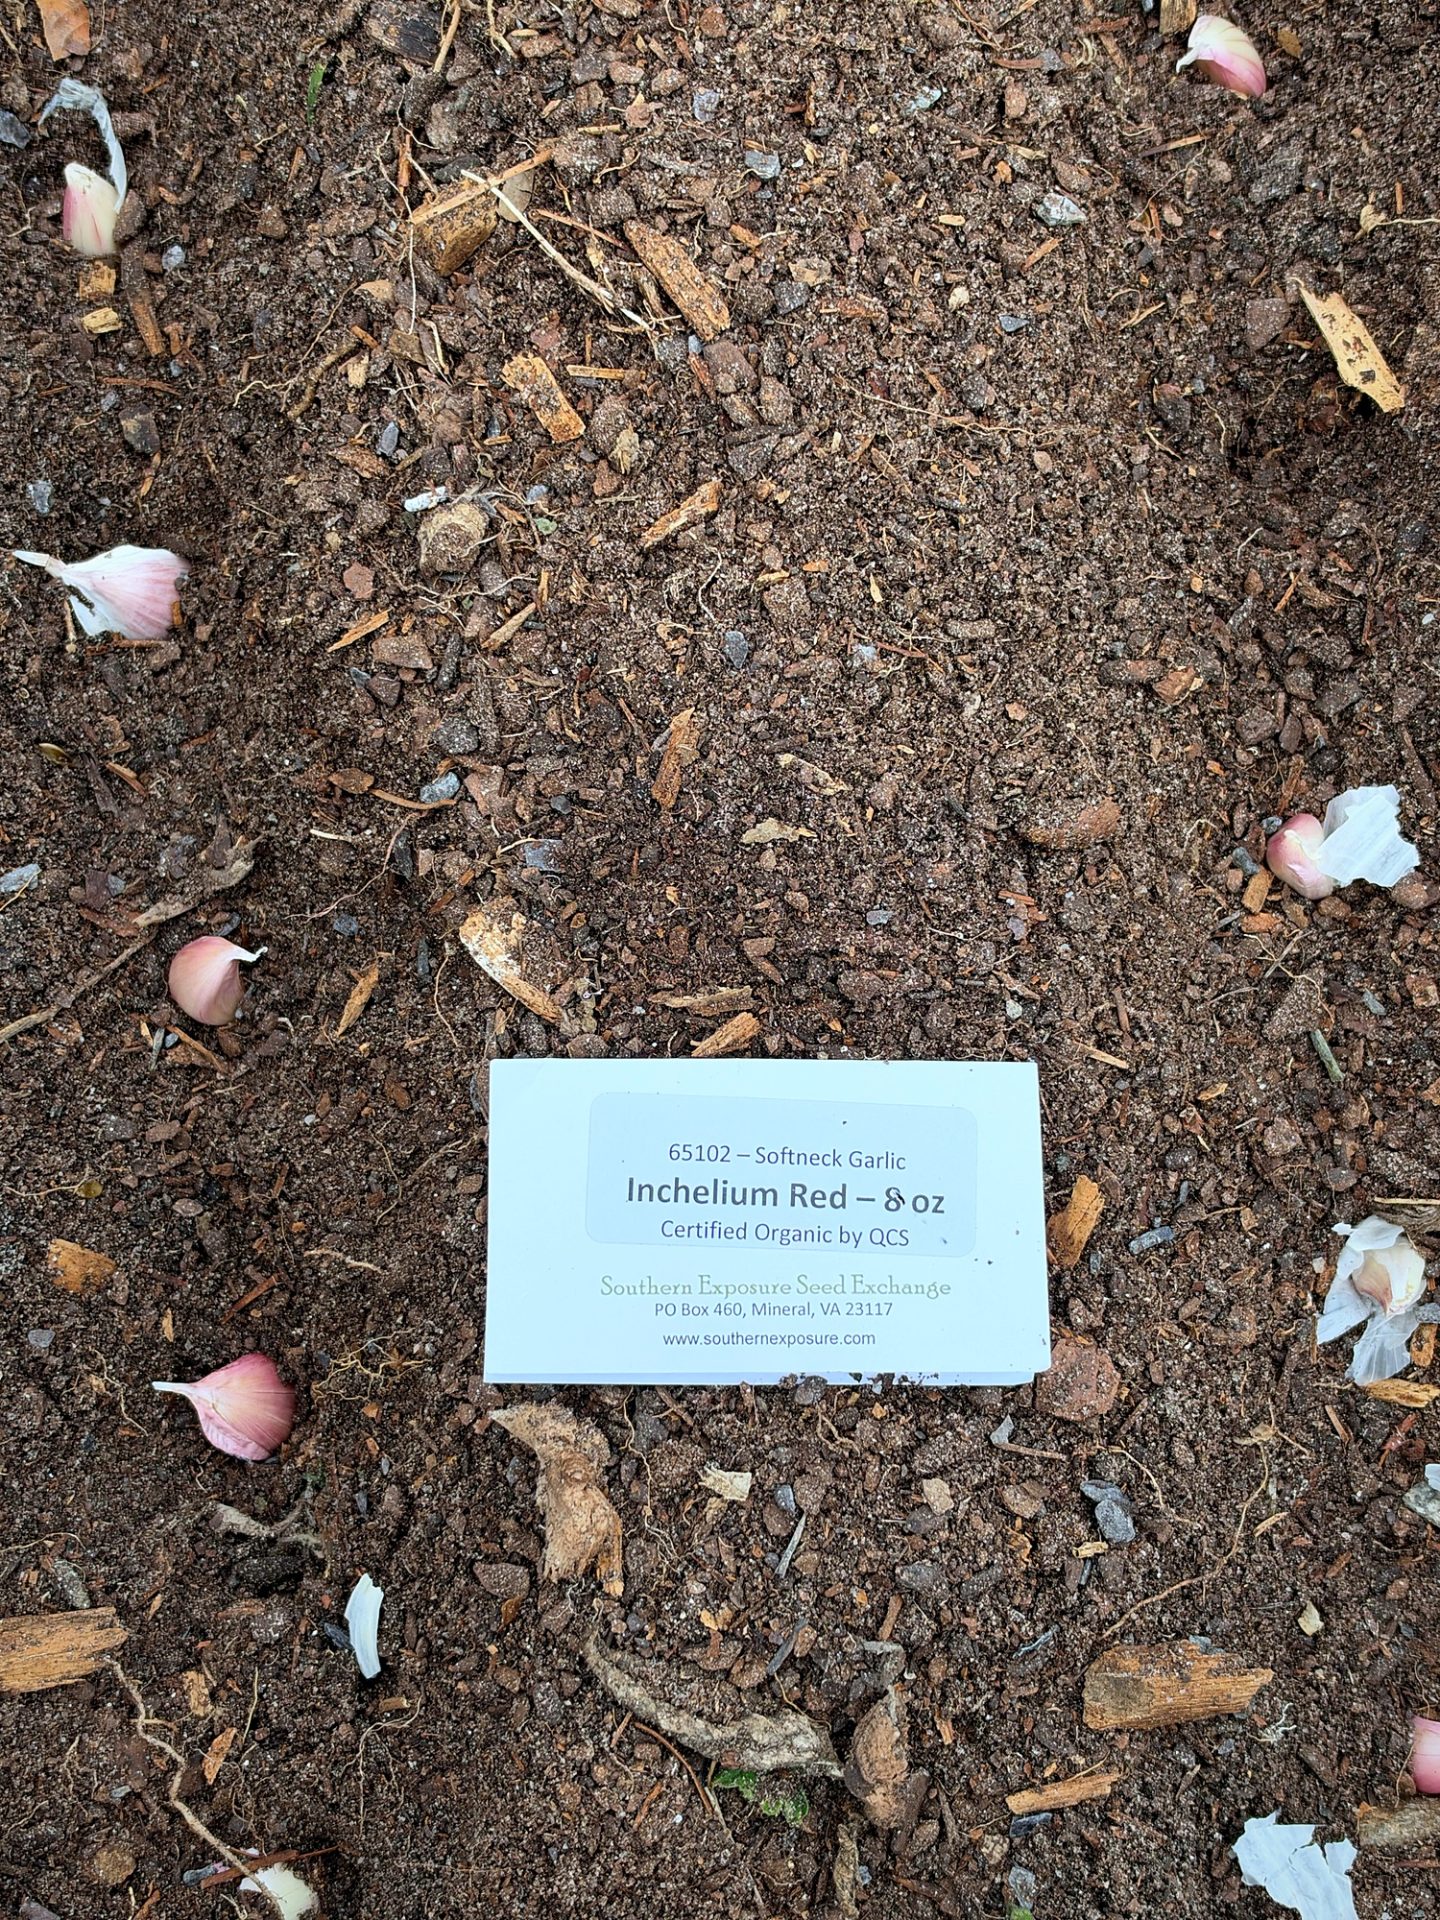
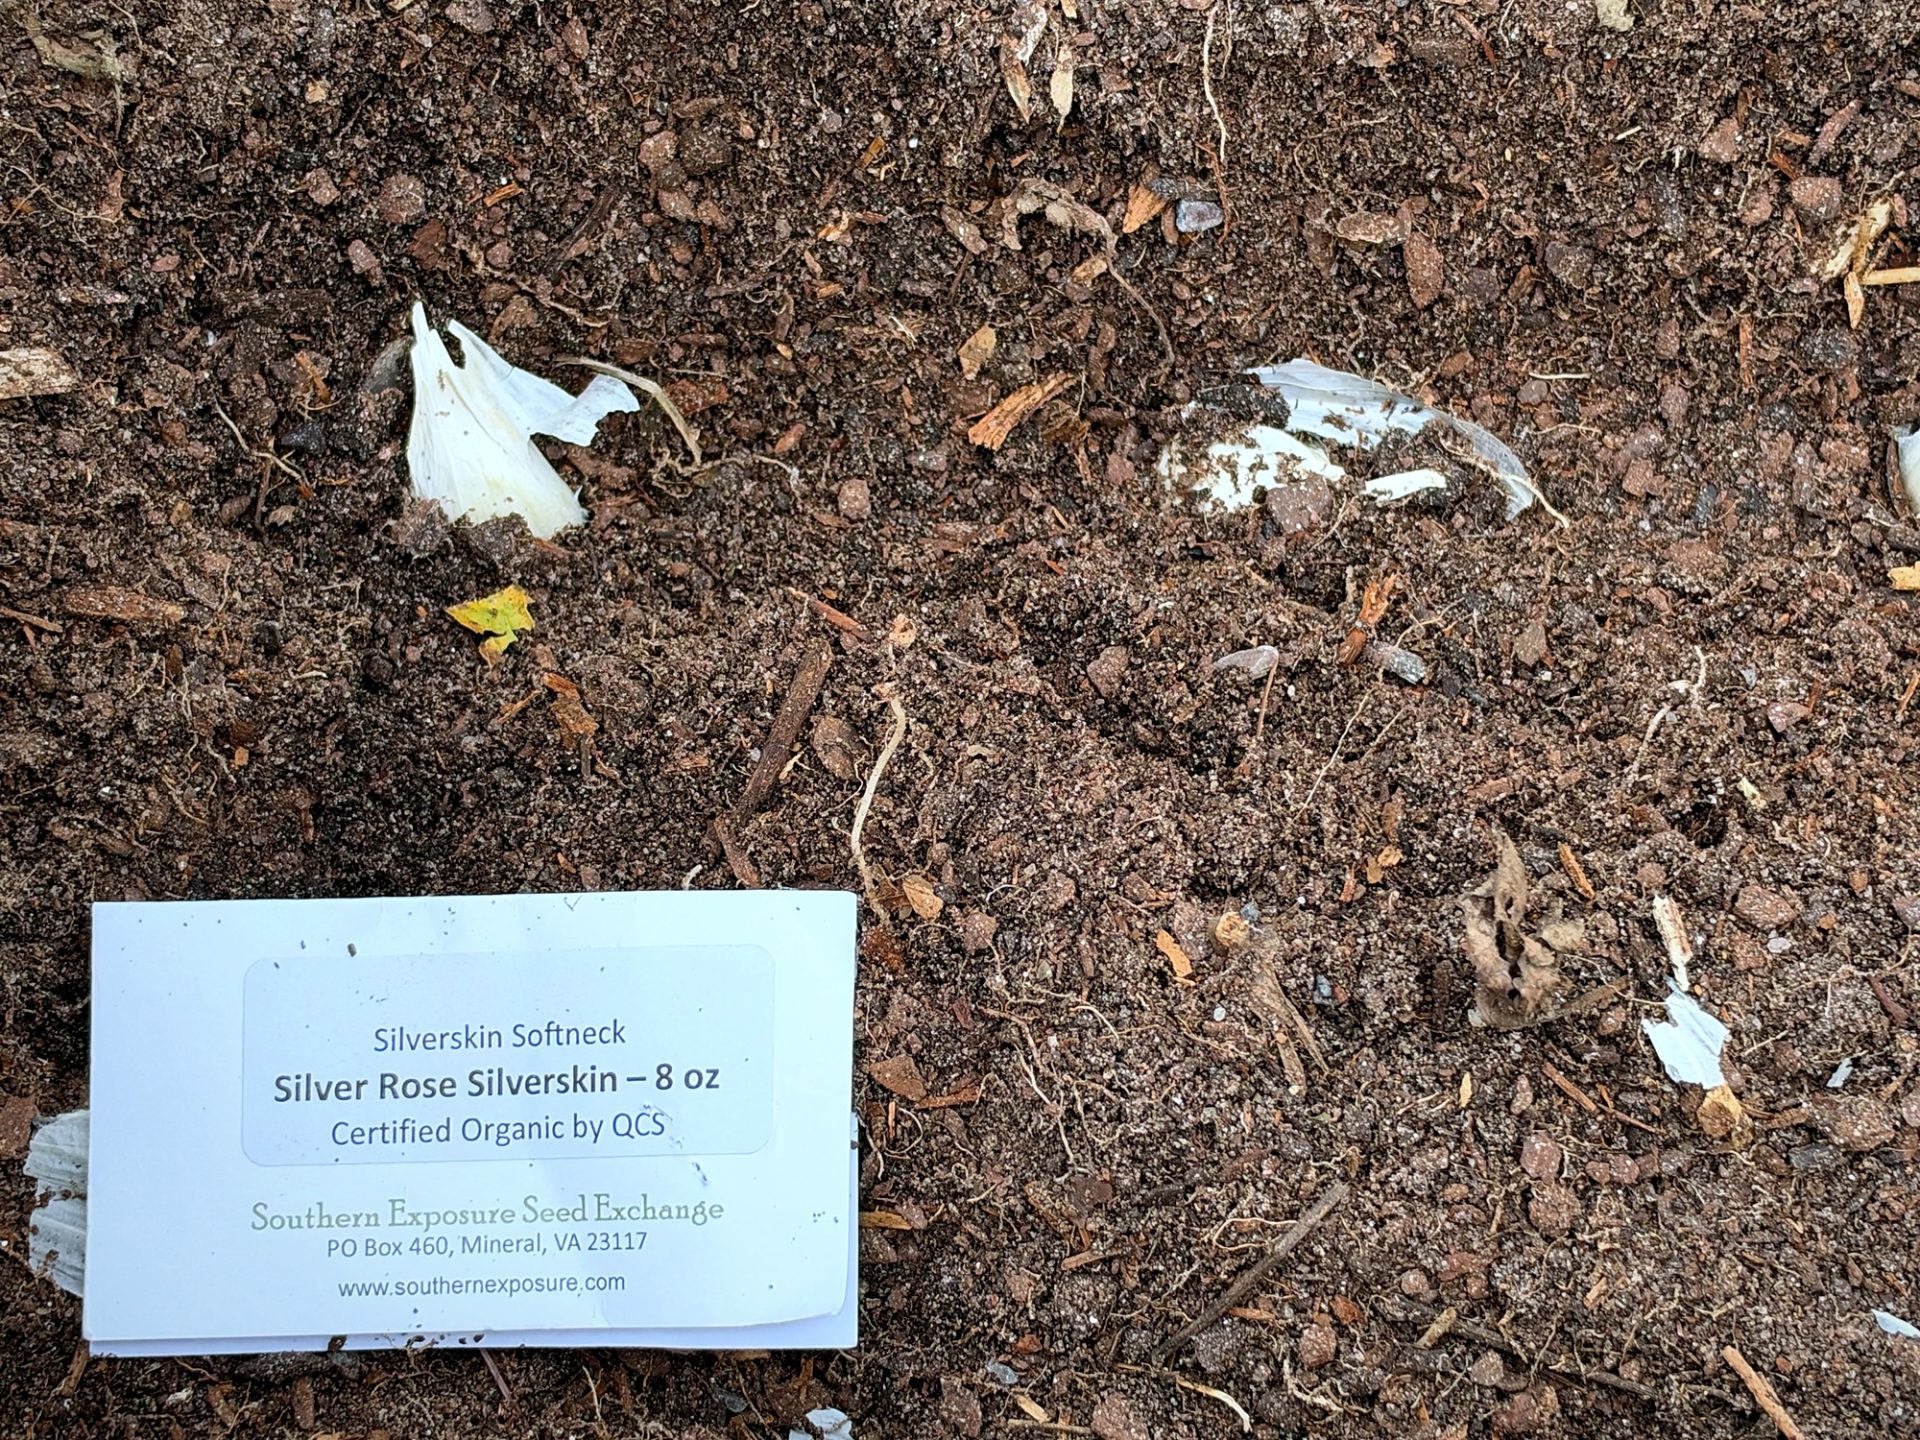
This year I’m planting Inchelium Red and Silver Rose Silverskin, both softnecks, 8 ounces of each, Certified Organic, from Southern Exposure Seed Exchange up in Mineral, Virginia. I picked those two on purpose, because they came highly recommended for South Carolina. When I opened the box, those Inchelium cloves were huge. Big cloves make big bulbs, so I’m already grinning.
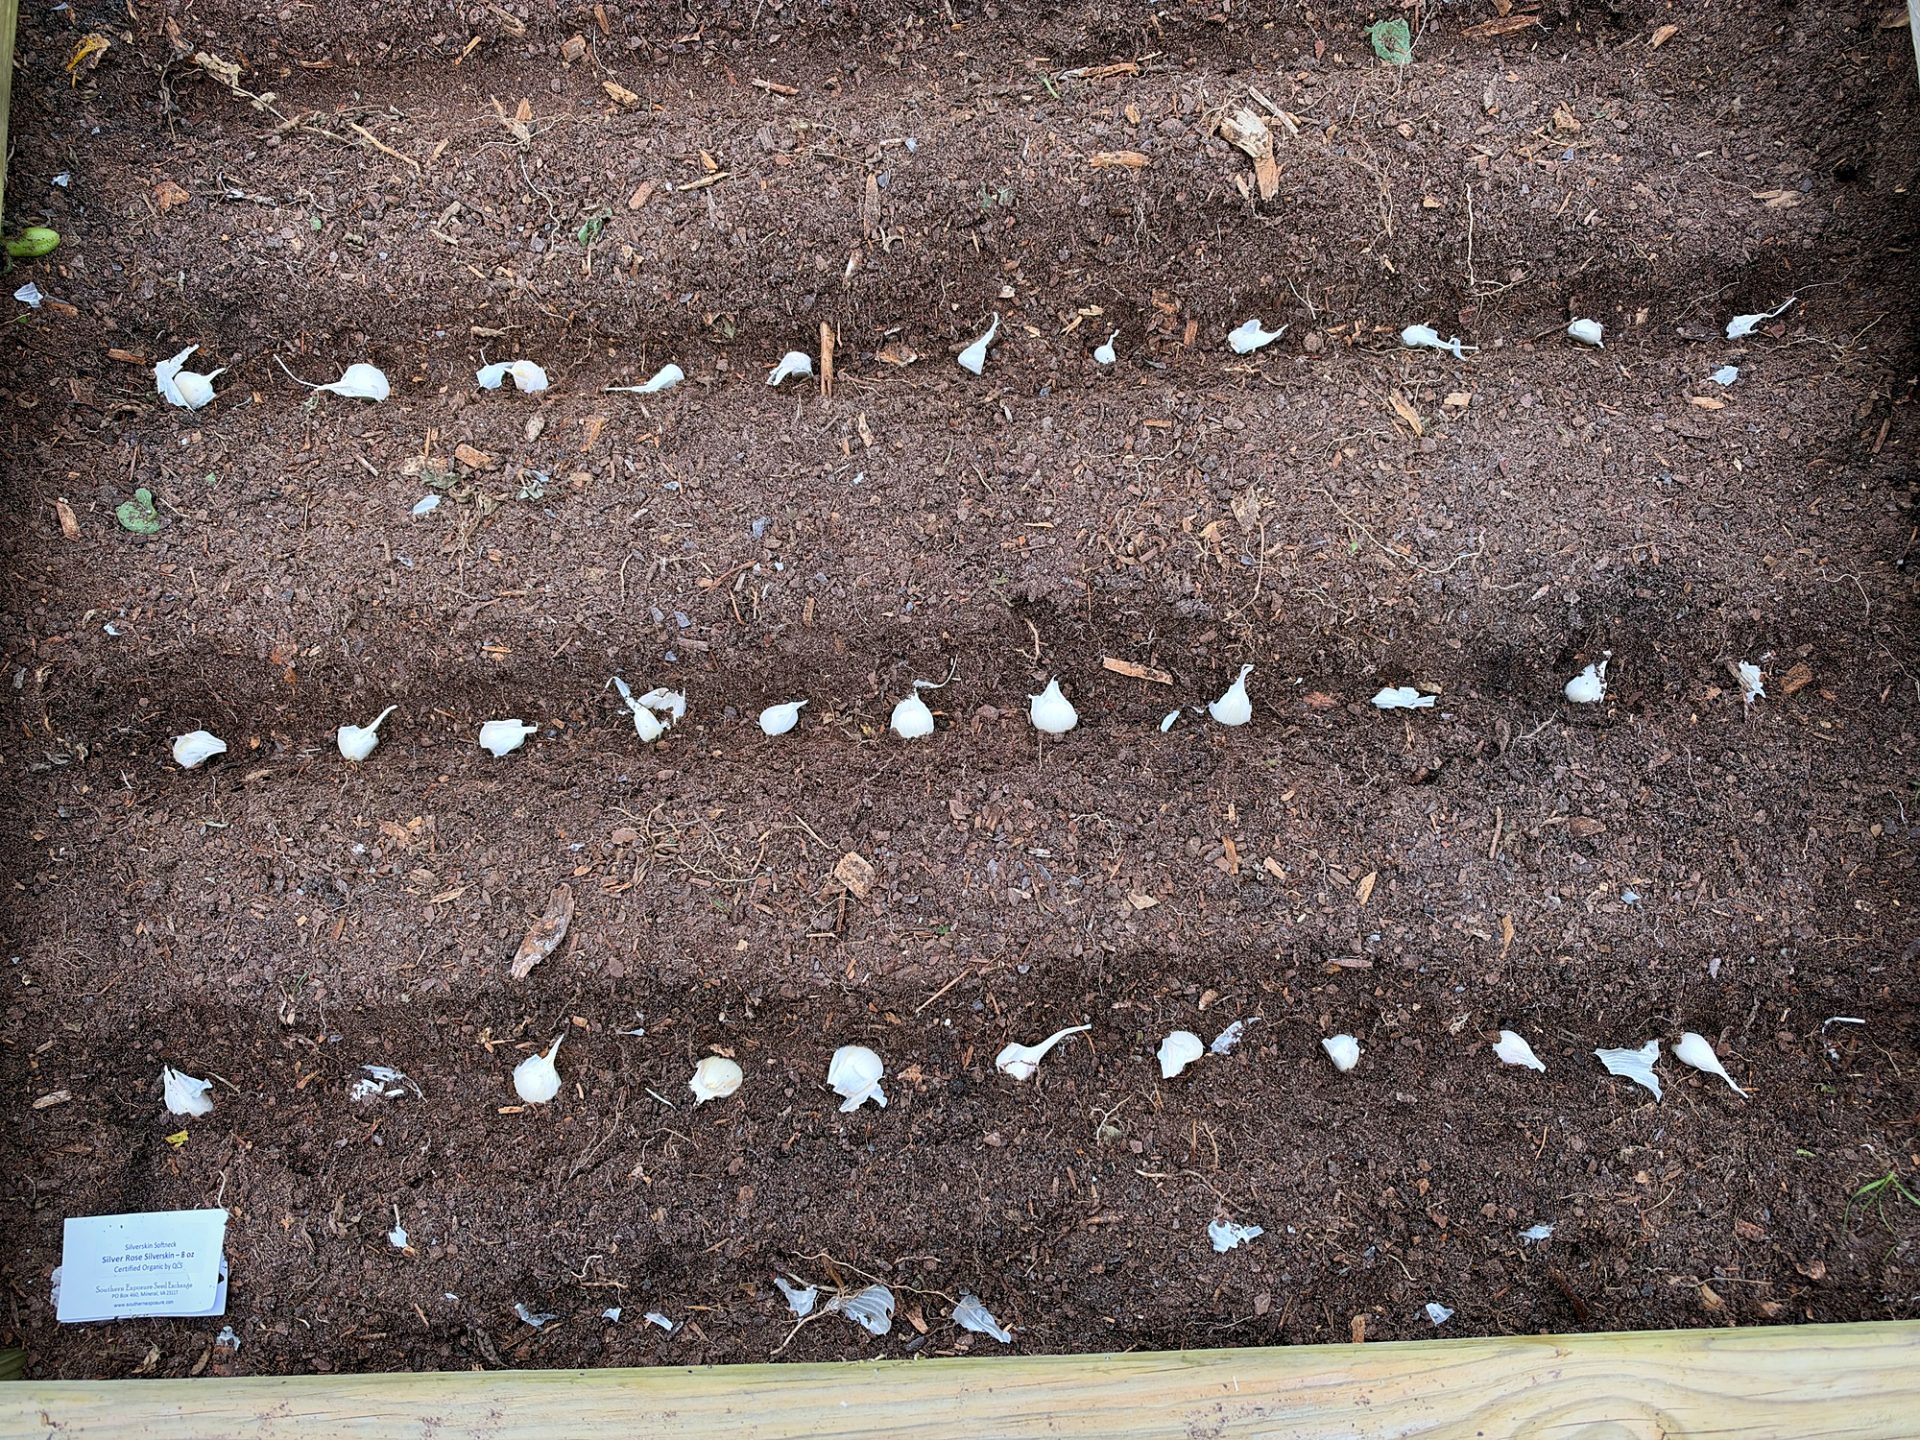
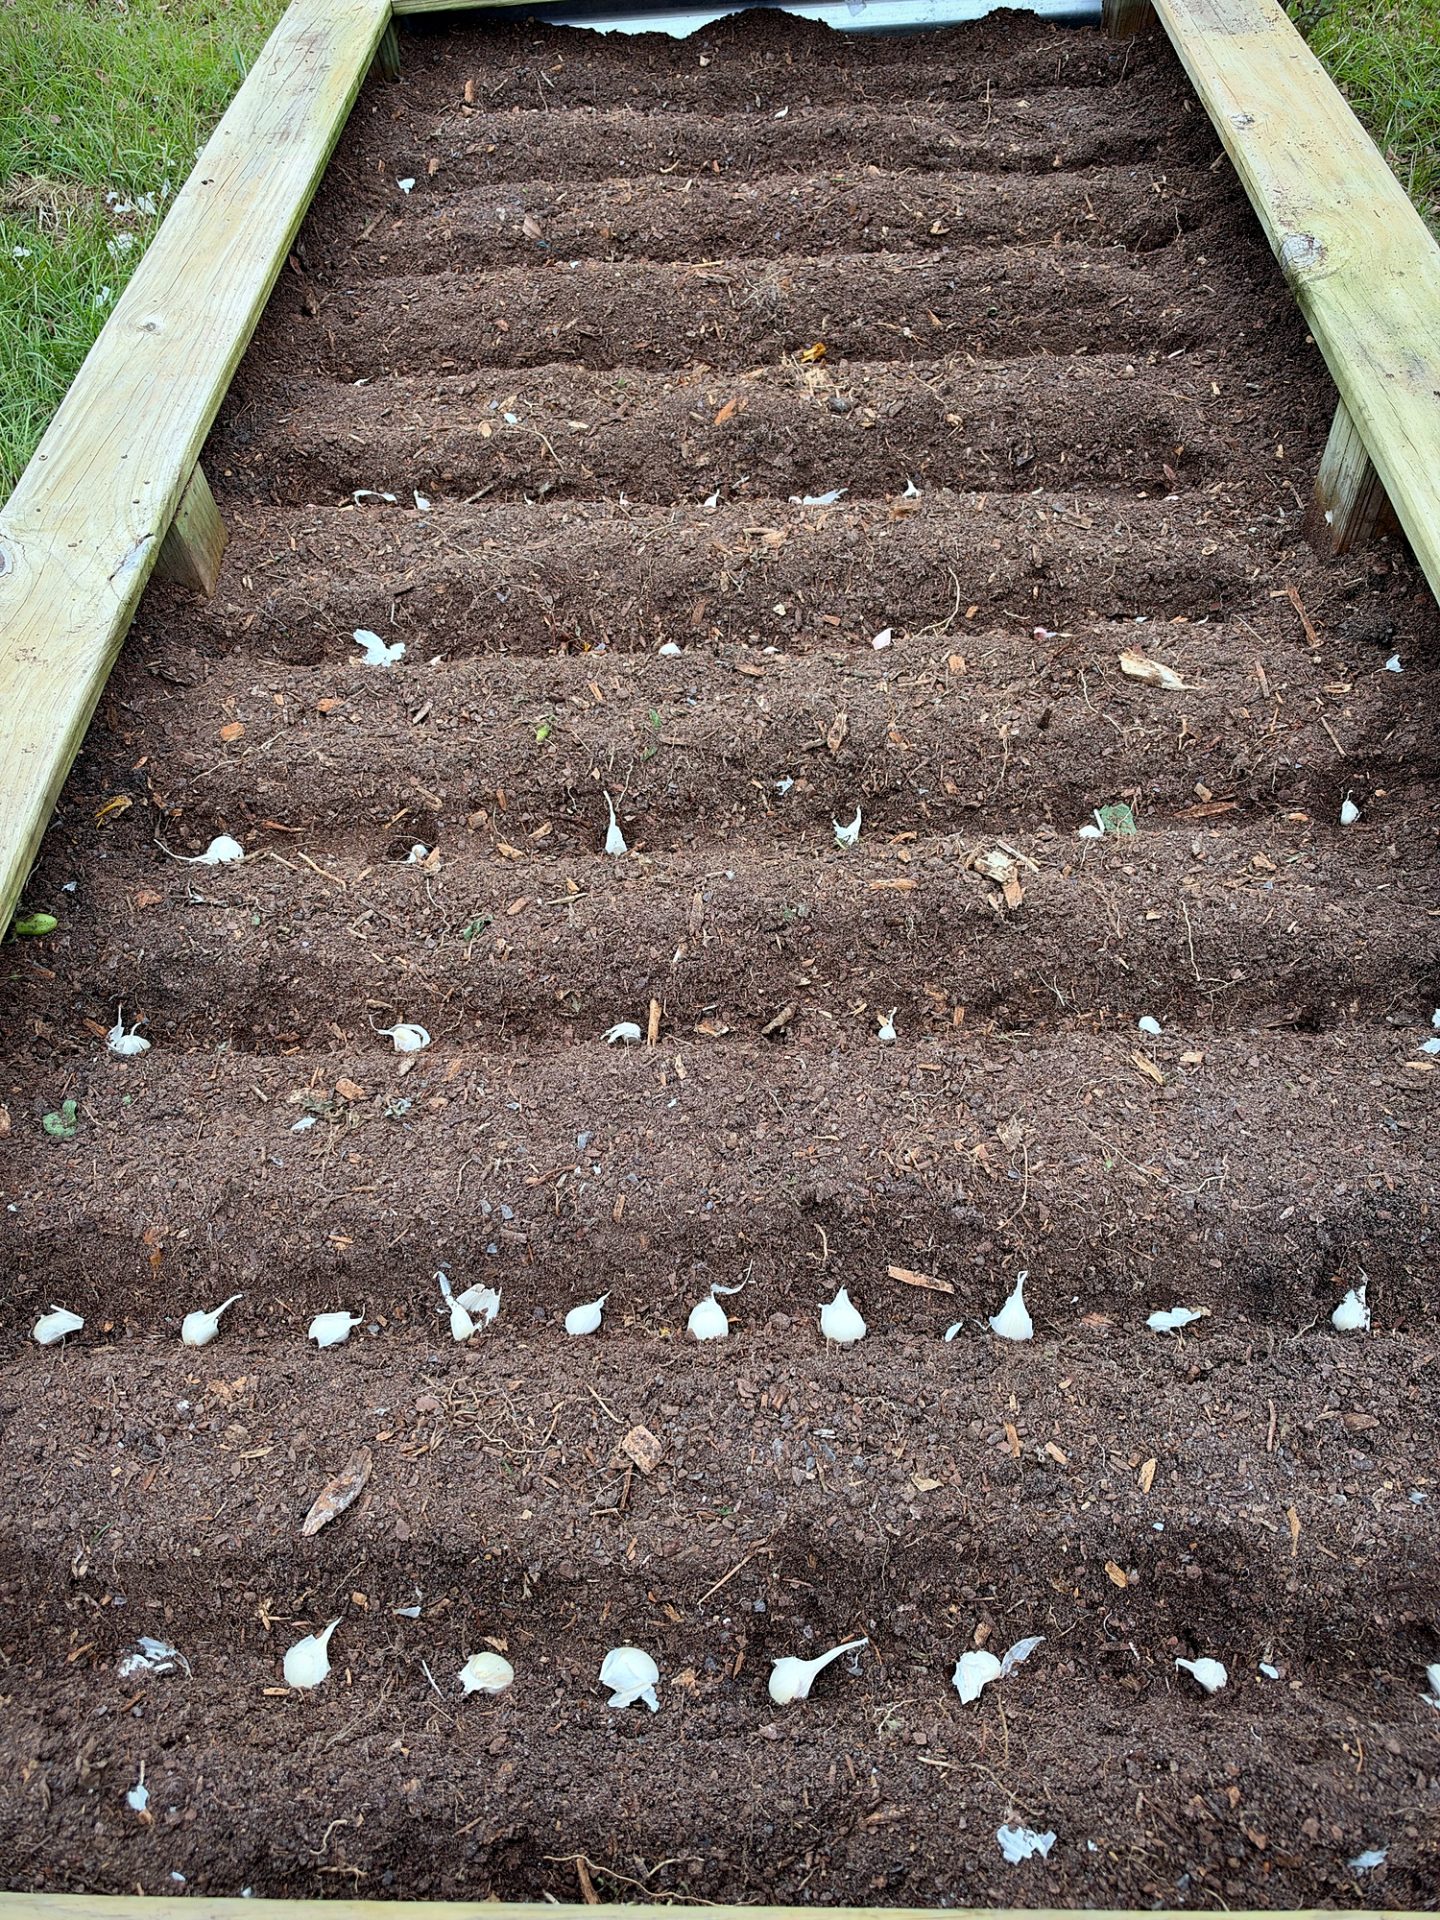
This year’s garlic goes in one of my eight raised beds, the one in full sun. Garlic wants sun, and that bed’s got it. I ended up with ten rows: Inchelium Red on one half of the bed, Silver Rose on the other.
When to Plant Garlic in South Carolina
Clemson Extension’s Home & Garden Information Center (HGIC) planting chart splits the state into two regions, and garlic is fall-only in both:
| Region | Garlic planting window | Spring |
|---|---|---|
| Coastal Plain (includes Richland and Lexington, so the Columbia area, plus Charleston, Beaufort, Horry, Florence, Sumter, Aiken, and more) | Oct 1 – Nov 30 | Not recommended |
| Piedmont (Greenville, Spartanburg, Anderson, York, Kershaw, Fairfield, Newberry, and more) | Aug 15 – Oct 15 | Not recommended |
So if you’re in the Upstate, you’re already late. Get them in now. Midlands and Lowcountry folks have until the end of November. The homestead’s in Richland County, so my window is Clemson’s Coastal Plain one: October 1 through November 30.
Clemson’s garlic fact sheet puts it plainly: “Garlic must be planted in the fall to permit full development.”
The reason is day length. Garlic grows leaves all winter, then starts building a bulb when the days get long and warm in spring. Once the bulb starts, leaf growth stops, and the size of your bulb depends on how much leaf you grew first. Plant late and you get small bulbs. So don’t wait until the week after Thanksgiving if you can help it.
Pap Steve’s rule: If you’re in the Midlands and haven’t planted yet, you’ve still got till the end of November. This weekend’s a good one. Tell ’em Pap sent you.
Picking Your Garlic
Clemson splits garlic into two camps:
- Softneck types don’t make a seed stalk, braid nicely, and generally keep longer. That’s the grocery-store kind (artichoke types).
- Hardneck types send up a stiff stalk (a “scape”) and peel easier.
- Down here, softnecks are often the pick, since our winters are mild and some hardnecks want a good cold spell.
- Creole garlics, per Clemson, “are easily grown in southern climates” and handle rough weather better than most.
Buy seed garlic from a garden center or seed company, not the produce aisle. Grocery bulbs may be treated or a variety that’s wrong for our climate. This year I went with two softnecks, Inchelium Red and Silver Rose Silverskin, from Southern Exposure Seed Exchange, because they’re highly recommended for our state.
Can You Plant Garlic Where the Tomatoes Grew?
Yes, and it’s a good idea. Tomatoes are nightshades. Garlic is an allium. Different plant families don’t share most of the same pests and diseases, so swapping one for the other breaks the cycle. It’s a common, recommended rotation.
Why it works:
- It interrupts the bugs and diseases that were waiting for another round of tomatoes.
- The leftover organic matter helps. Whatever you fed those tomatoes doesn’t all disappear.
- Garlic is a moderate feeder, so it doesn’t need the heavy feeding tomatoes did.
The catches:
- Clean out every bit of tomato debris. Vines, leaves, dropped fruit, roots. If the plants were diseased, they go in the trash, not the compost pile.
- Bad soil disease history? If that bed had a rough time with Fusarium or Verticillium wilt, or heavy nematodes, there’s still some leftover risk. Extra compost or solarizing the bed helps.
- Drainage, drainage, drainage. Garlic will rot in a soggy bed.
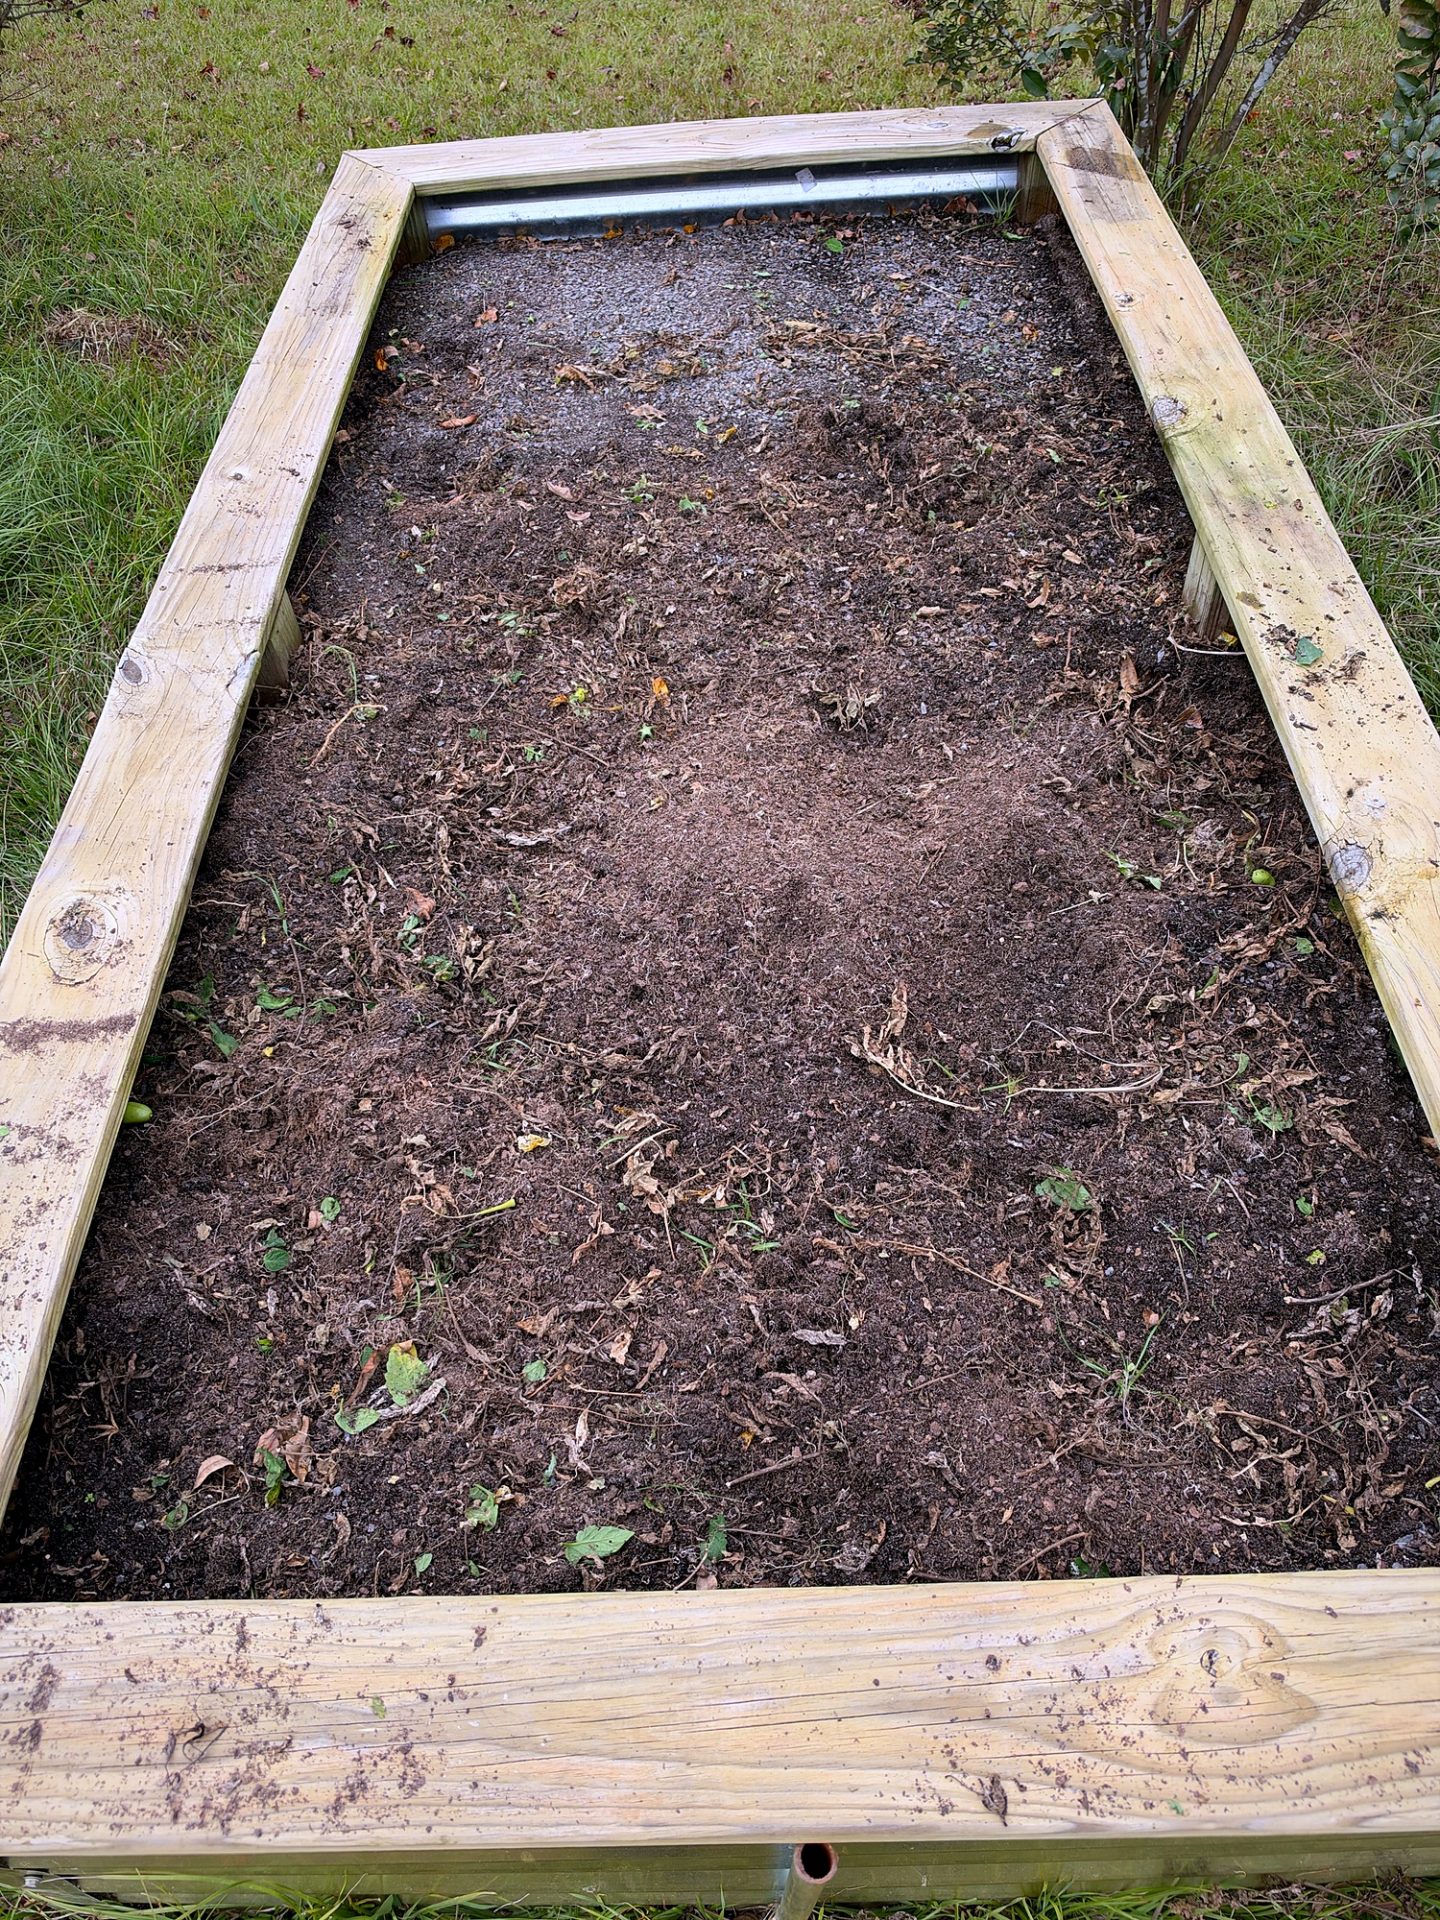
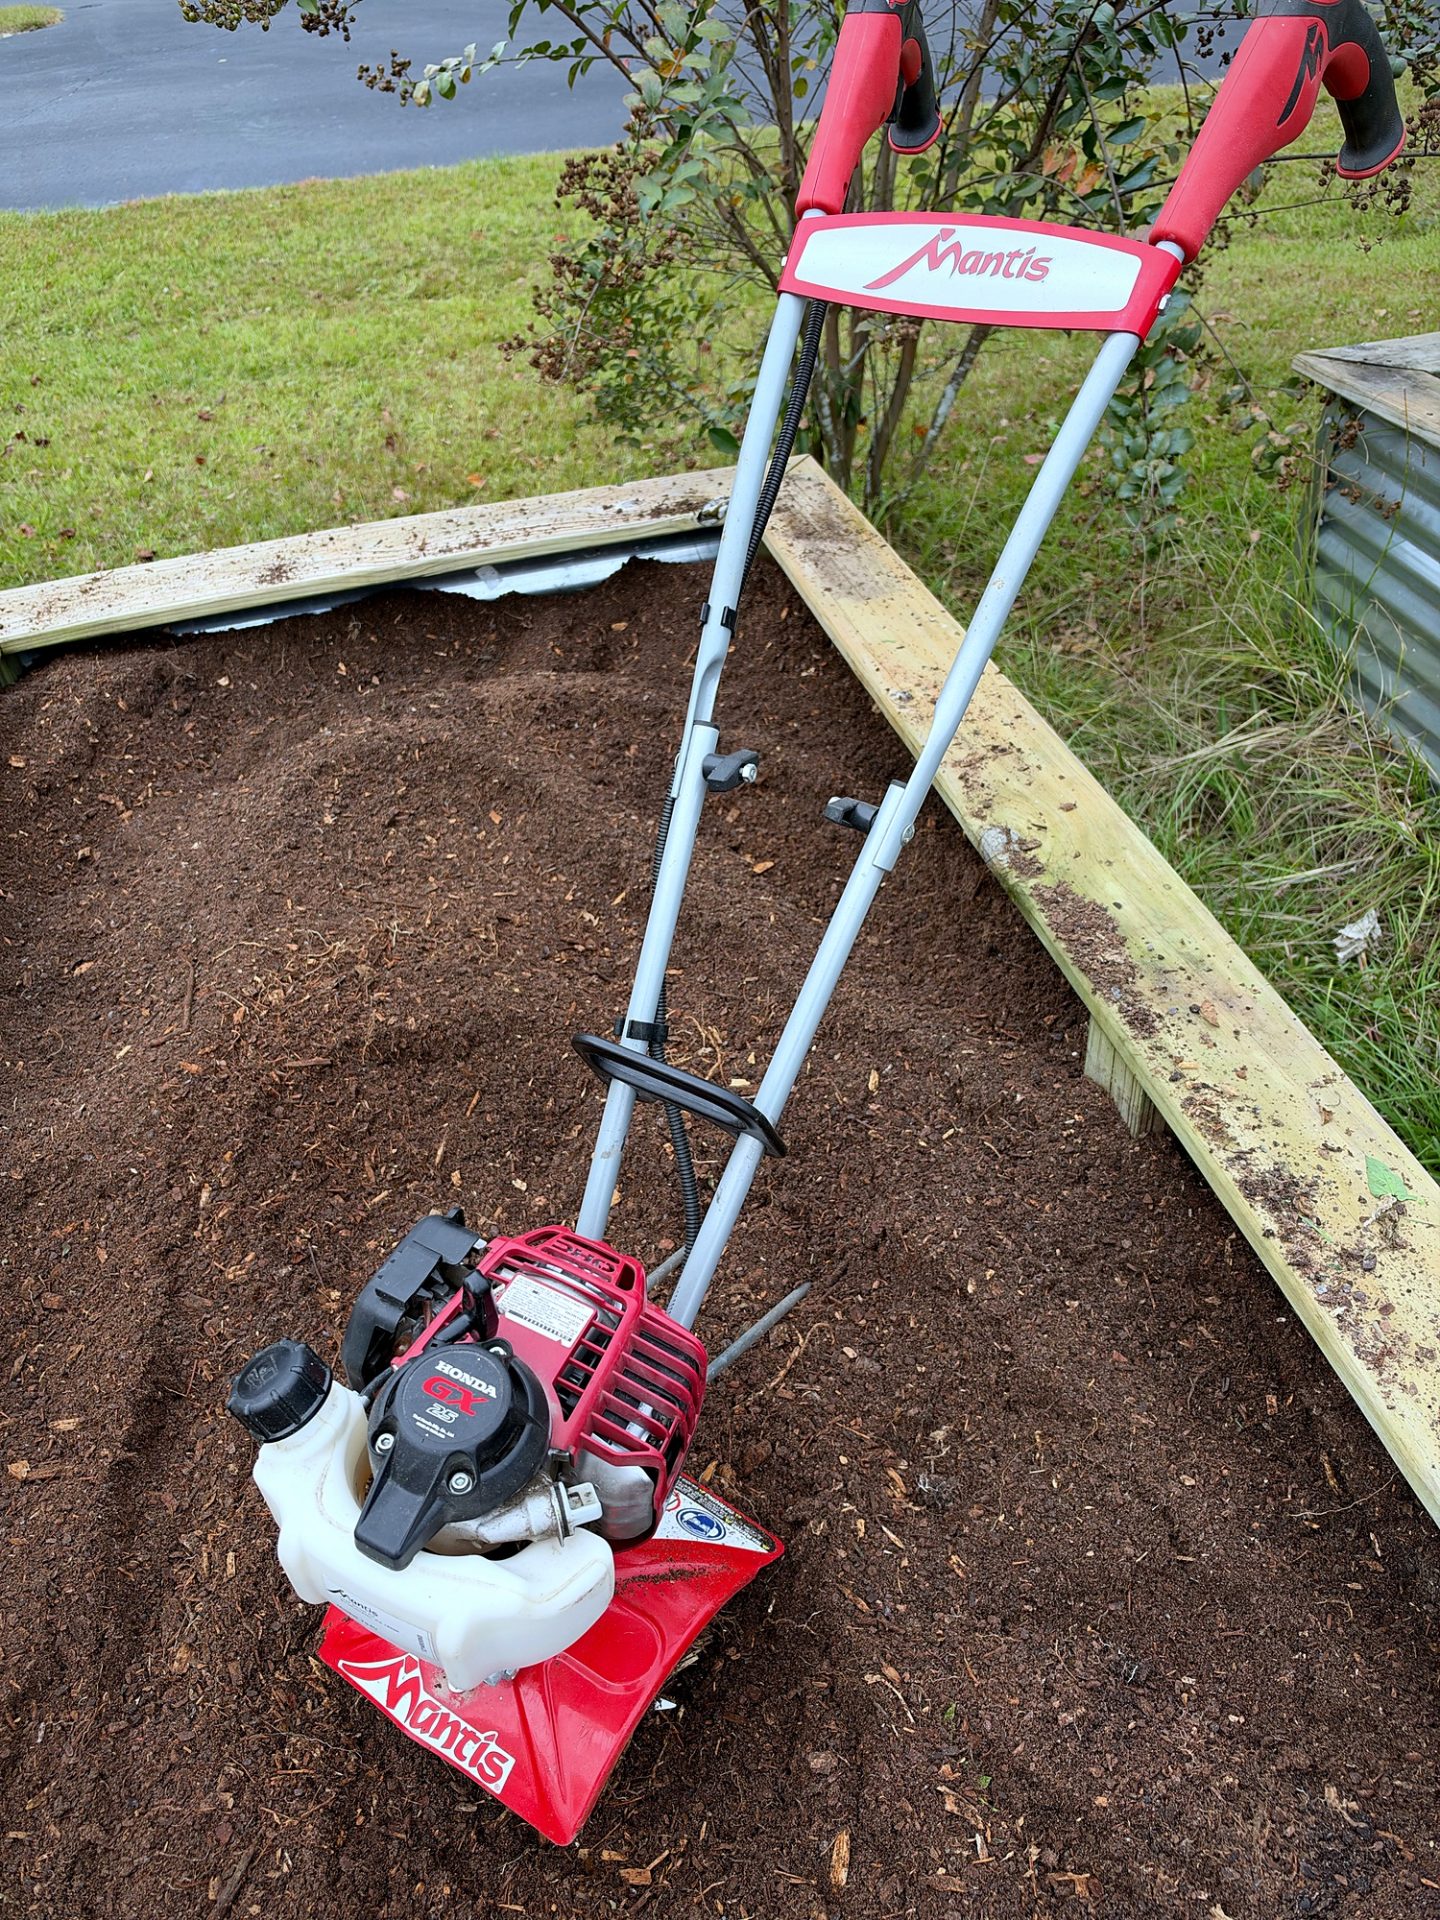
That’s exactly what I did this year. My garlic went into last summer’s tomato beds. I ripped out the old tomato plants, then tilled the bed with my Mantis tiller to get it ready.
My Hügelkultur Raised Beds
Friends ask me about how I build my raised beds, so here’s the short version. It’s called hügelkultur, which comes from German. The bottom of each bed is a layer of old hardwood logs. On top of that go tons and tons of leaves we rake up around the homestead. Next comes a layer of wood chips. A local tree company drops those off free every spring. Then it’s topped with garden soil. Down here in the South we call it “Dixie mix.”
As that wood breaks down underneath, it keeps the bed warm and feeds your vegetables from below the whole time. I’ve been doing it this way for years and had a lot of success with it. Fun fact in the garden.
Prepping the Bed
- Clear it out. Pull all old plants and debris (see above).
- Work in 2–3 inches of finished compost and loosen the soil.
- Optional extras: a little bone meal or a balanced organic fertilizer that’s low in nitrogen, and some Epsom salt for a bit of sulfur. A soil test tells you best (more on that below).
How to Plant It
- Pick a sunny spot. Clemson says full sun and well-drained, fertile, loamy soil, with a pH between 6.2 and 6.5. Garlic hates wet feet. Raised beds work great.
- Test the soil. Clemson’s line is that “a soil test is always the best method” for fertilizer. Your county Extension office can run one cheap. Without a test, they suggest 25 lbs of 5-10-10 and 0.5 lb of sulfur per 1,000 sq ft before planting.
- Break the bulb into cloves the day you plant. Keep the papery skins on. Plant the big outer cloves. Clemson notes that larger cloves make larger bulbs. Eat the little ones in the middle.
- Pointy side up, root side down. Use your largest, healthiest cloves. Some folks put them in upside down, and then the sprout has to make a U-turn to come back up. Get it right the first time. I plant mine 2 to 3 inches deep, about 3 most of the time, and 4 to 6 inches apart. It doesn’t have to be rocket science. In a raised bed you can get away with spacing them a bit closer, so I use the square-foot method to fit as much garlic in that bed as I can. (Clemson’s sheet goes shallower and tighter: about 1 inch deep, 3 to 5 inches apart, rows 12 to 24 inches apart. Either works.)
- Water it in. Then mulch. I throw raked leaves on top as we rake them up this fall.
Mulch, Feed, and Forget (Almost)
- Mulch: I use raked leaves from the homestead. Clemson recommends weed-free straw, 4 to 6 inches deep, in late fall. Either way, garlic does not like competing with weeds, and the mulch keeps the soil even through our freeze-thaw swings.
- Feeding schedule (per 1,000 sq ft, from Clemson’s table):
- Mid-November: 4 lbs calcium nitrate (15.5-0-0)
- Early January: 10 lbs 5-10-10 plus 0.5 lb sulfur
- Mid-February: 4 lbs calcium nitrate
- Early March: 4 lbs calcium nitrate
- Water: Keep the soil evenly moist, especially while bulbs form in spring. As harvest gets close, Clemson says a somewhat dry soil is best.
- Scapes: If you grew a hardneck (stiffneck) type, clip the curly scapes in early summer. Clemson says skipping this cuts bulb size by about 30 percent. Bonus: scapes make a killer pesto.
When Do You Harvest?
Clemson’s October garden notes say garlic is ready “when the leaves begin to yellow and die back, around early summer.” Here at the homestead we usually harvest in June, or whenever it looks like the growth is done. Dig, don’t yank. Then cure the bulbs somewhere shady and airy for a few weeks before you trim them.
Pap Steve’s Field Notes
- One bulb in = one bulb out. Every clove you plant becomes a full head. A pound of seed garlic goes a long way.
- Grandkid job: Clove-popping and pointy-end-up planting is perfect work for little hands. Pepper will try to help by digging. Pepper is not helping.
- Watch the whole thing: The video above covers it all: the unboxing, the bed prep, and planting.
- Save your best. Hold back your biggest heads next summer to plant next fall. That’s how Grandma did it, and that’s how you end up with garlic that’s “yours.”
- Plan the kitchen: Fresh garlic goes in nearly every soup I make, including the Curried Pumpkin Goat Cheese Soup.
Sources I used so the numbers stay honest:
- Clemson HGIC, “Onion, Leek, Shallot, & Garlic”: https://hgic.clemson.edu/factsheet/onion-leek-shallot-garlic/
- Clemson HGIC, “Planning a Garden” (SC planting chart): https://hgic.clemson.edu/factsheet/planning-a-garden/
- Clemson HGIC, “This Month in Your Garden — October 2025”: https://hgic.clemson.edu/this-month-in-your-garden-october-2025/
Ten minutes this weekend, one summer of garlic. That’s the best trade since I swapped my Walkman for a Discman. Now get those cloves in the ground, and drop your favorite garlic variety in the comments.
God Bless Y’all,
Pap Steve
PapSteveReviews.com


 English