Every gardener knows this moment. The weather turns. The tomato plants are still standing there, loaded down. And most of what’s hanging on them is green as a dollar bill.
For years, a lot of folks just pulled those plants and tossed them. Not this year. My daughter asked me a simple question: “What are you going to do with all those green tomatoes?” That question sparked the whole process.
Here’s a little background. My daughter and I are serious foodies. We talk about food the way some people talk about football. So when I landed on relish, she pushed me further. She suggested a deeper “farm to table” post. I dubbed it “from the raised beds all the way into jars.”
This post is the real deal. No staged kitchen. No stock photos. It’s every step, from my raised beds in Blythewood, South Carolina, all the way to jars sealed on the counter. I took the pictures as I went, dirt and all.
I used a tested recipe from the National Center for Home Food Preservation (NCHFP). I’ll tell you exactly why that matters when we get to the canning part.
I picked everything this past weekend, Halloween and November 1st, 2026. Then I made the relish today, Tuesday, November 3rd. We started around 6 PM and had sealed jars on the counter by 9 PM. Three hours, start to finish.
The End of the Tomato Season in Blythewood
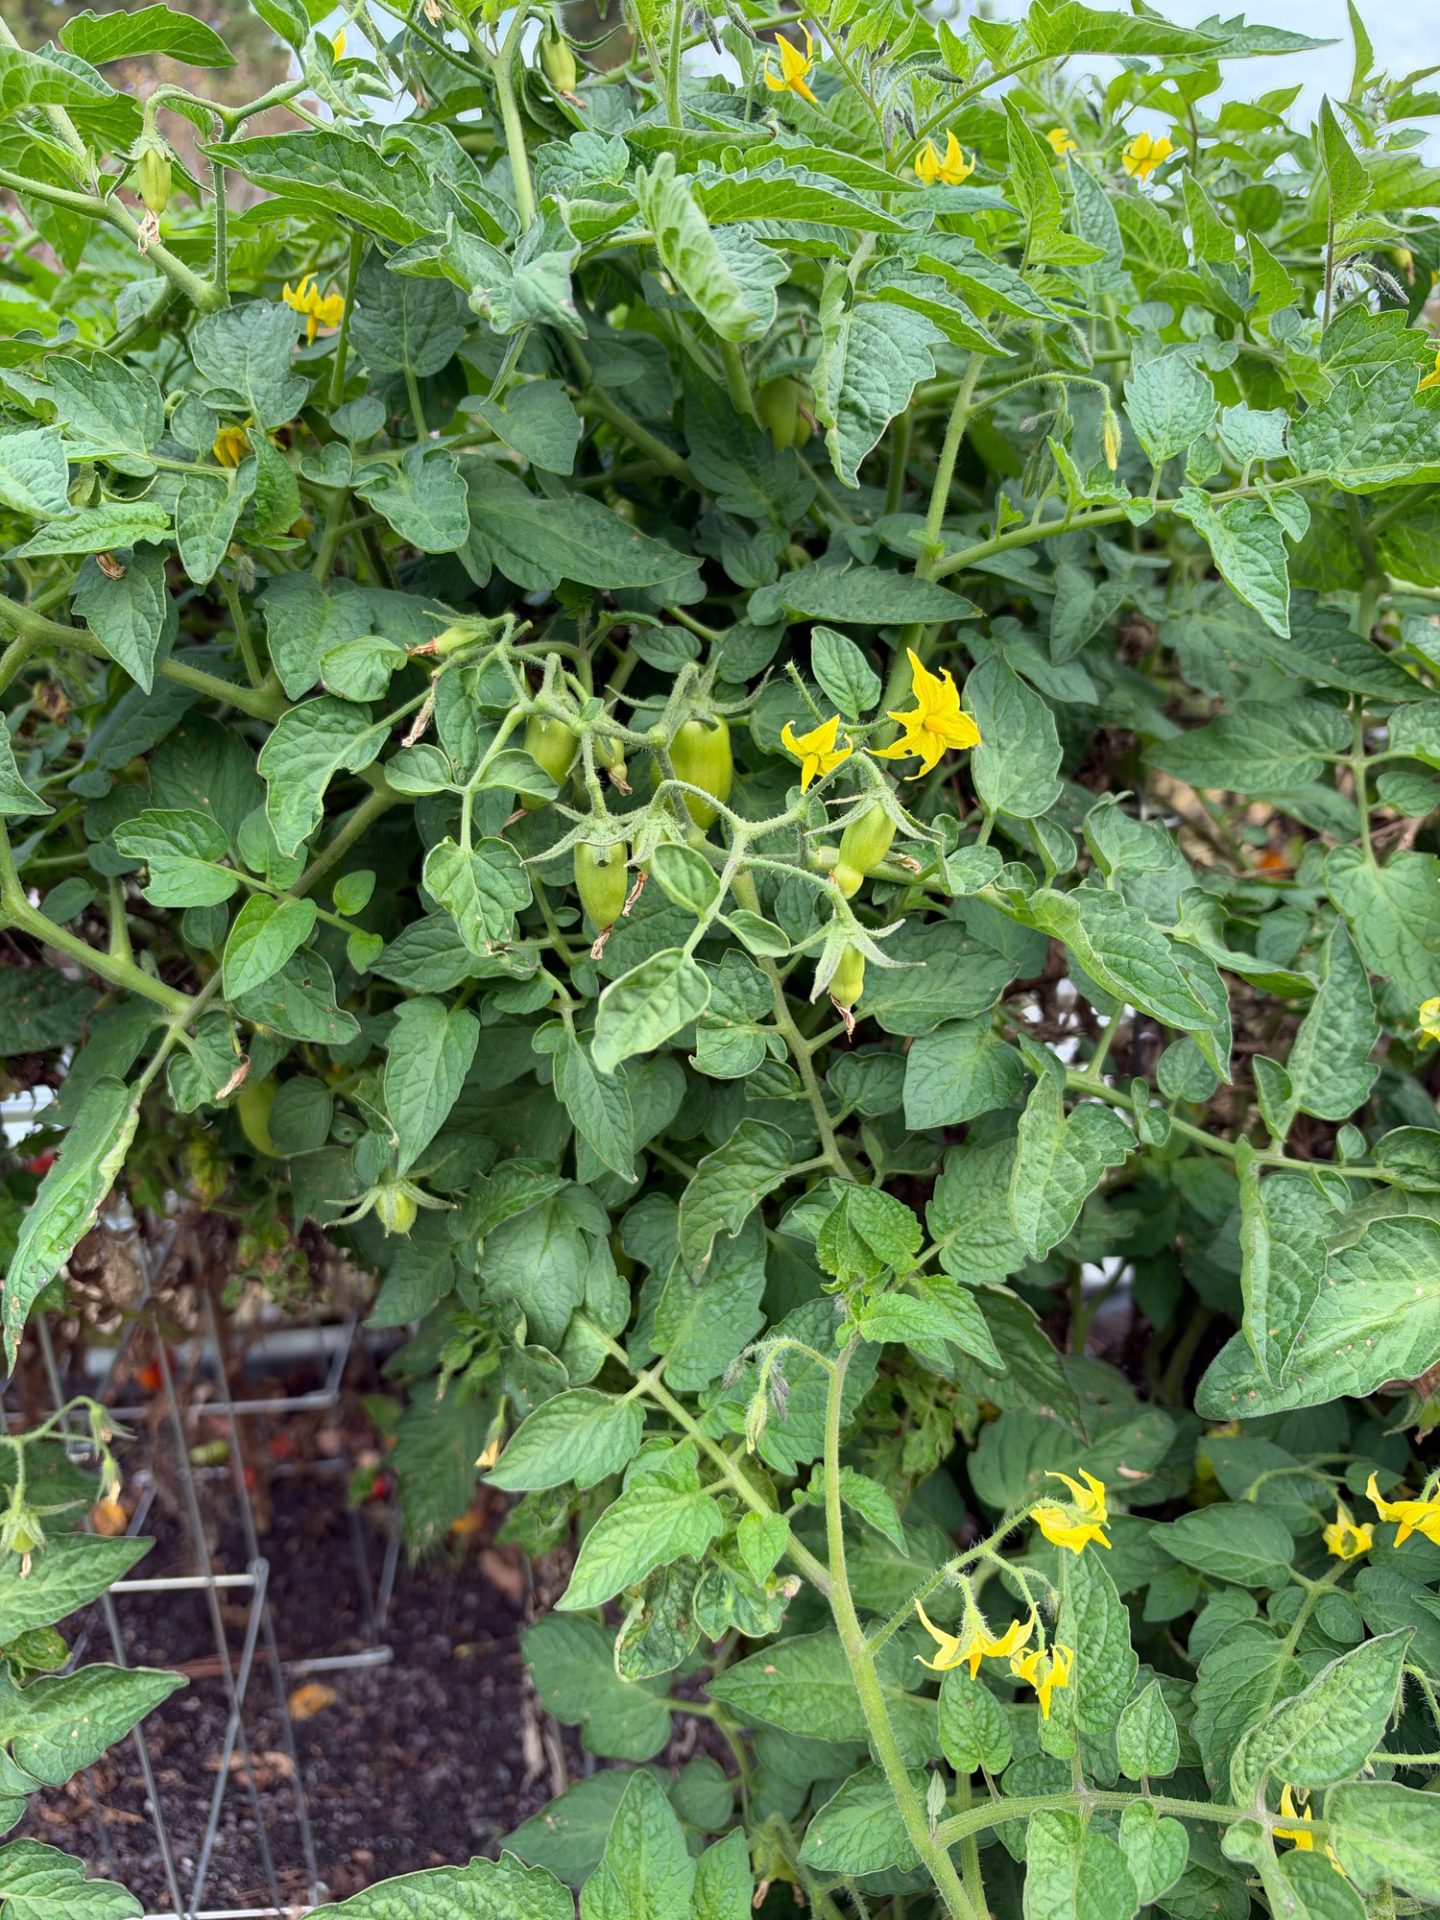
Down here in the South Carolina Midlands, tomatoes keep going later than you’d think. My plants were still putting out flowers. Bless their hearts. They had plenty of ambition but not enough season left.
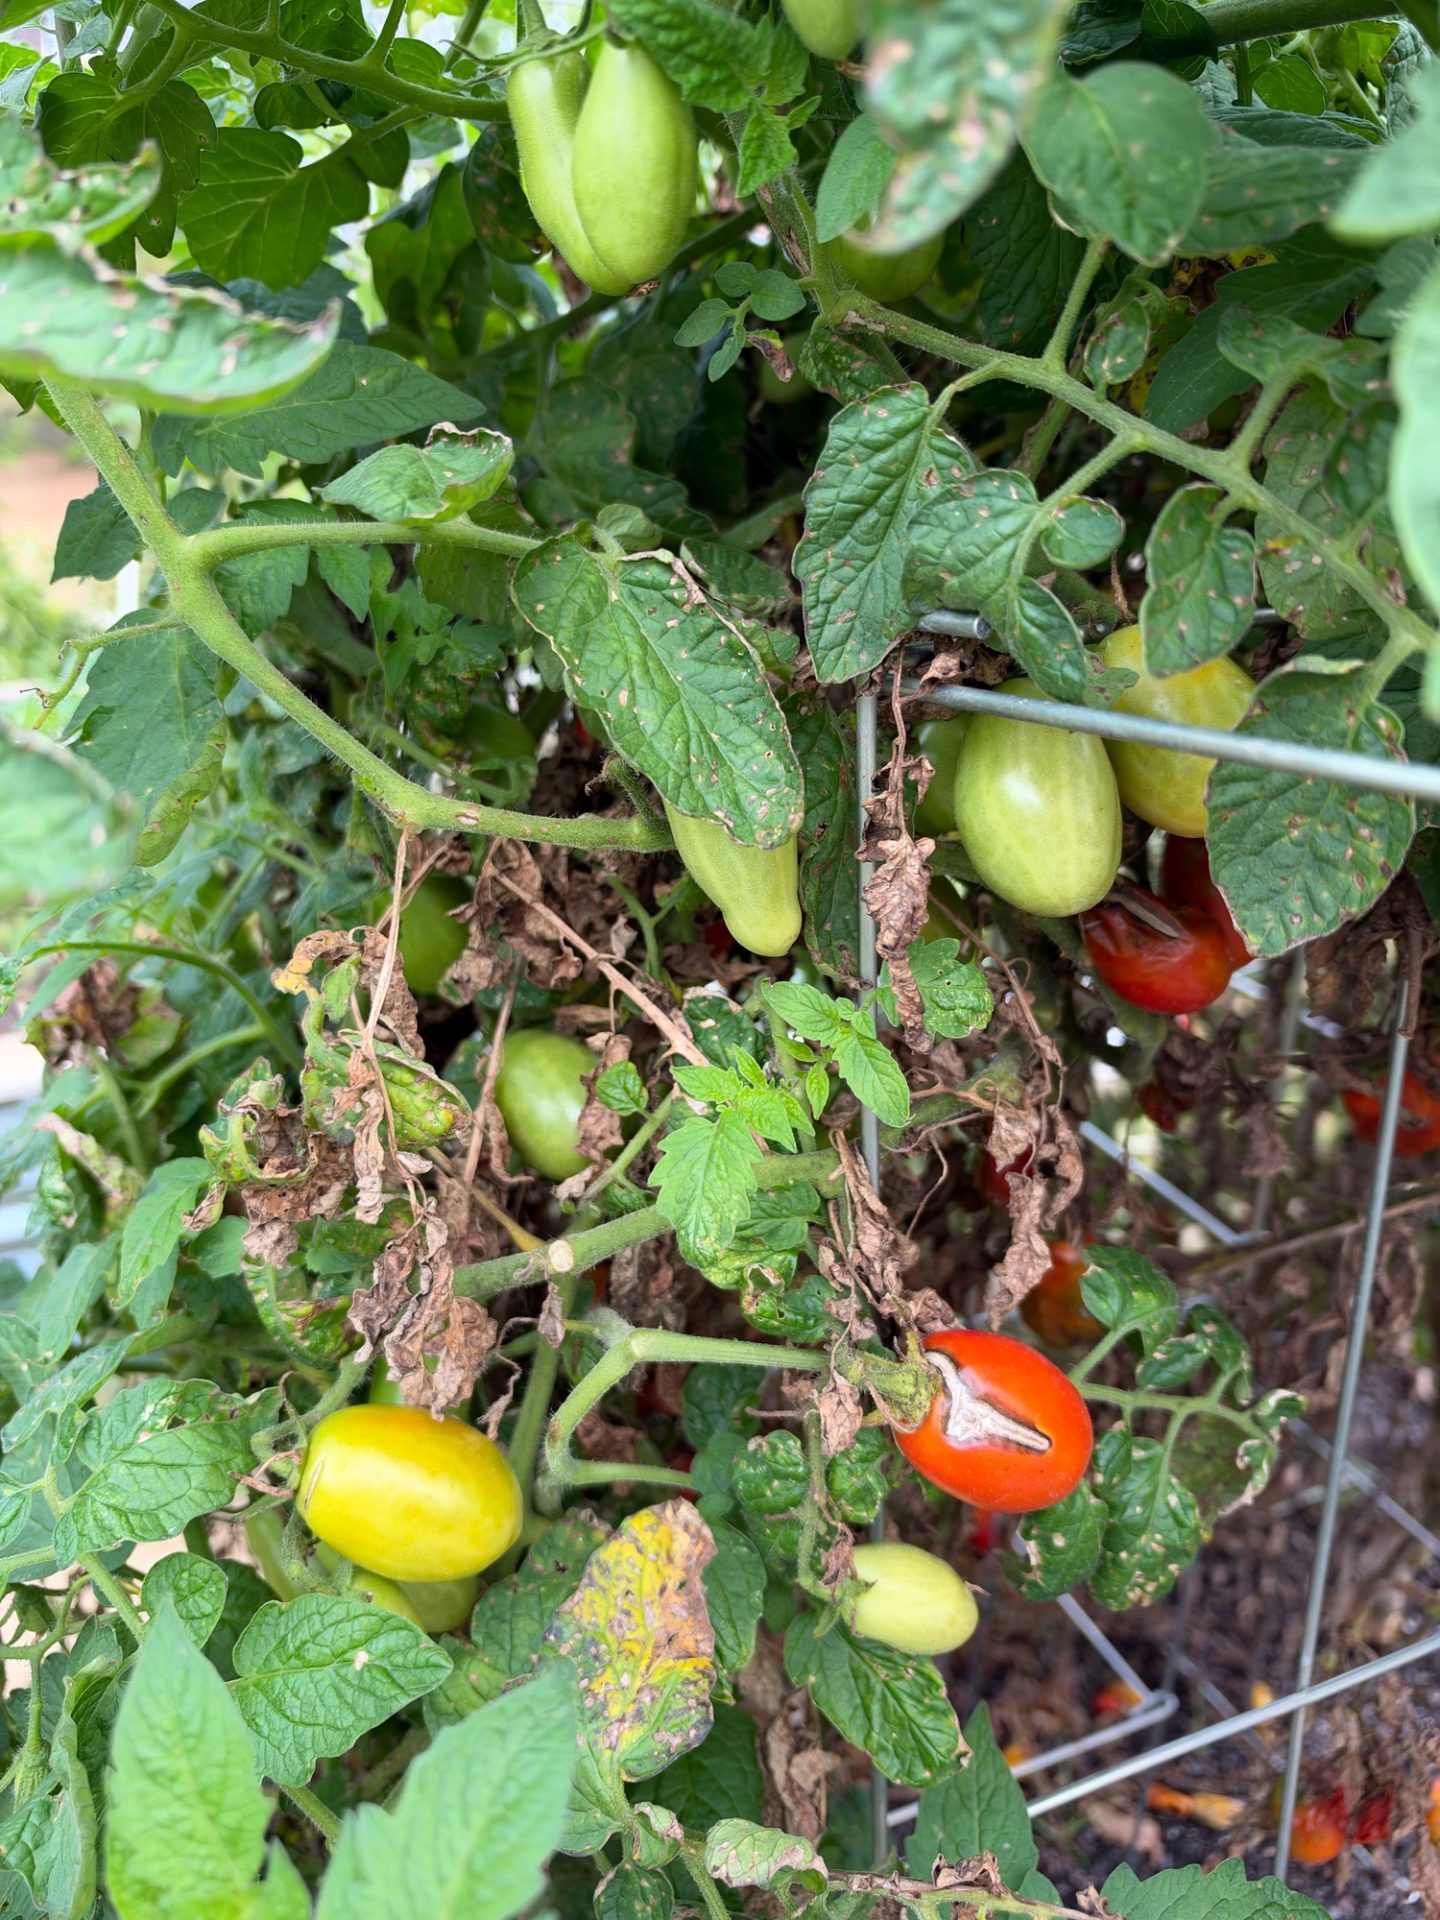
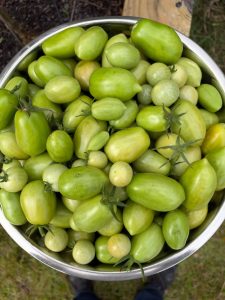
I grew San Marzanos and cherry tomatoes in these beds. Both were covered in hard green fruit. That’s exactly what this recipe wants.
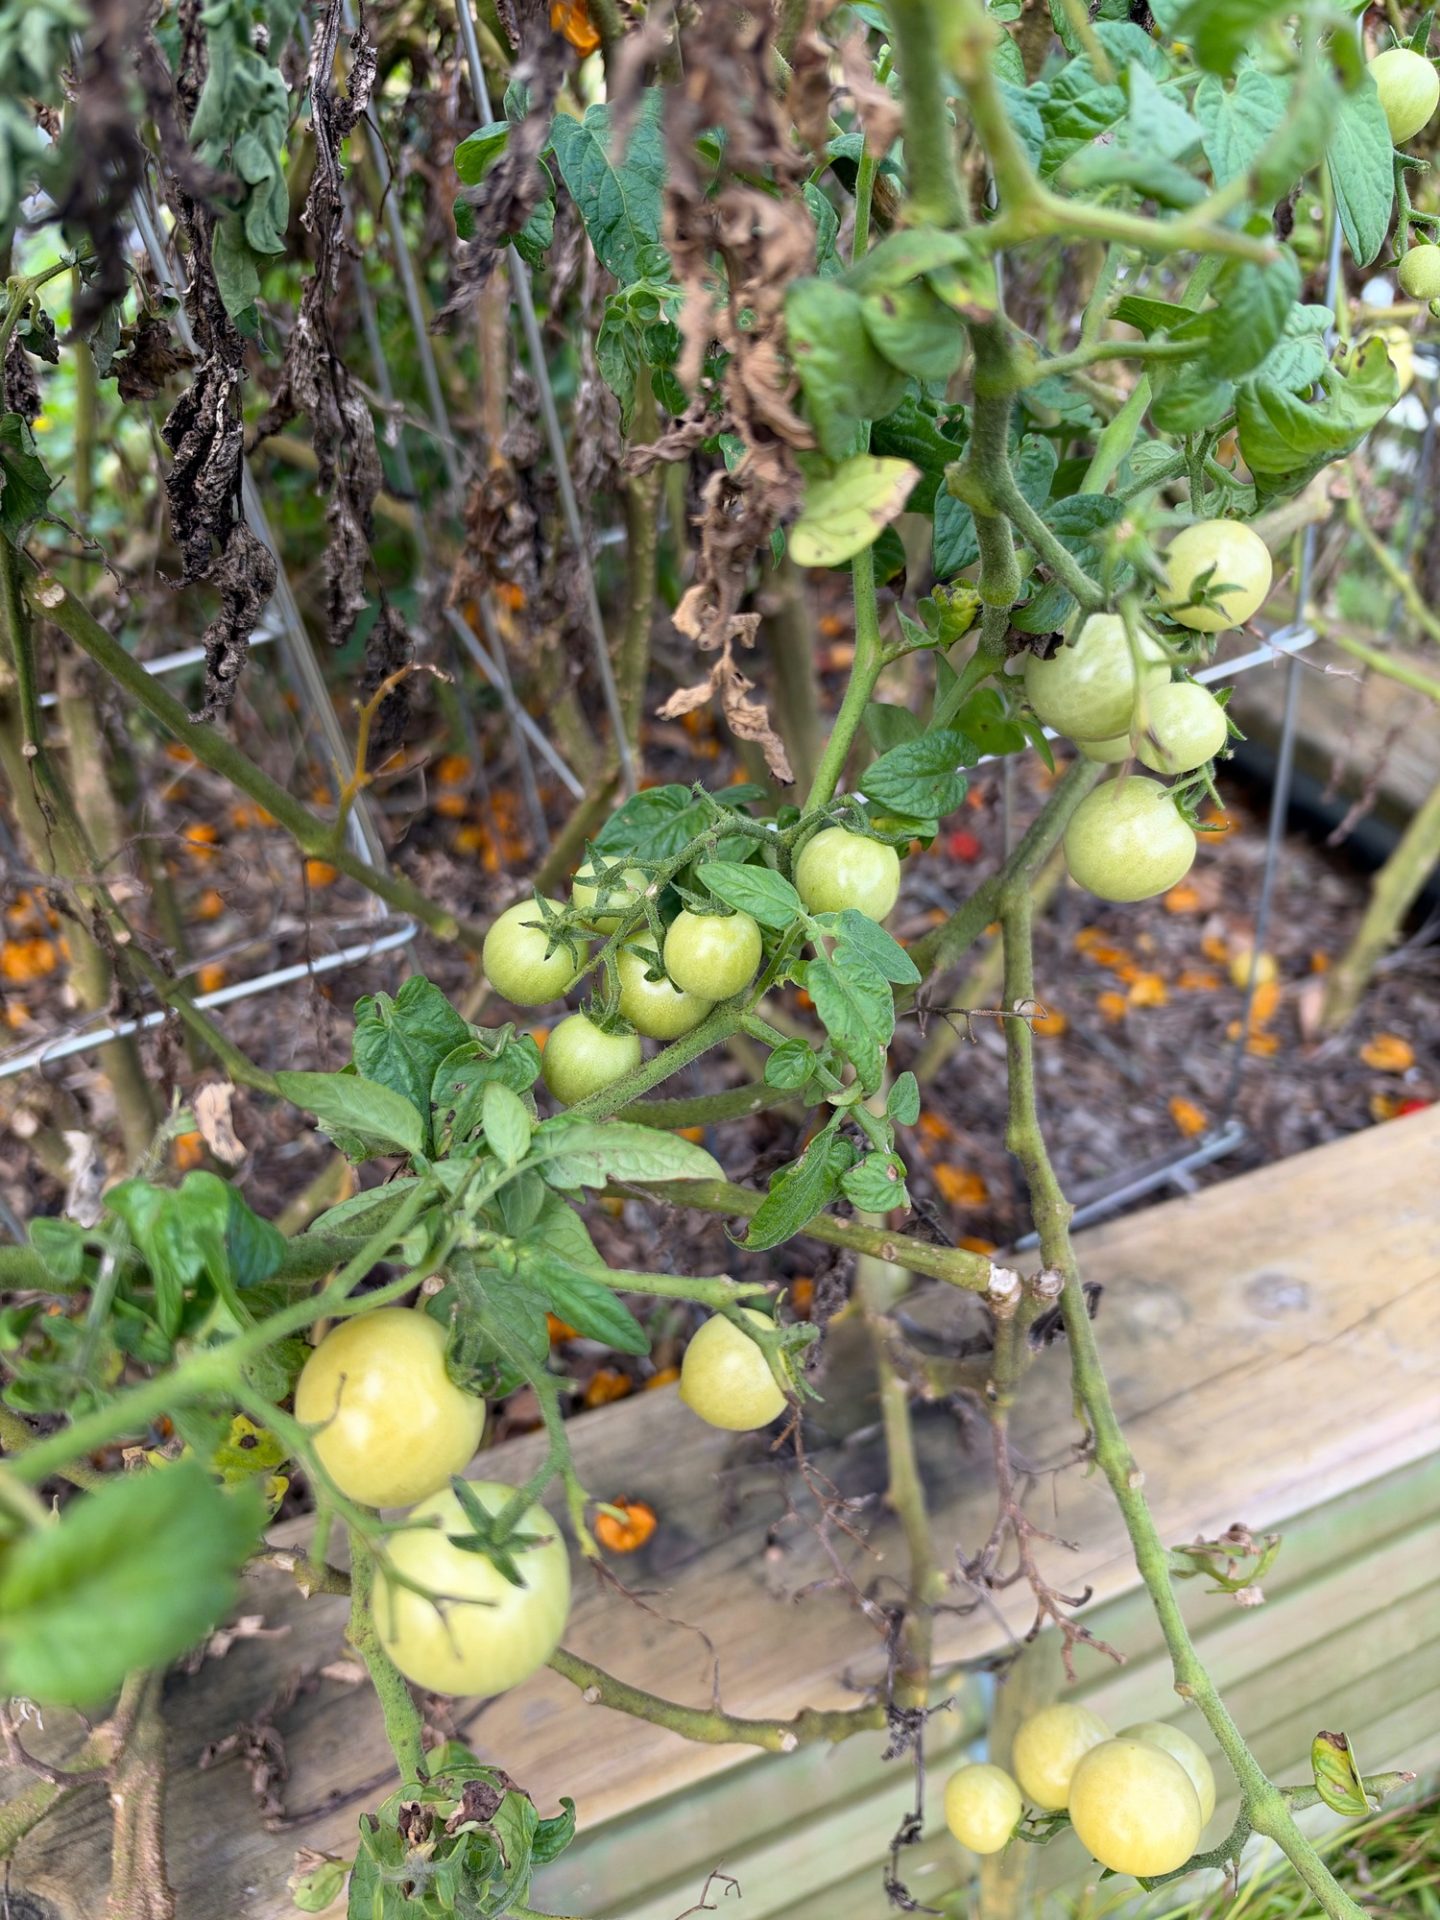
Which green tomatoes work for relish?
The NCHFP recipe calls for “small, hard green tomatoes.” Hard is the key word. Firm green fruit holds up when you grind it. It gives the relish that nice bite.
Here’s an important rule from the extension folks. Only use tomatoes from healthy, living vines. Don’t can tomatoes from vines that died or got killed by frost. Their acid can change, and that’s not a risk worth taking.
If some of your tomatoes have a pink blush, you can let those ripen indoors instead. The dark, flat-green ones won’t ripen well. Those are your relish tomatoes.
Harvest Day: Clearing the Old Tomato Beds
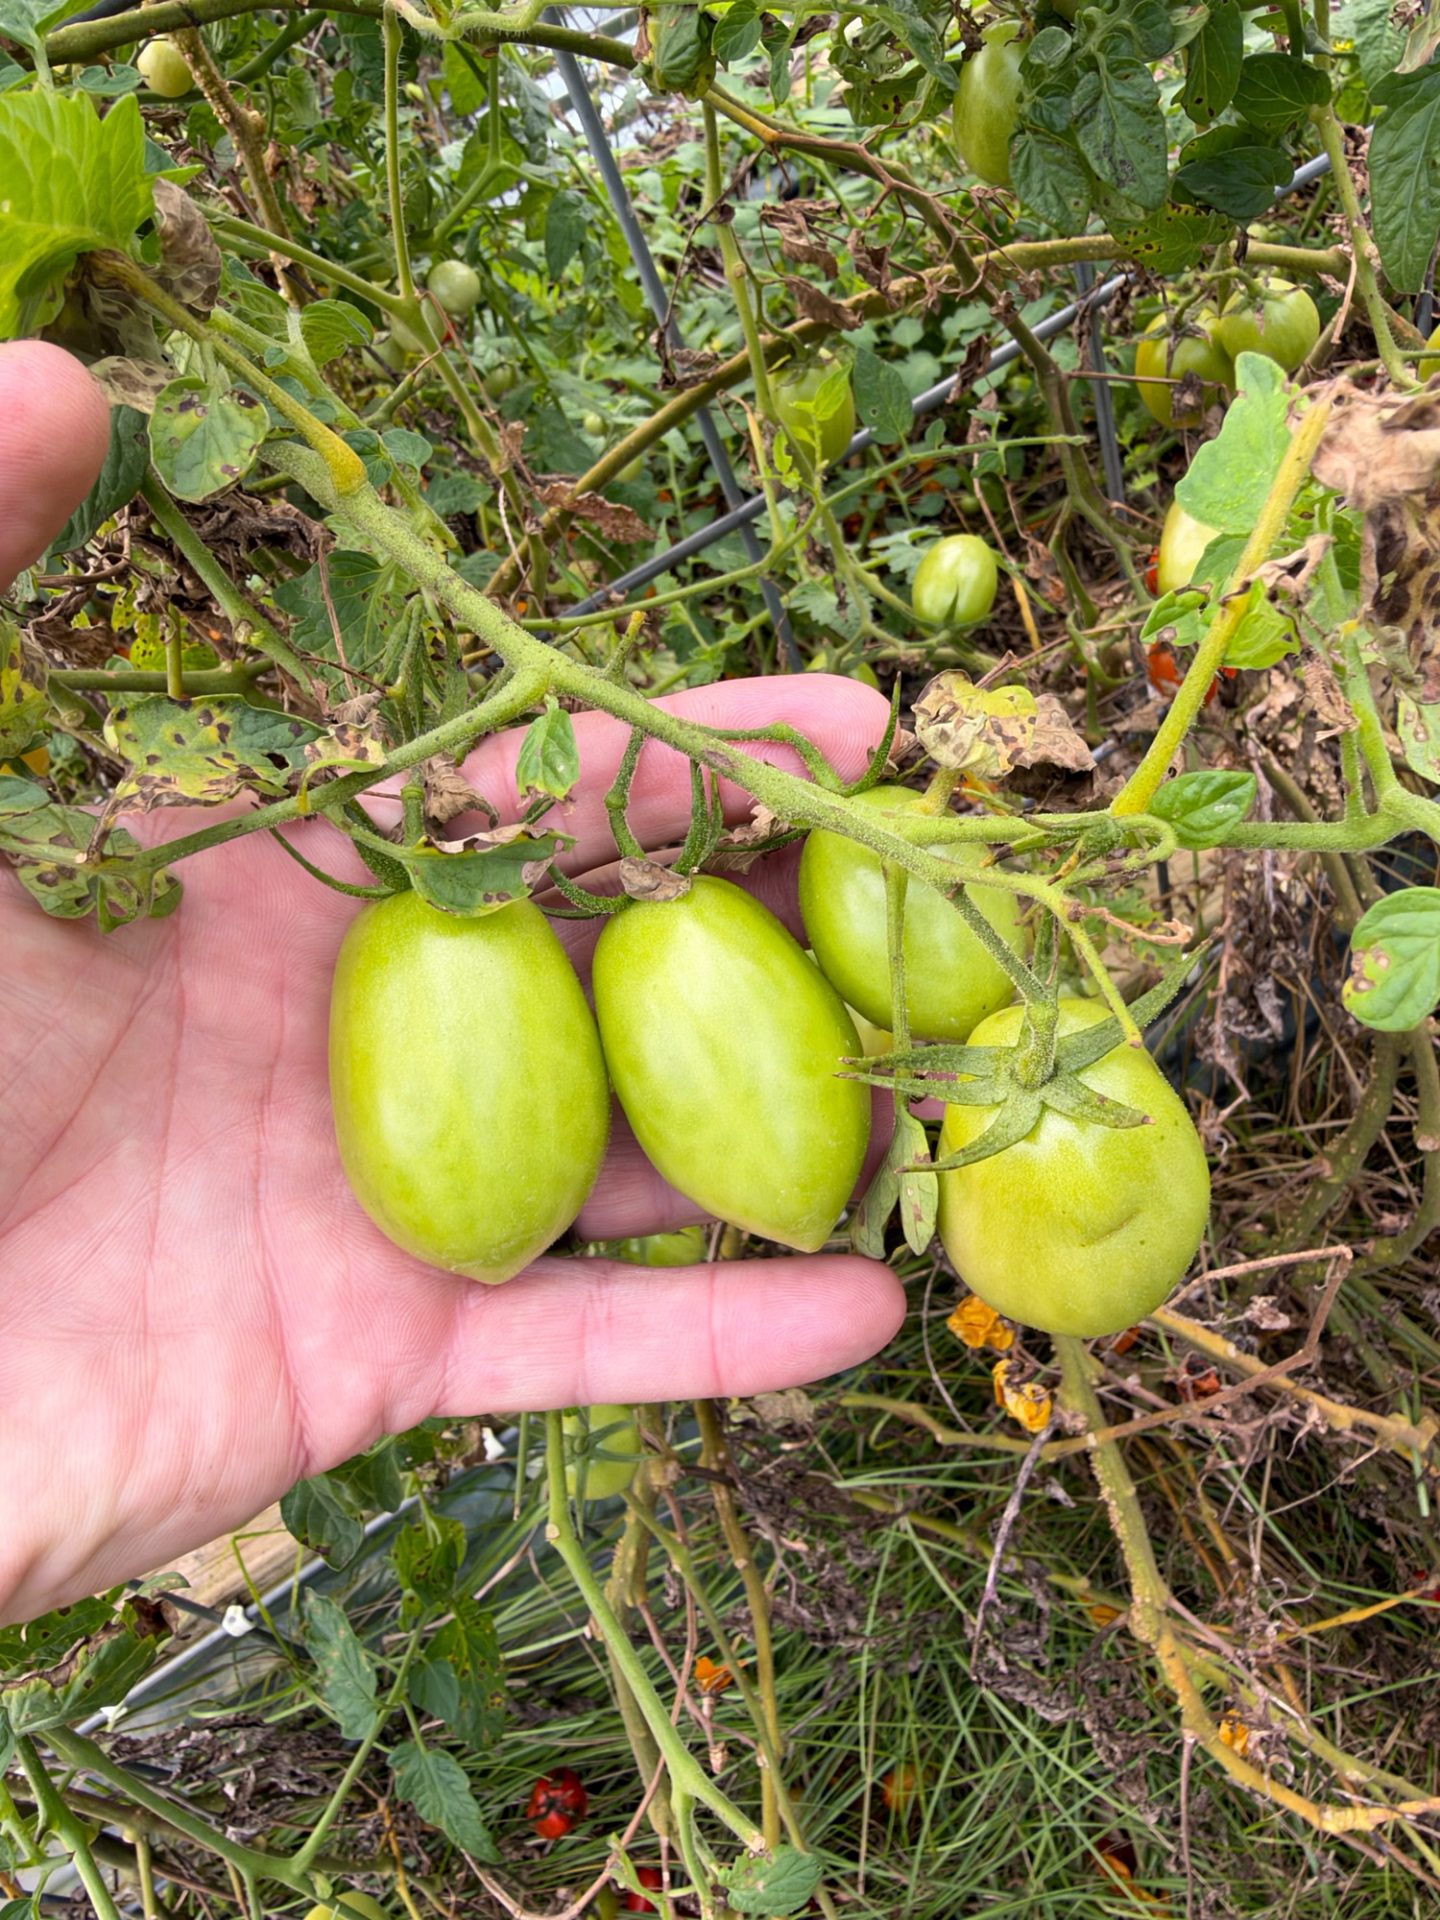
Harvest day was also clean-up day. I pulled every green tomato I could find and cleared out the old tomato beds. Two jobs, one trip to the garden. I like that kind of math.
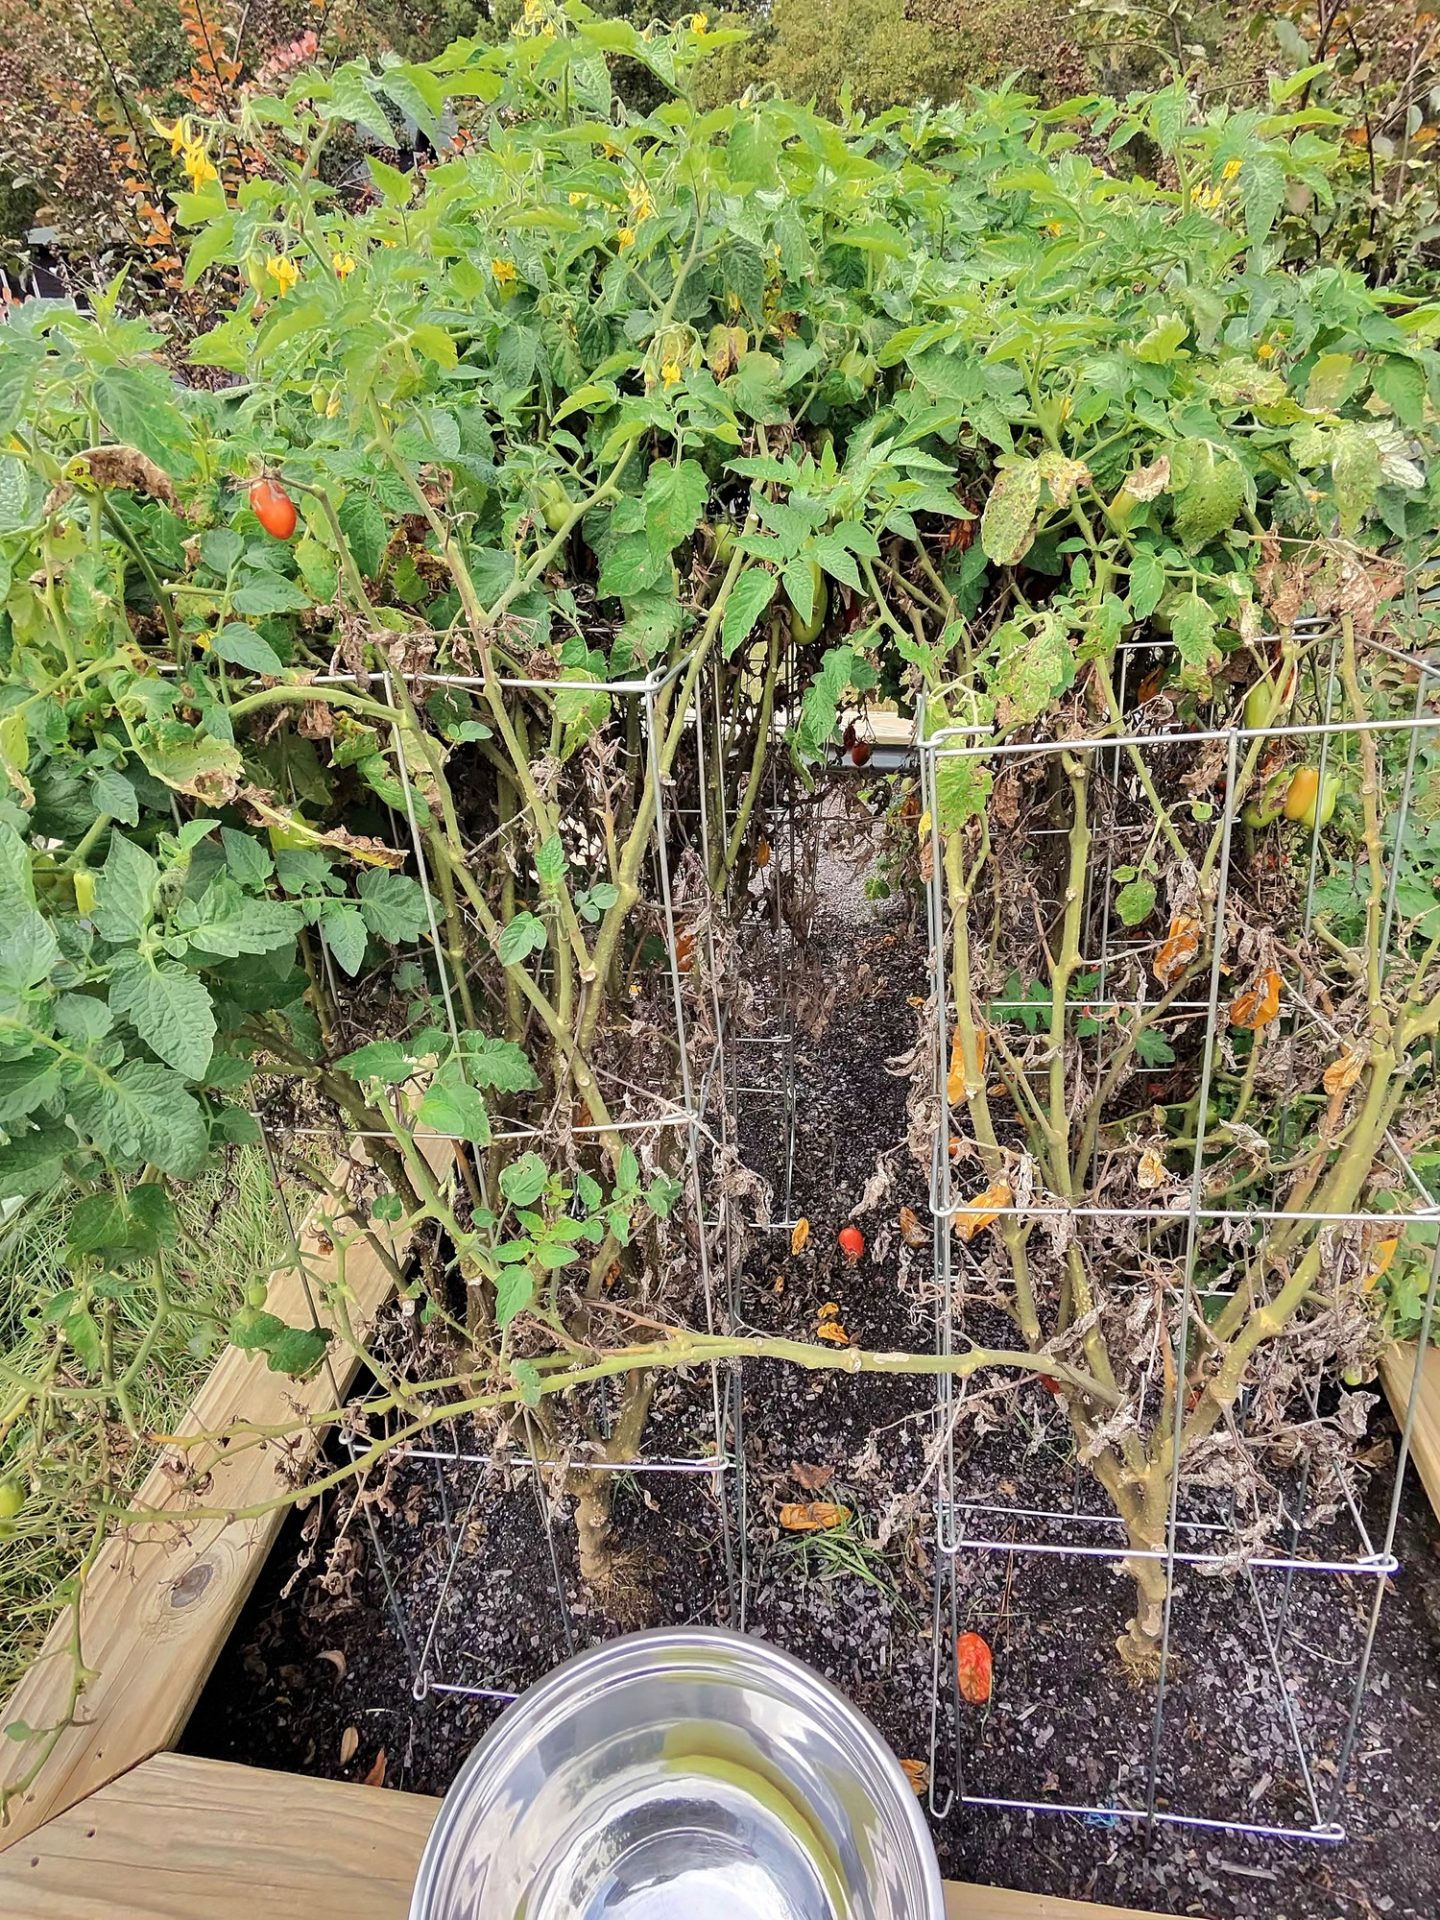
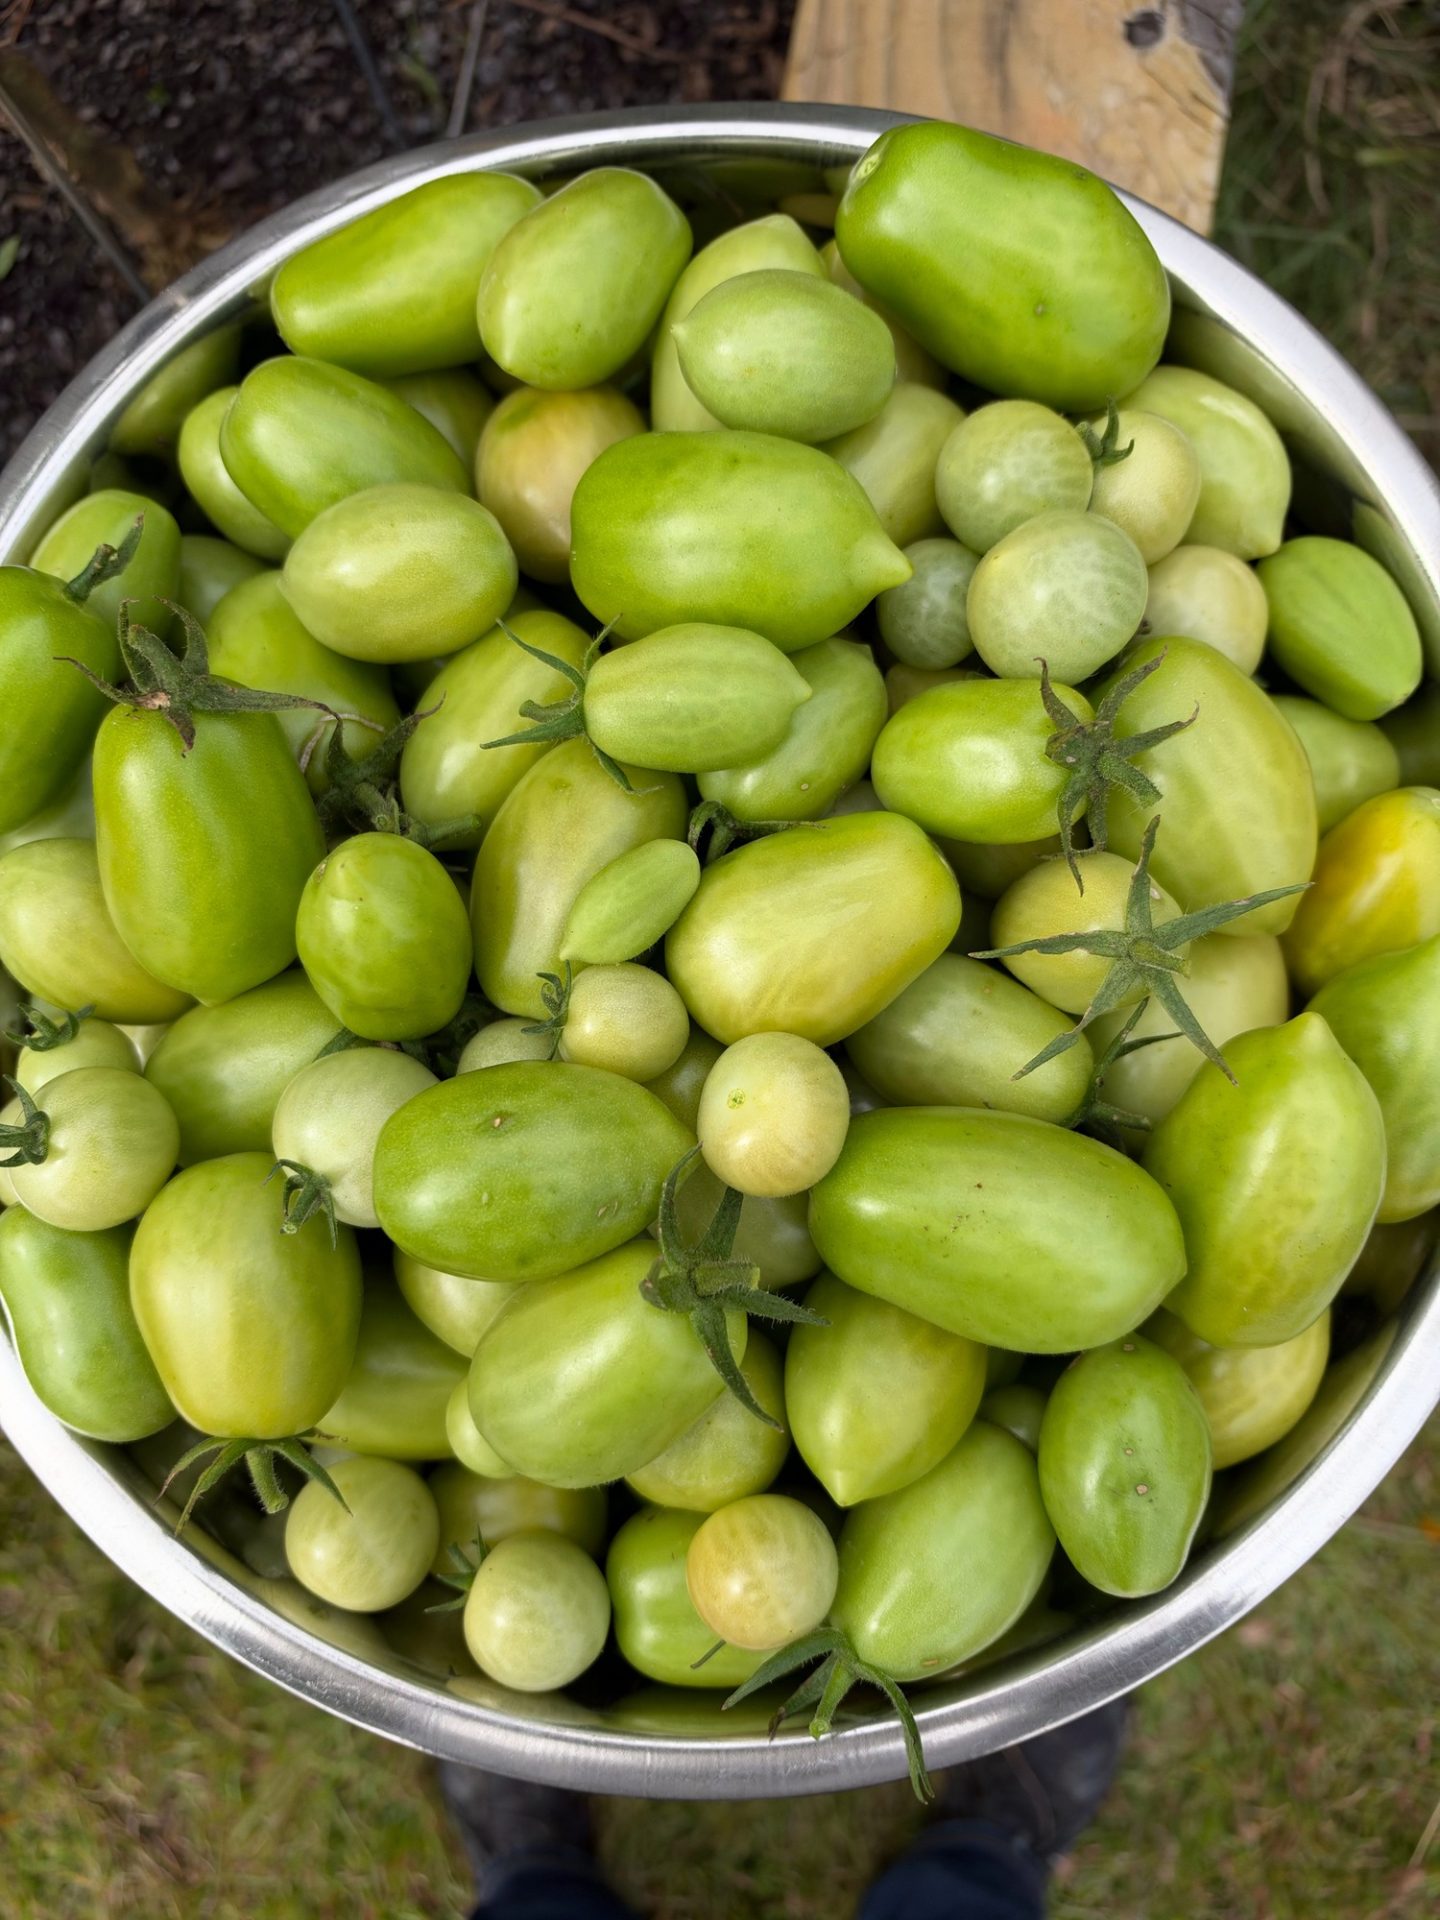
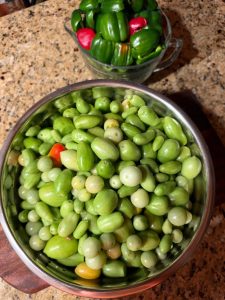
All told, I had 10 pounds of green tomatoes. That’s exactly what the recipe calls for. Sometimes the garden does the math for you.
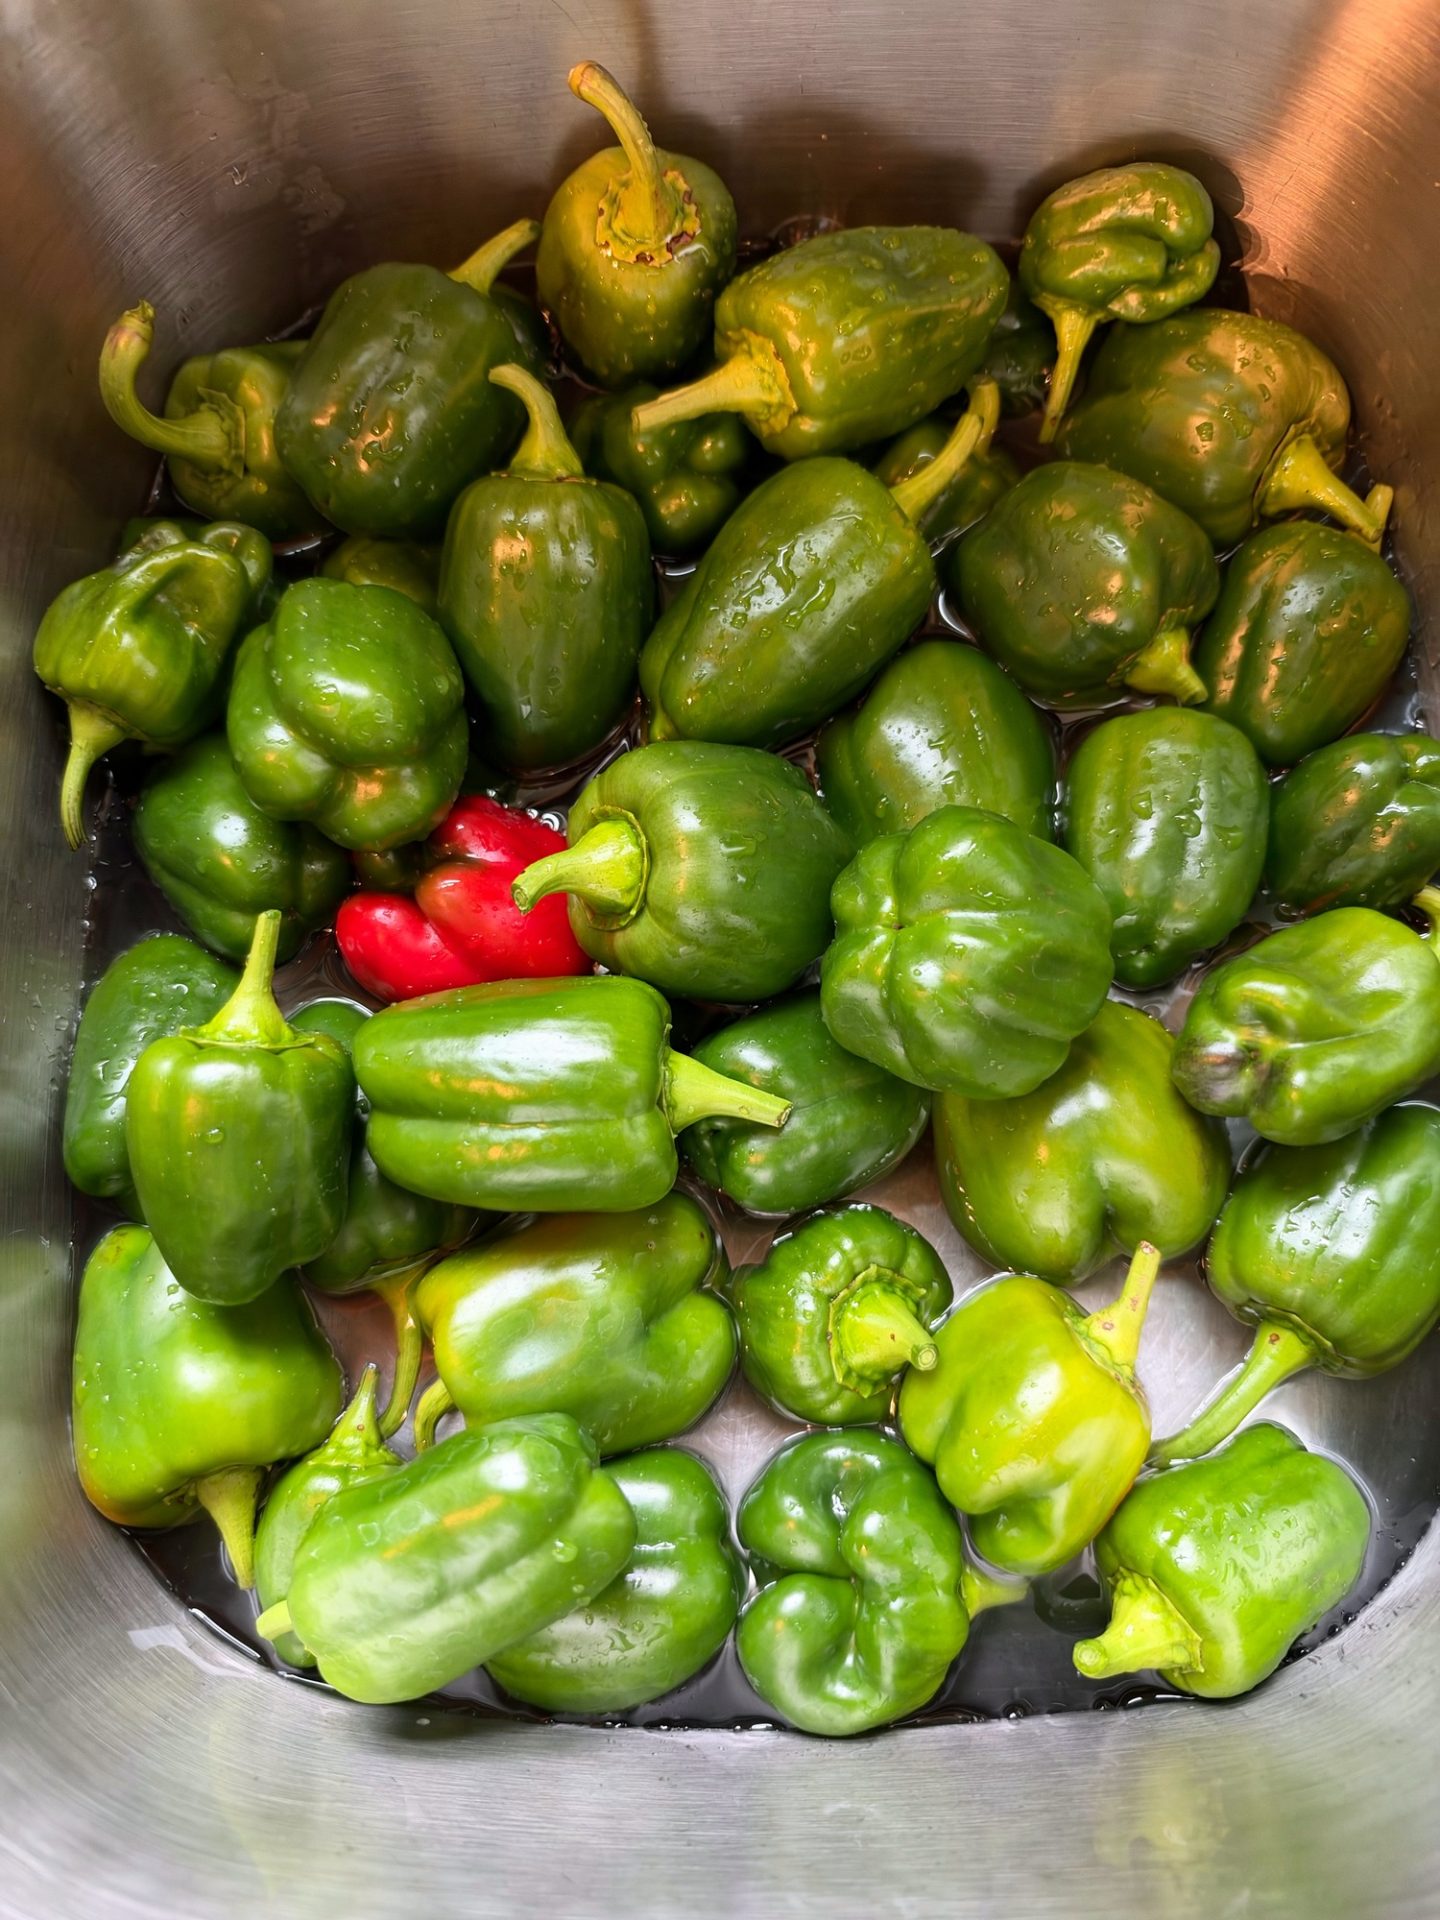
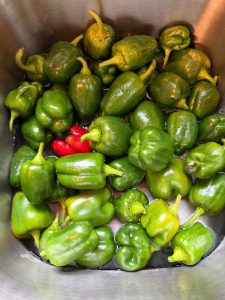
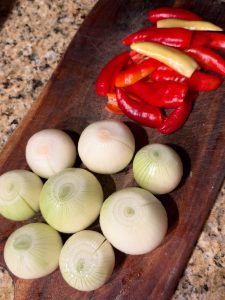
I also picked the last of the peppers. I had green bell peppers and red bell peppers. And I had some sweet banana peppers that had ripened all the way to red. More on those in a minute.
Prep: Weighing, Chopping and Grinding
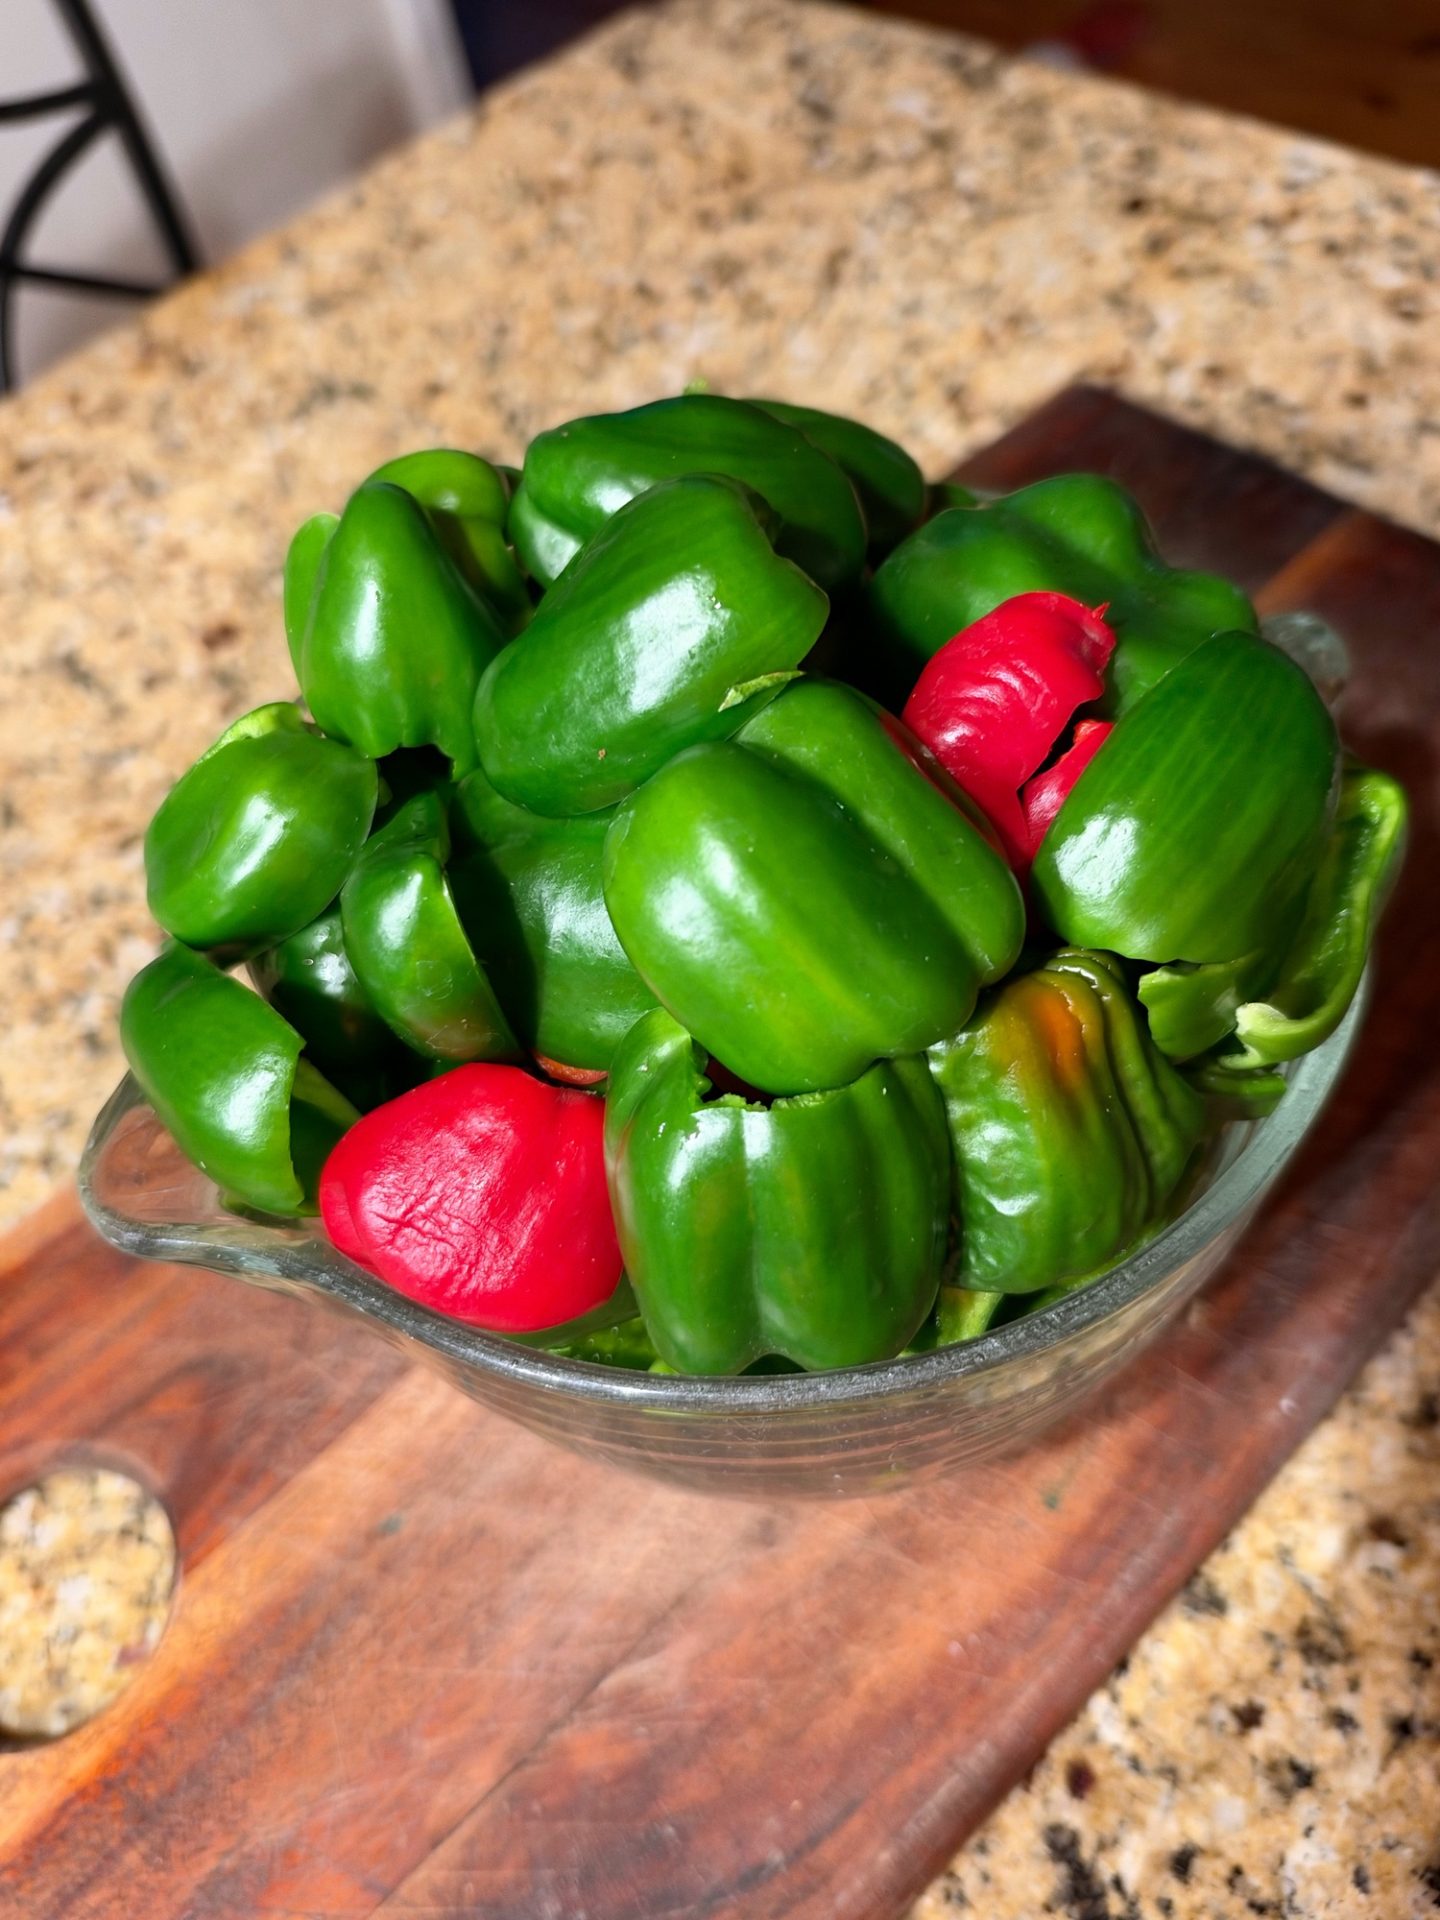
Canning is one place where I don’t eyeball things. I weighed everything. This recipe is built on weights, so a kitchen scale is your best friend here.
My sweet banana pepper swap
The recipe calls for 1½ pounds of red bell peppers. I had red sweet banana peppers that needed using. So I swapped some sweet banana peppers in for part of the red bell peppers, pound for pound. All my peppers together, bells and sweet bananas, came to 3 pounds. That matches the recipe’s 1½ pounds red plus 1½ pounds green.
Here’s the rule I followed. You can swap one sweet pepper for another, but only by weight. Keep the total pepper weight the same as the recipe. Don’t add extra peppers, don’t go over the recipe’s 2 pounds of onions, and don’t add any other veggies. The amount of low-acid vegetables is part of what makes the recipe safe.
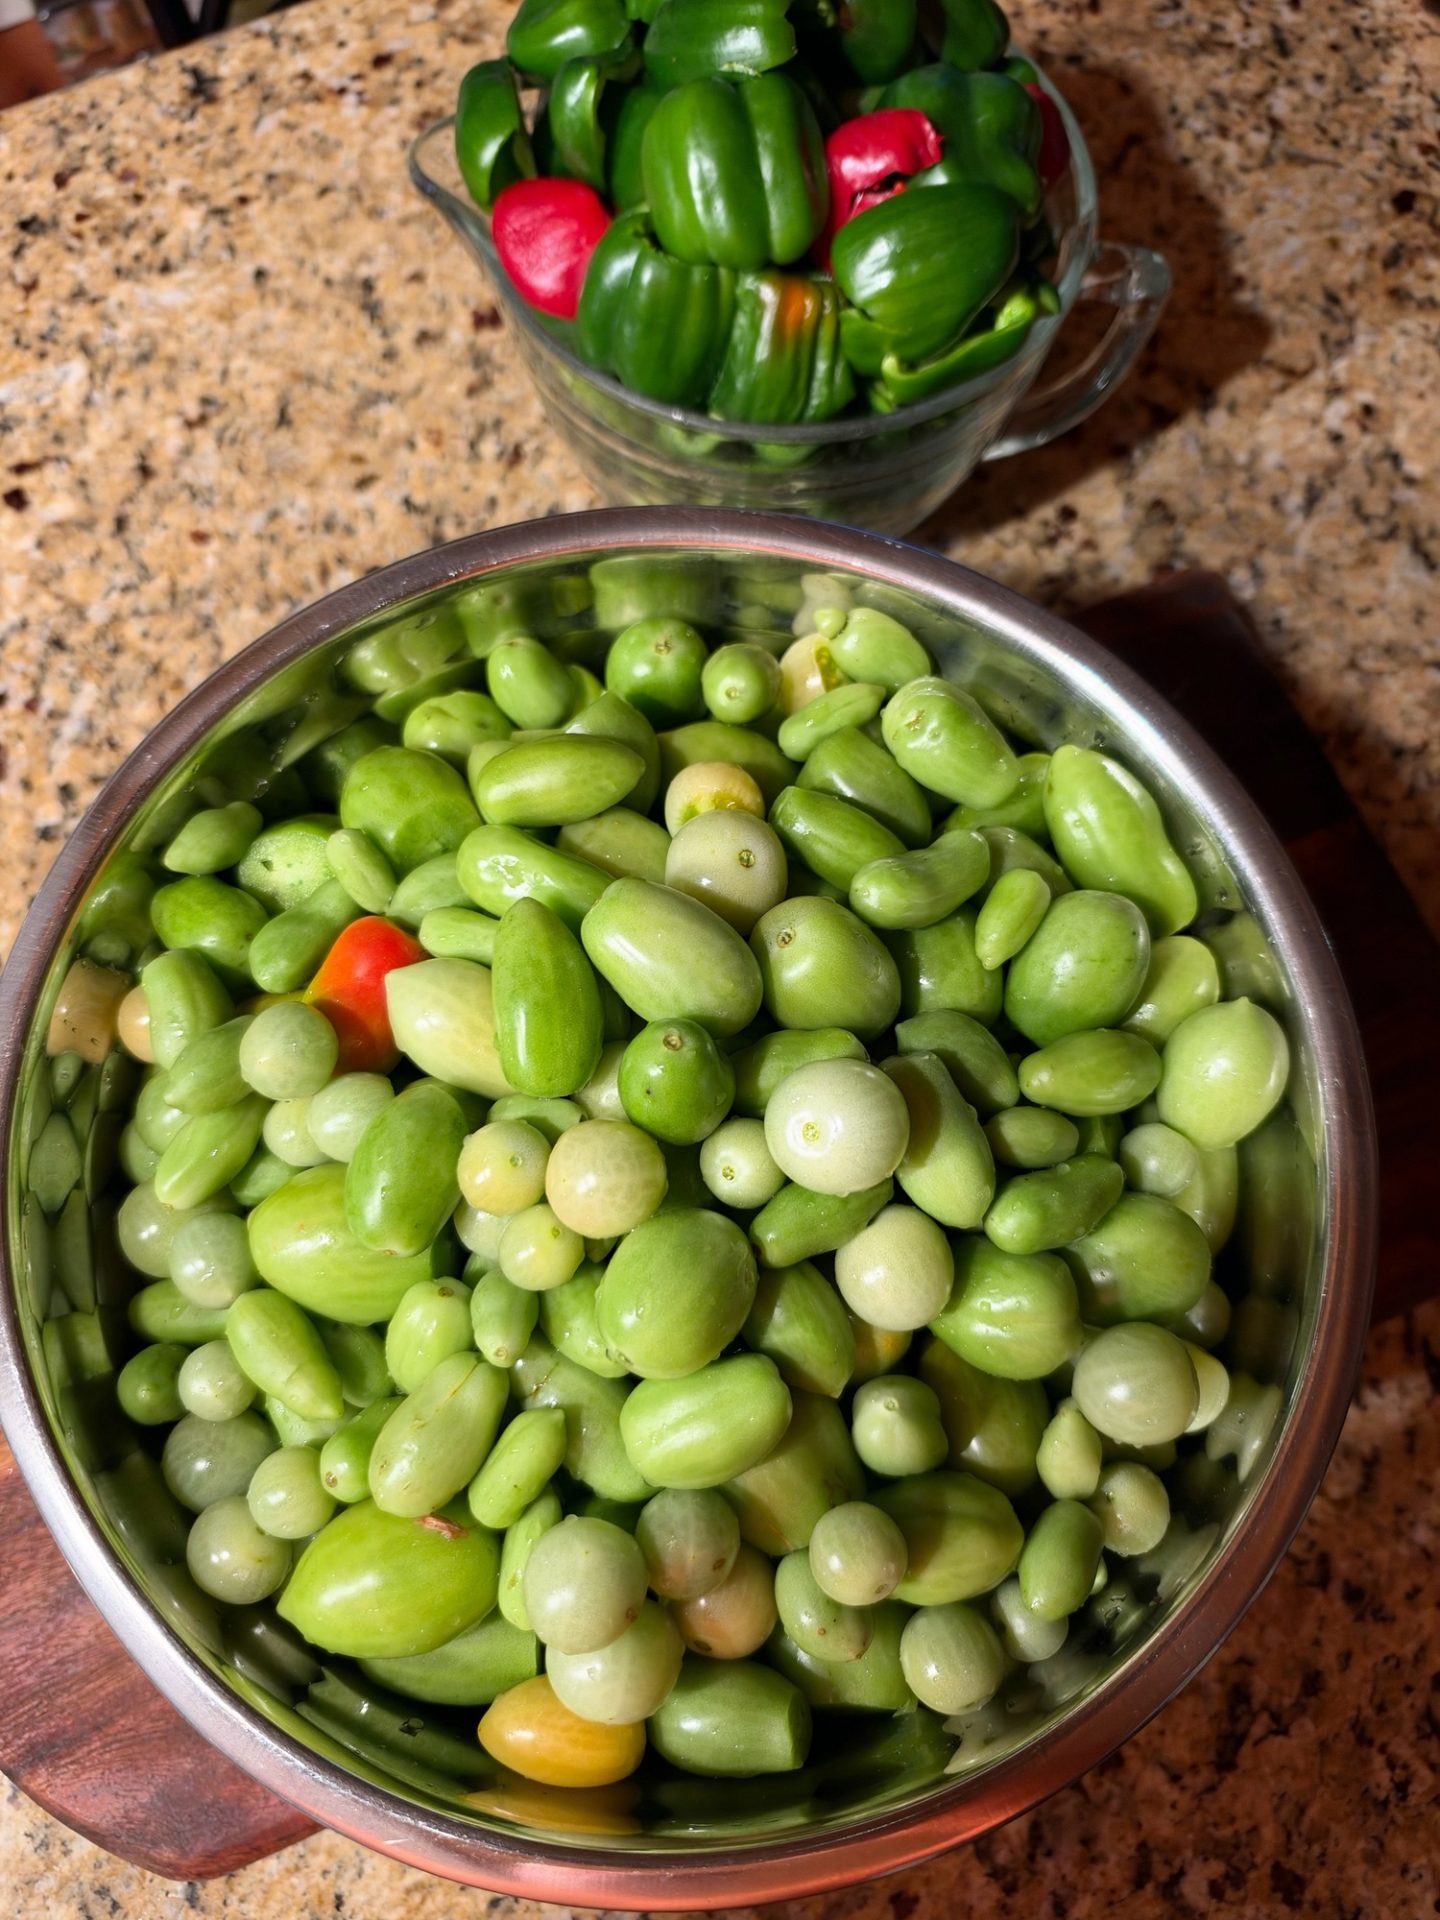
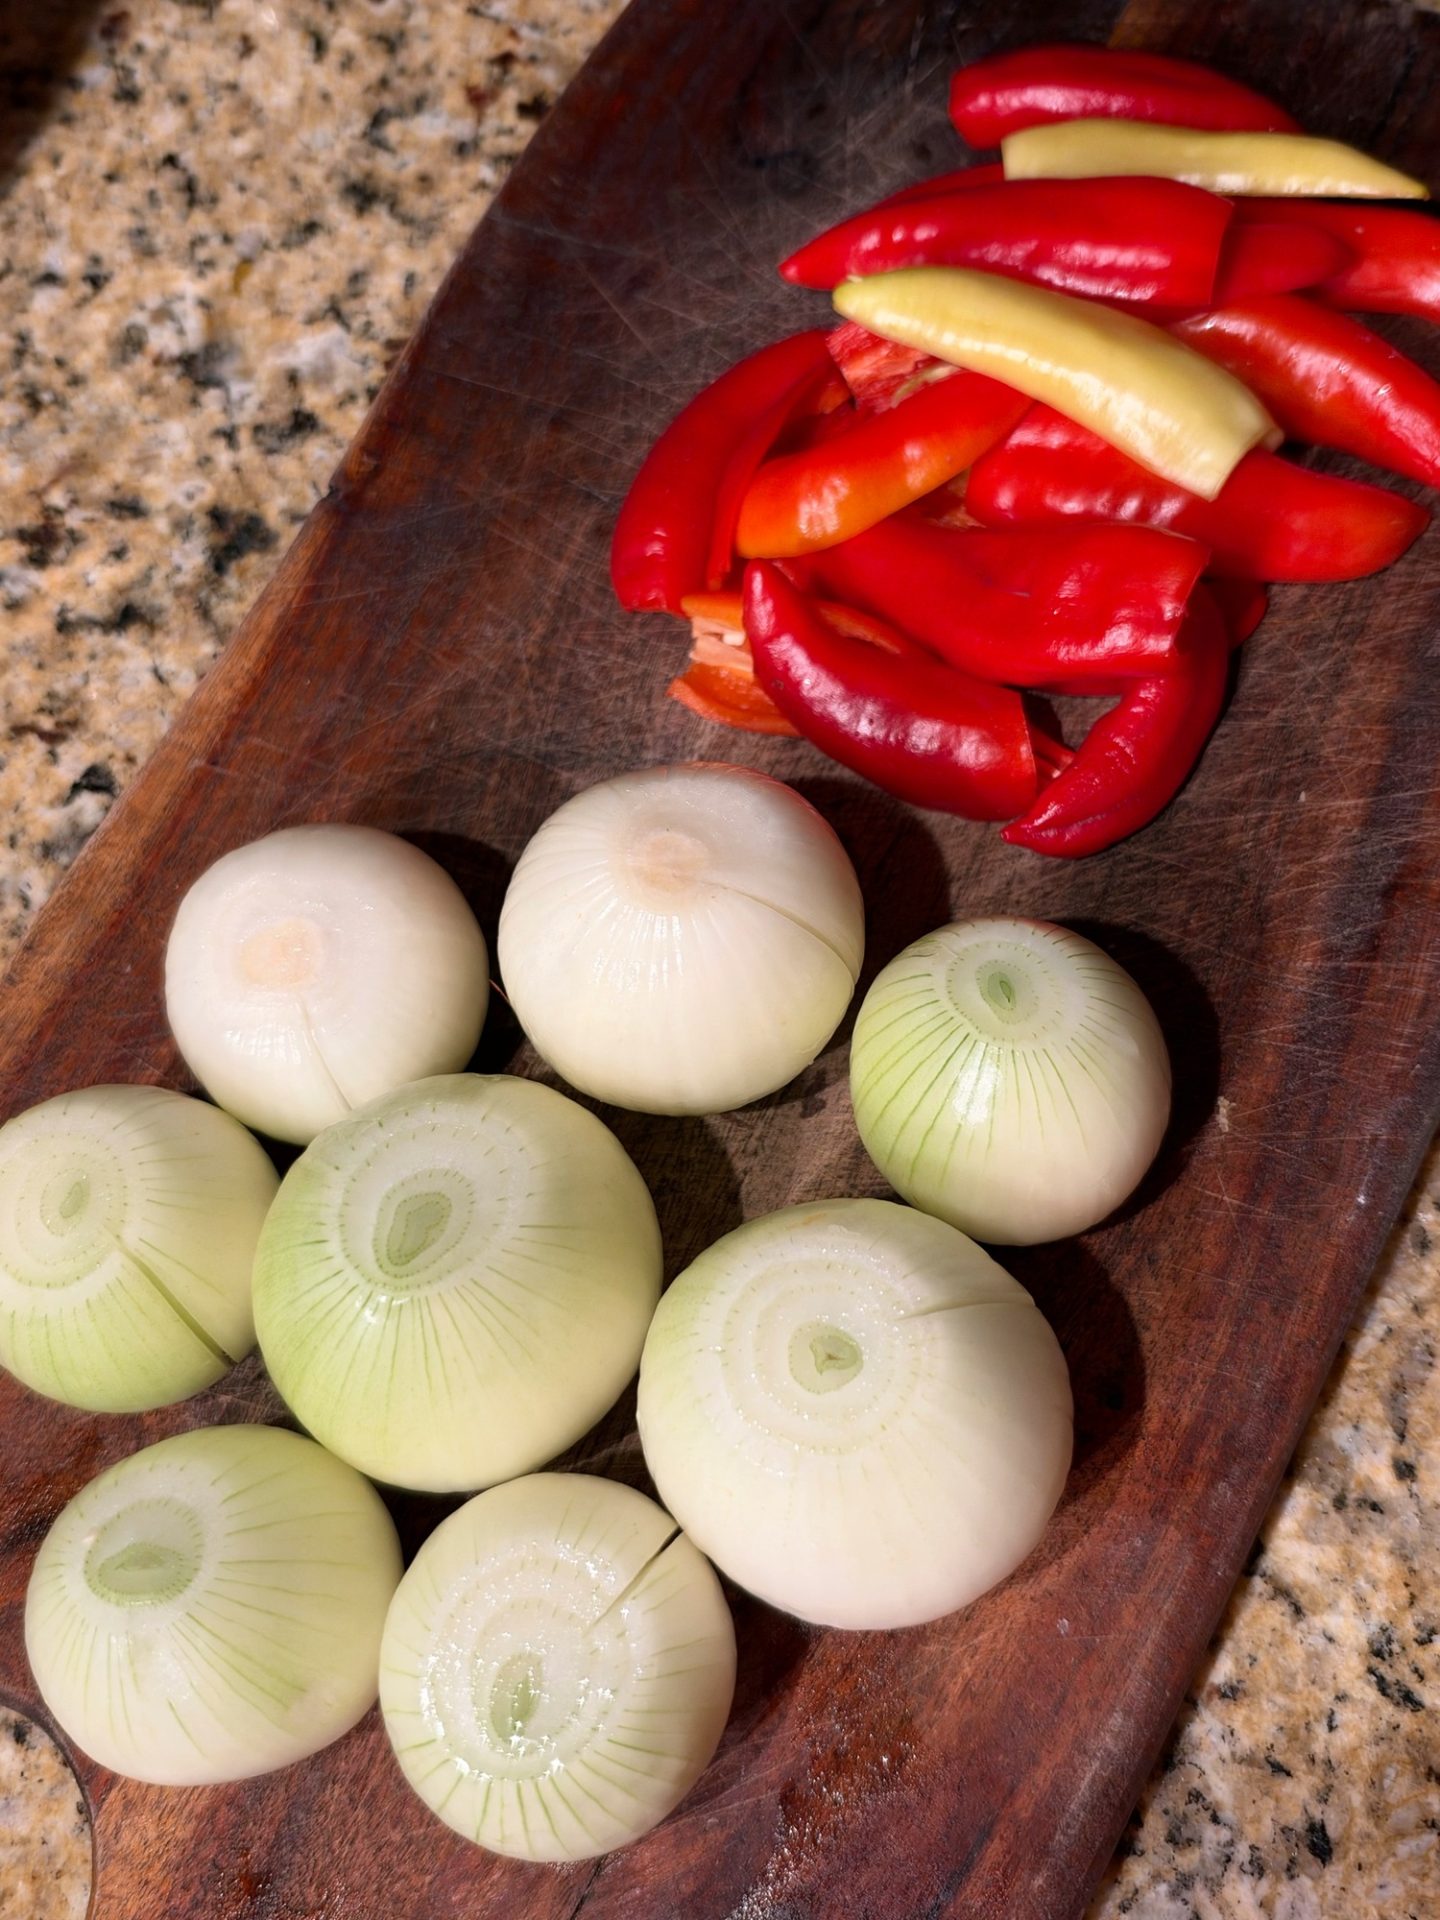
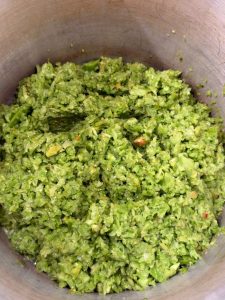
Next, I washed and trimmed everything. Then we ground the tomatoes, peppers and onions in a food processor. The recipe says coarsely grate or finely chop. A few quick pulses at a time gets you that classic relish texture without turning it to mush.
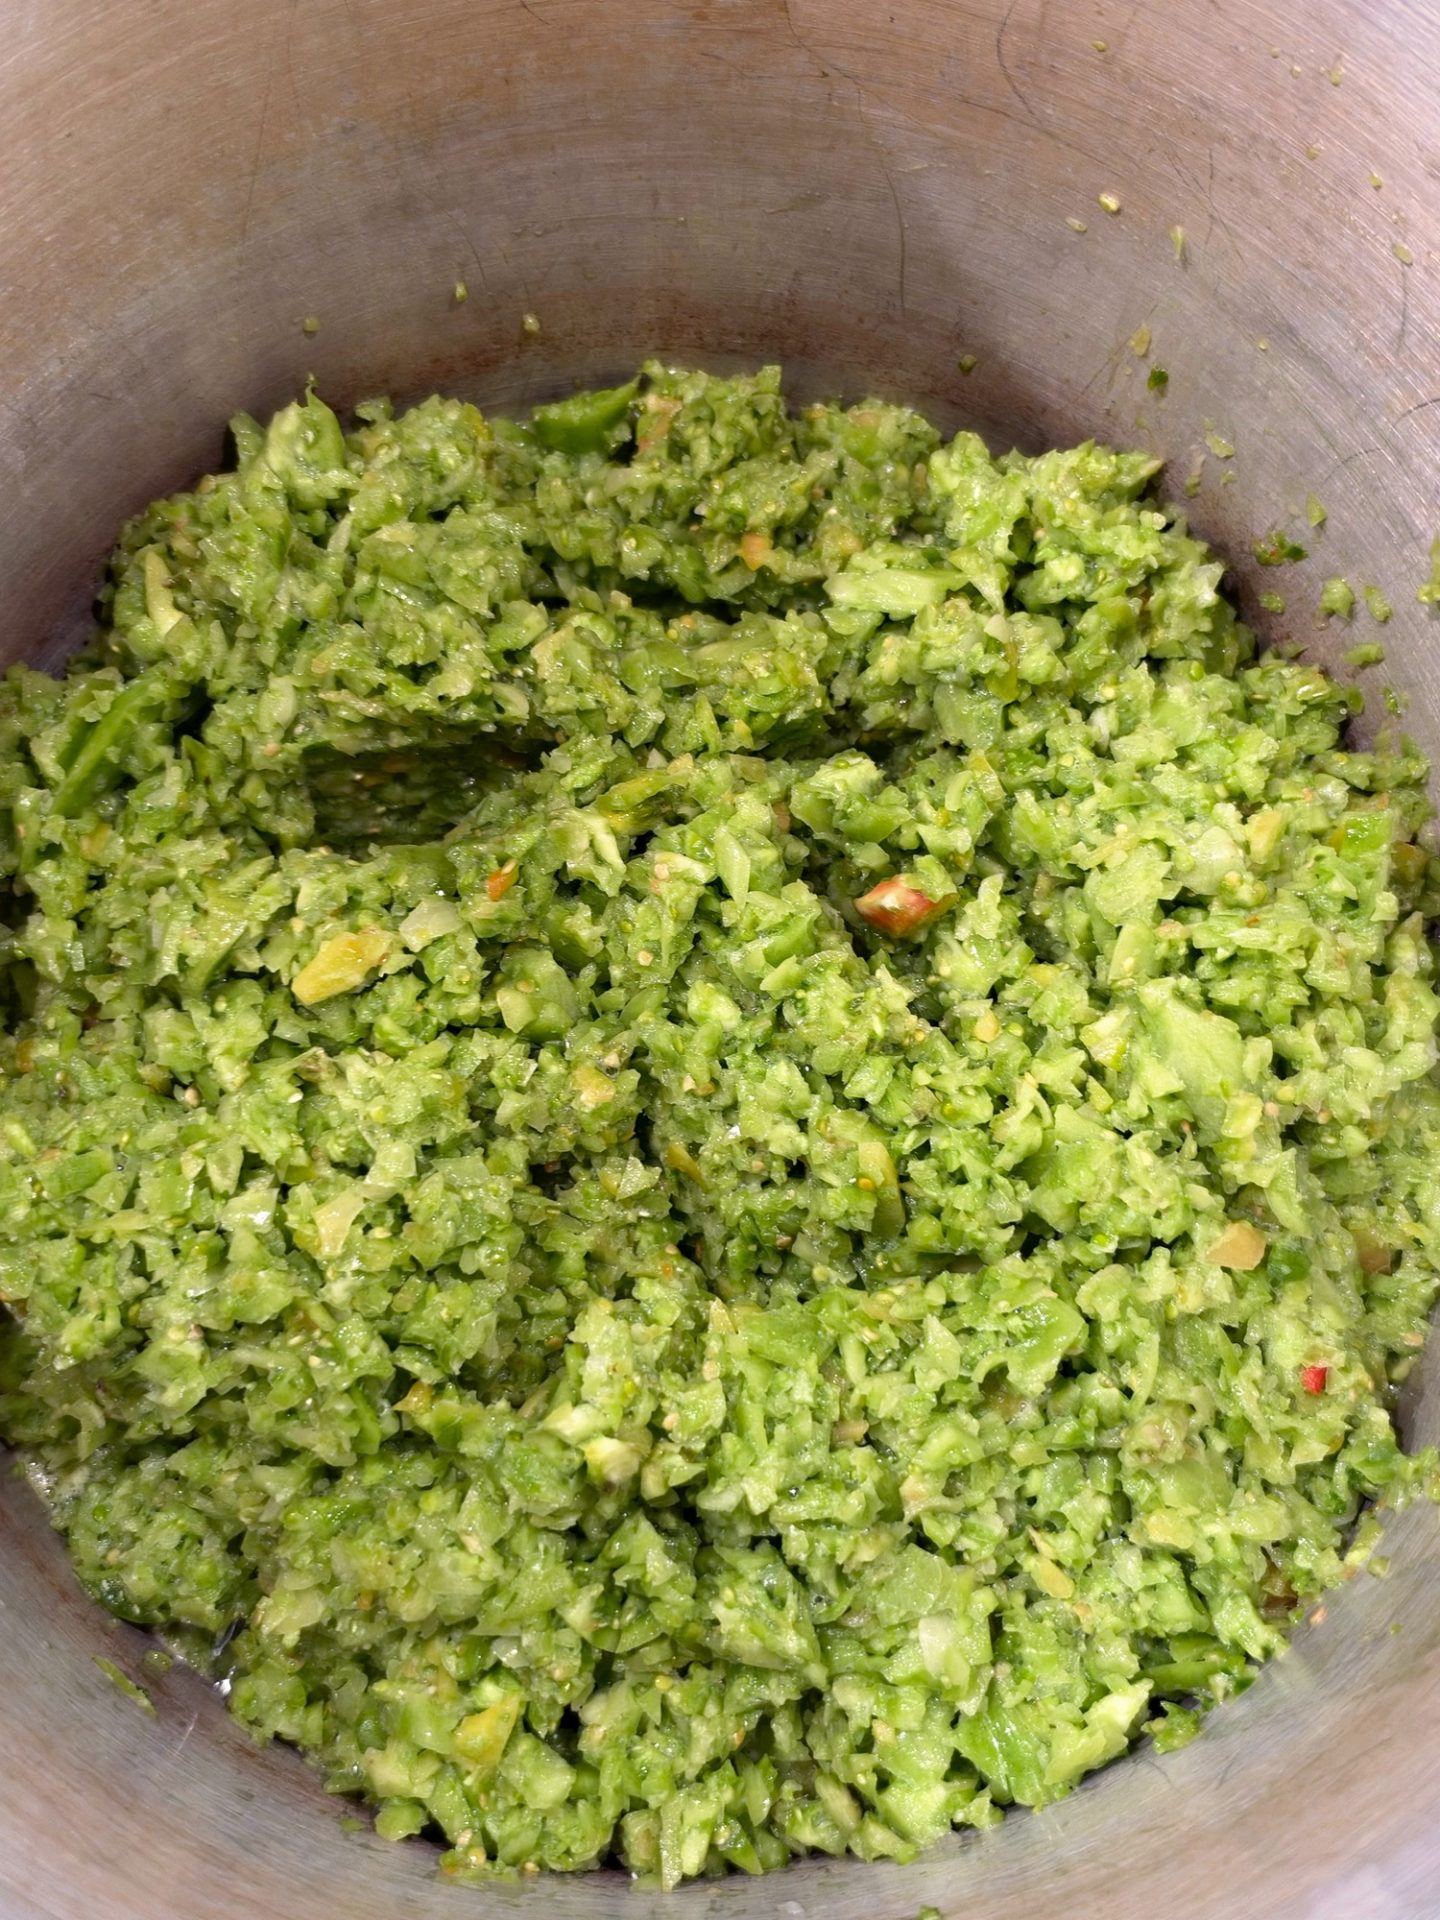
Brining: Salt, Water and a Quick Boil
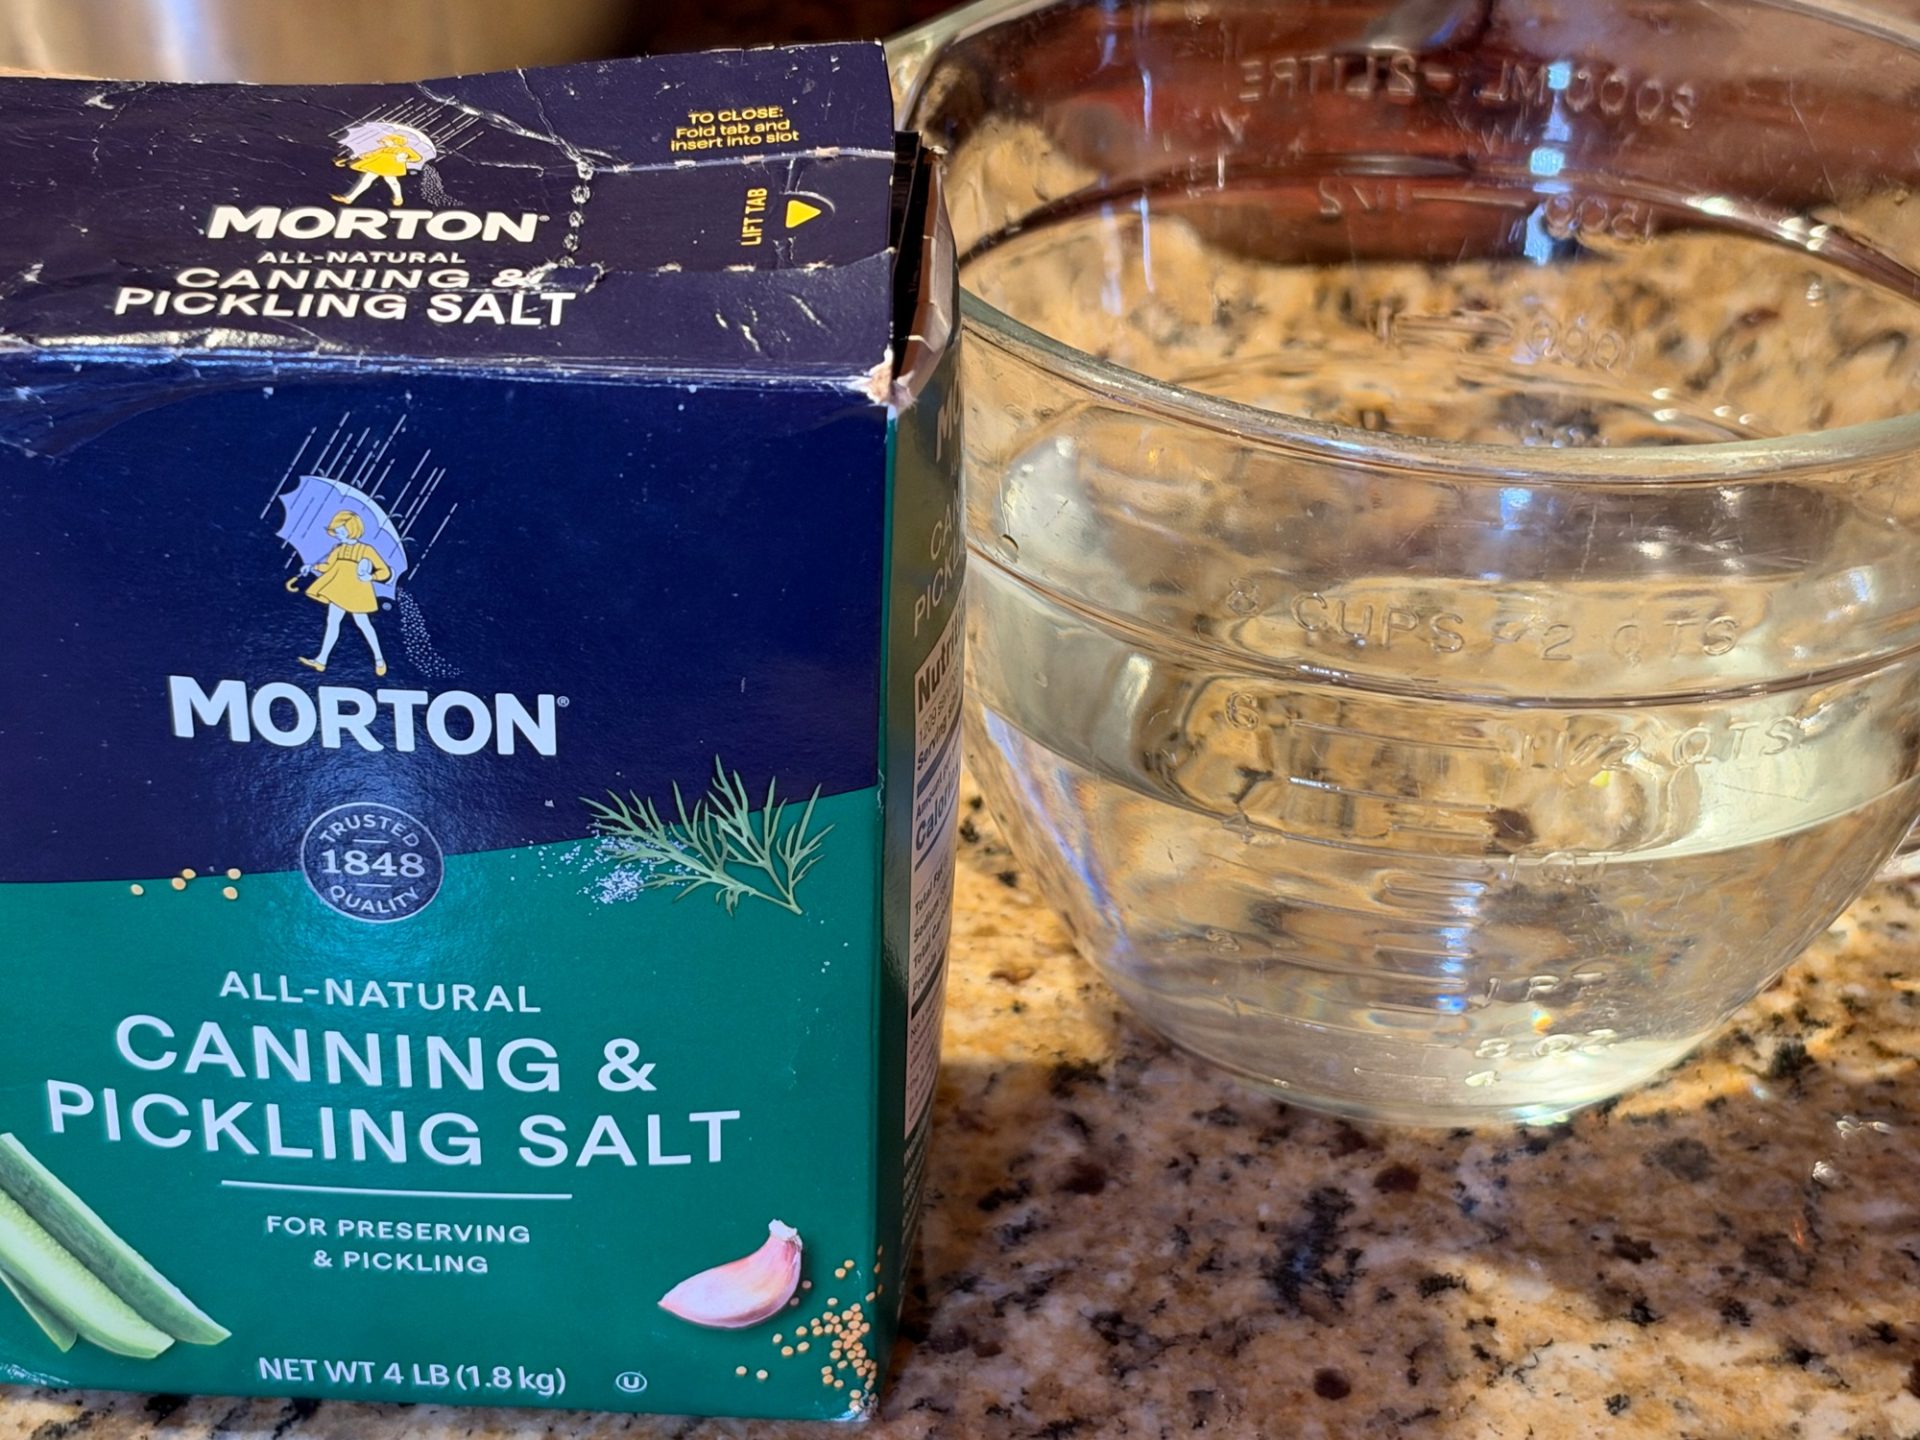
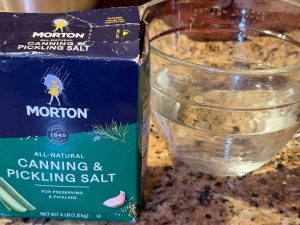
Use canning or pickling salt. I used Morton canning salt. Regular table salt has additives that can make your brine cloudy.
I dissolved ½ cup of salt in 1 quart of water. Then I poured it over the vegetables in a big pot. I brought it to a boil and let it simmer for 5 minutes.
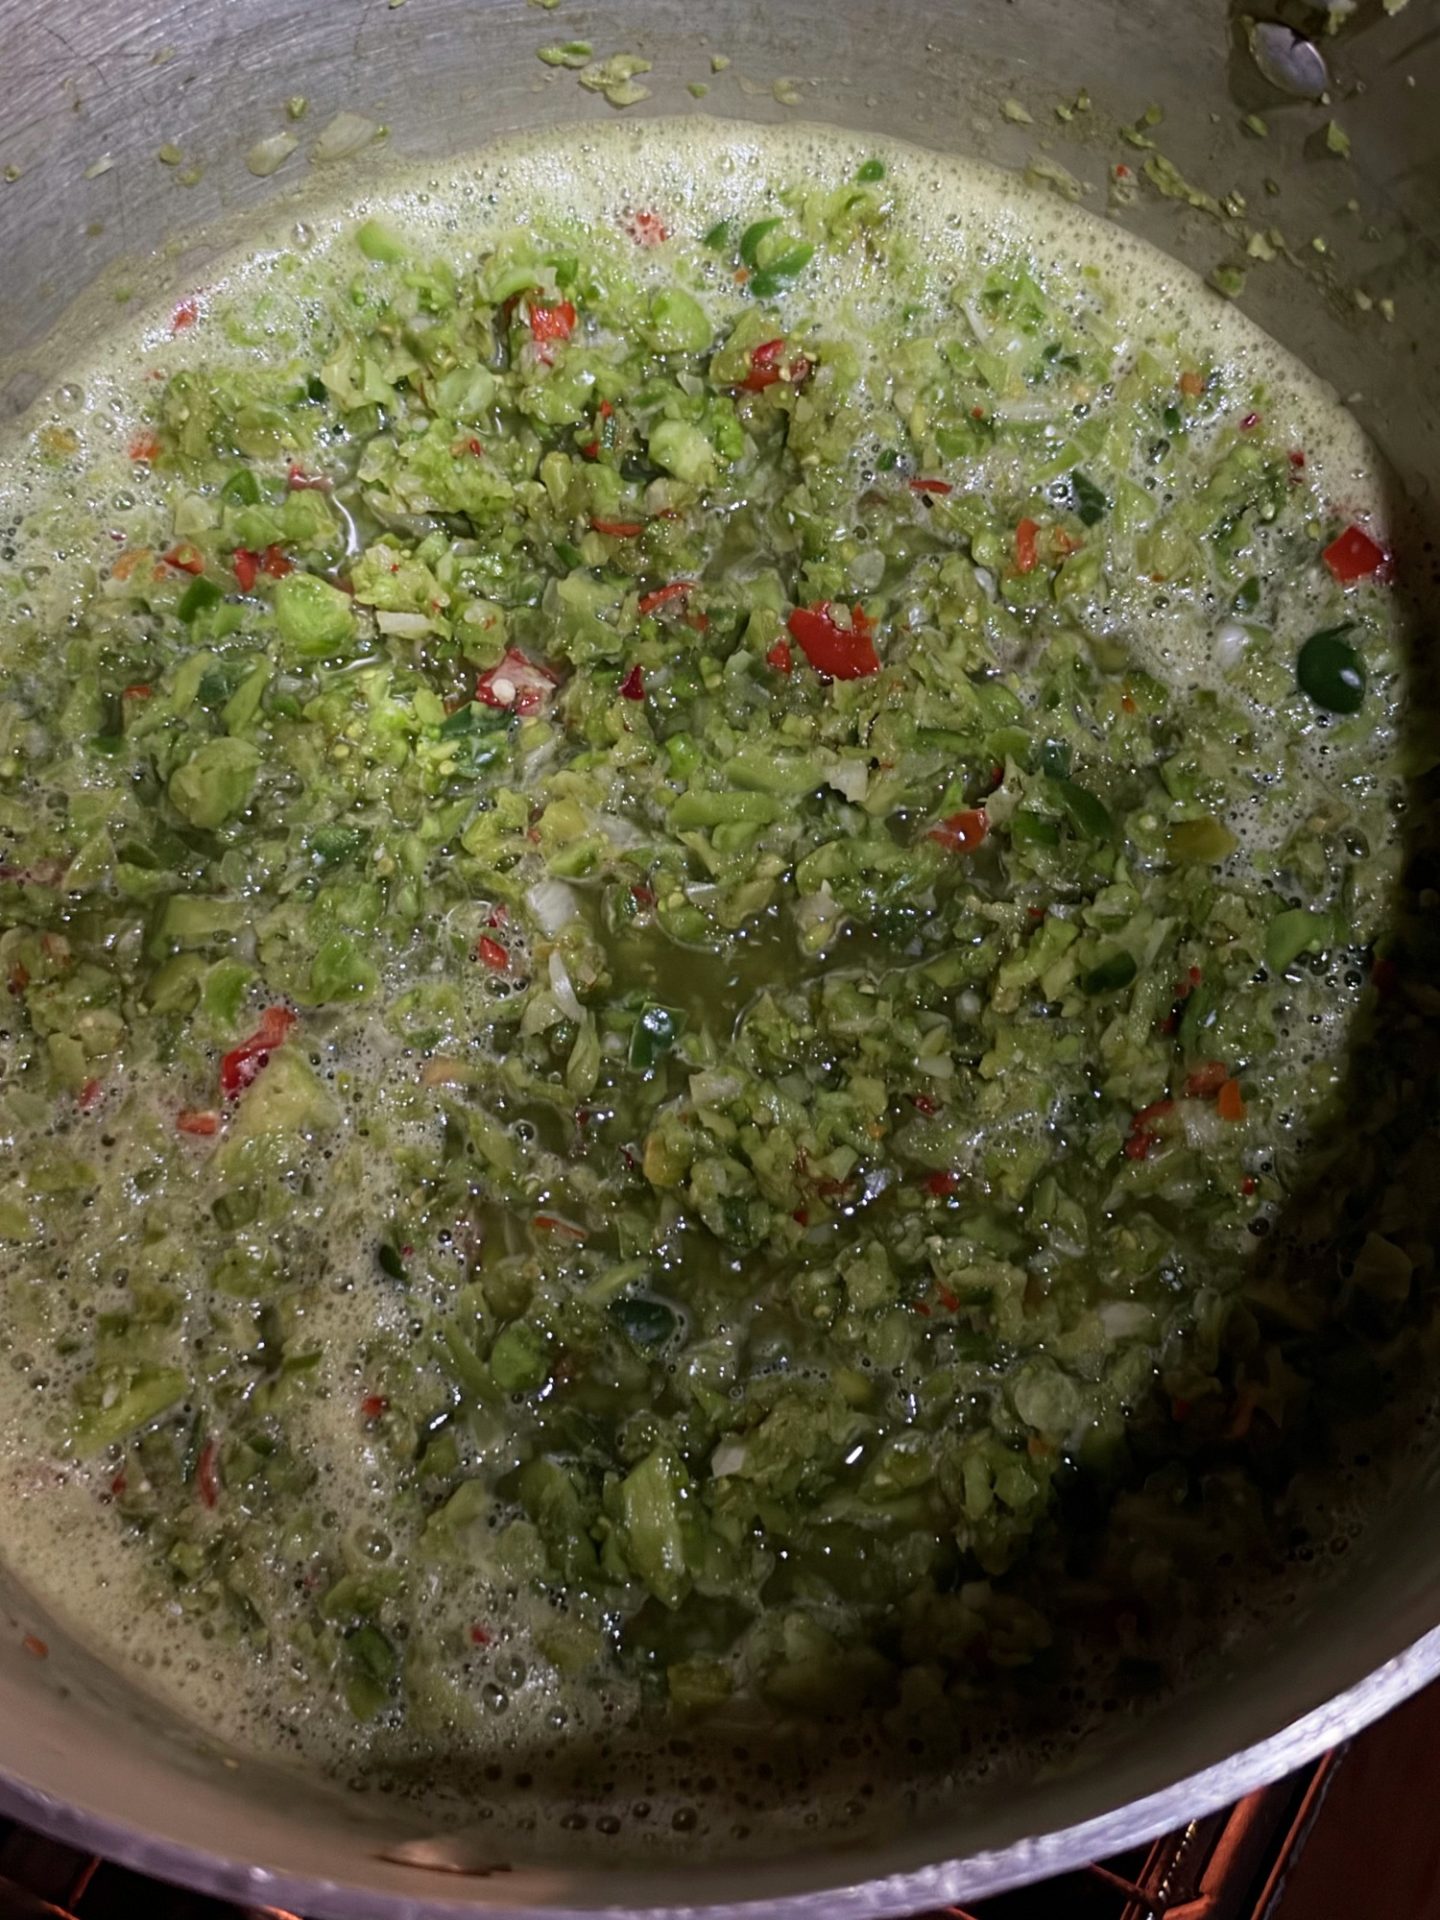
Then I drained it all in a colander. This pulls off the salty brine and a lot of the extra water. Don’t skip it.
Cooking the Relish
I put the drained vegetables back in the pot. Then in went the good stuff:
- 4 cups sugar
- 1 quart of apple cider vinegar (5% acidity)
- ⅓ cup prepared yellow mustard
- 2 tablespoons cornstarch
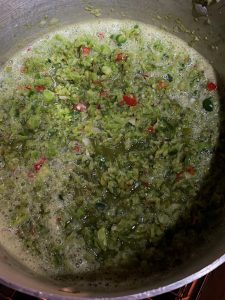
I stirred it well, brought it back to a boil, and simmered it for 5 minutes. The mustard turns it that nice golden-green color. Your kitchen is going to smell like a Southern church picnic.
One thing you can’t change: the vinegar. Don’t cut it. Don’t water it down. I used cider vinegar labeled 5% acidity. White distilled 5% works too. Just check the label. That vinegar is what keeps this relish safe on the shelf.
Canning: Into the Jars
This is where a tested recipe earns its keep. Somebody in a lab already did the testing on this one. I don’t have a lab. I have a kitchen and a grandpa’s common sense. So I follow the recipe.
Get your jars ready
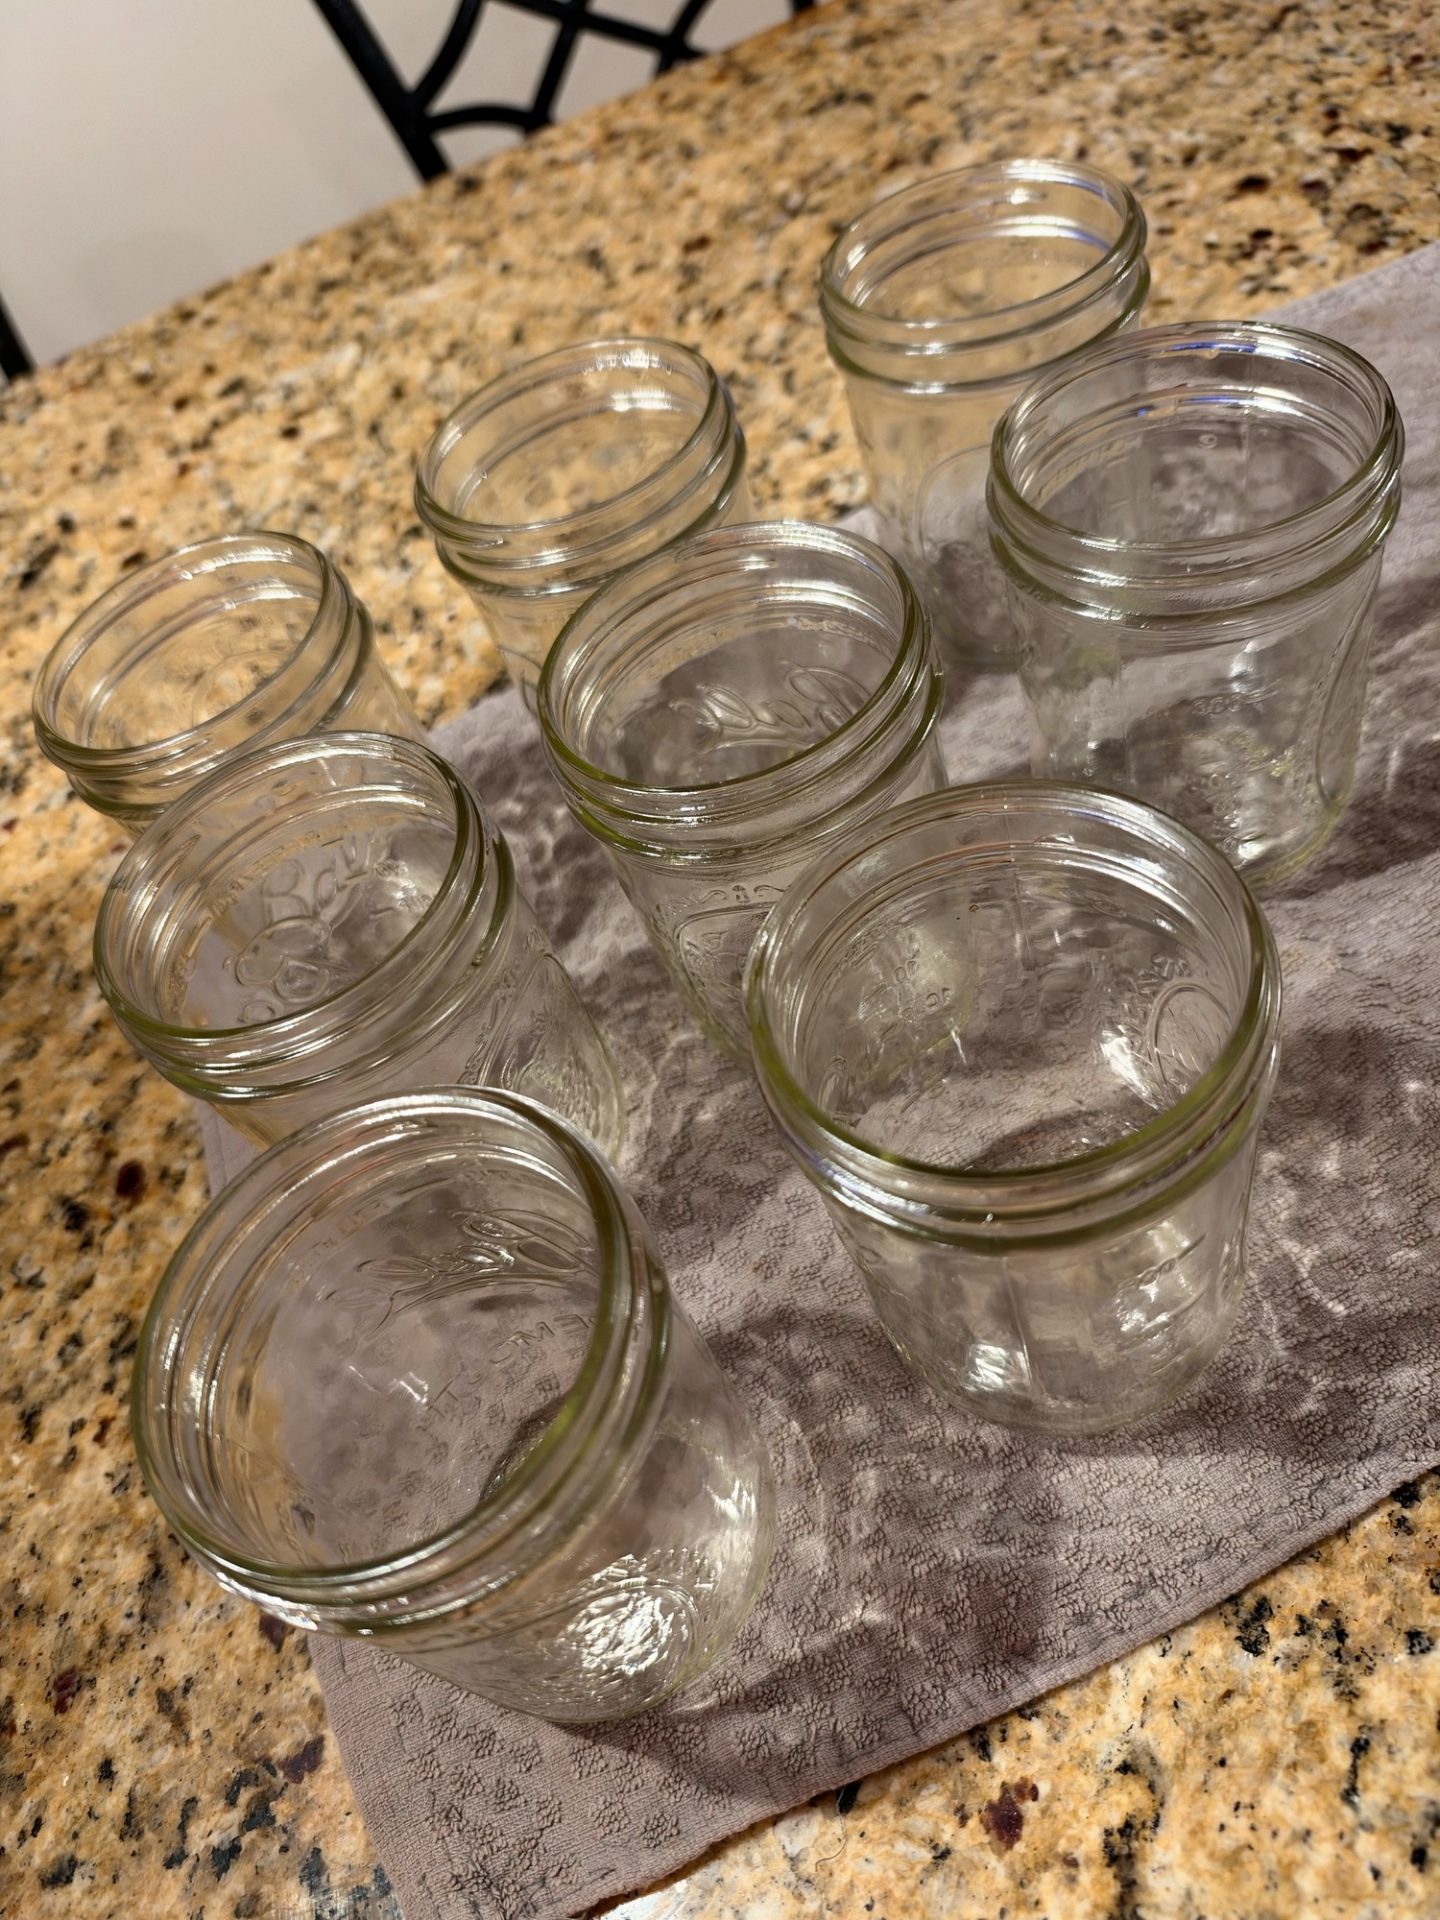
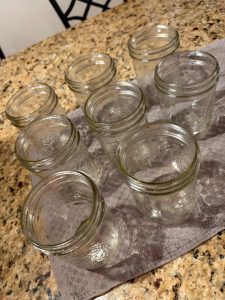
The NCHFP recipe calls for sterilized jars. That’s because the processing time is short, only 5 minutes. So I washed my empty pint jars, set them on the rack in the canner, and covered them with water by an inch. Then I boiled them for 10 minutes. That’s the time for 0 to 1,000 feet, which covers us in Blythewood. If you live higher, the NCHFP says to boil 1 more minute for every extra 1,000 feet. I kept the jars in that hot water until I was ready to fill them. Bonus: that same hot water is ready for processing.
Fill, wipe and lid
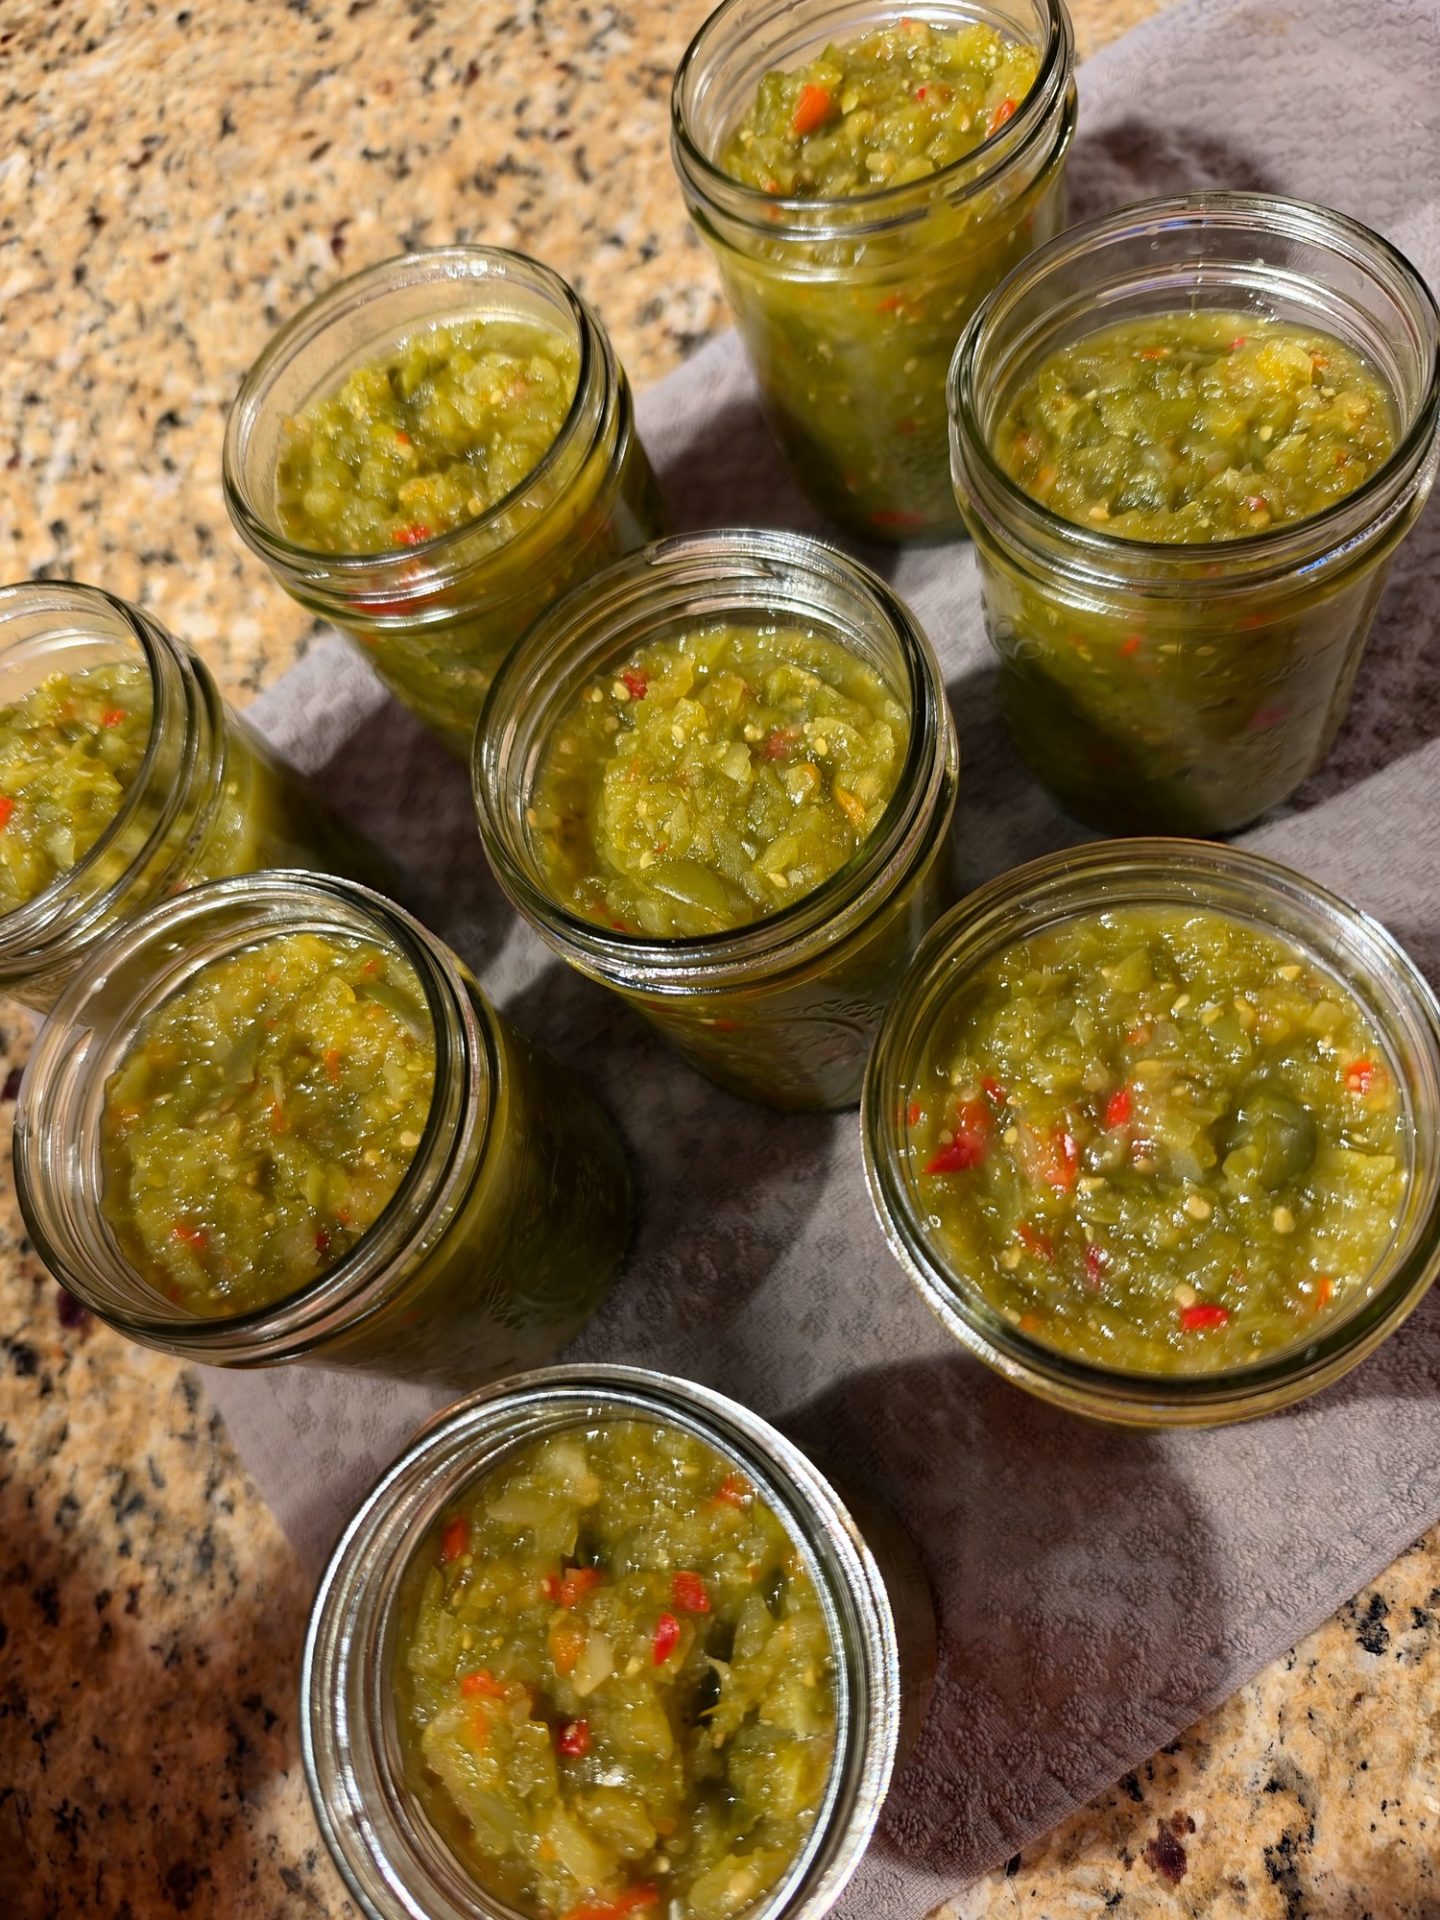
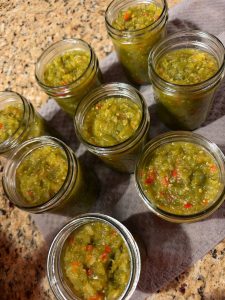
Pack the hot relish into the hot jars. Leave ½ inch of headspace. Slide a clean spatula down the sides to pop out air bubbles.
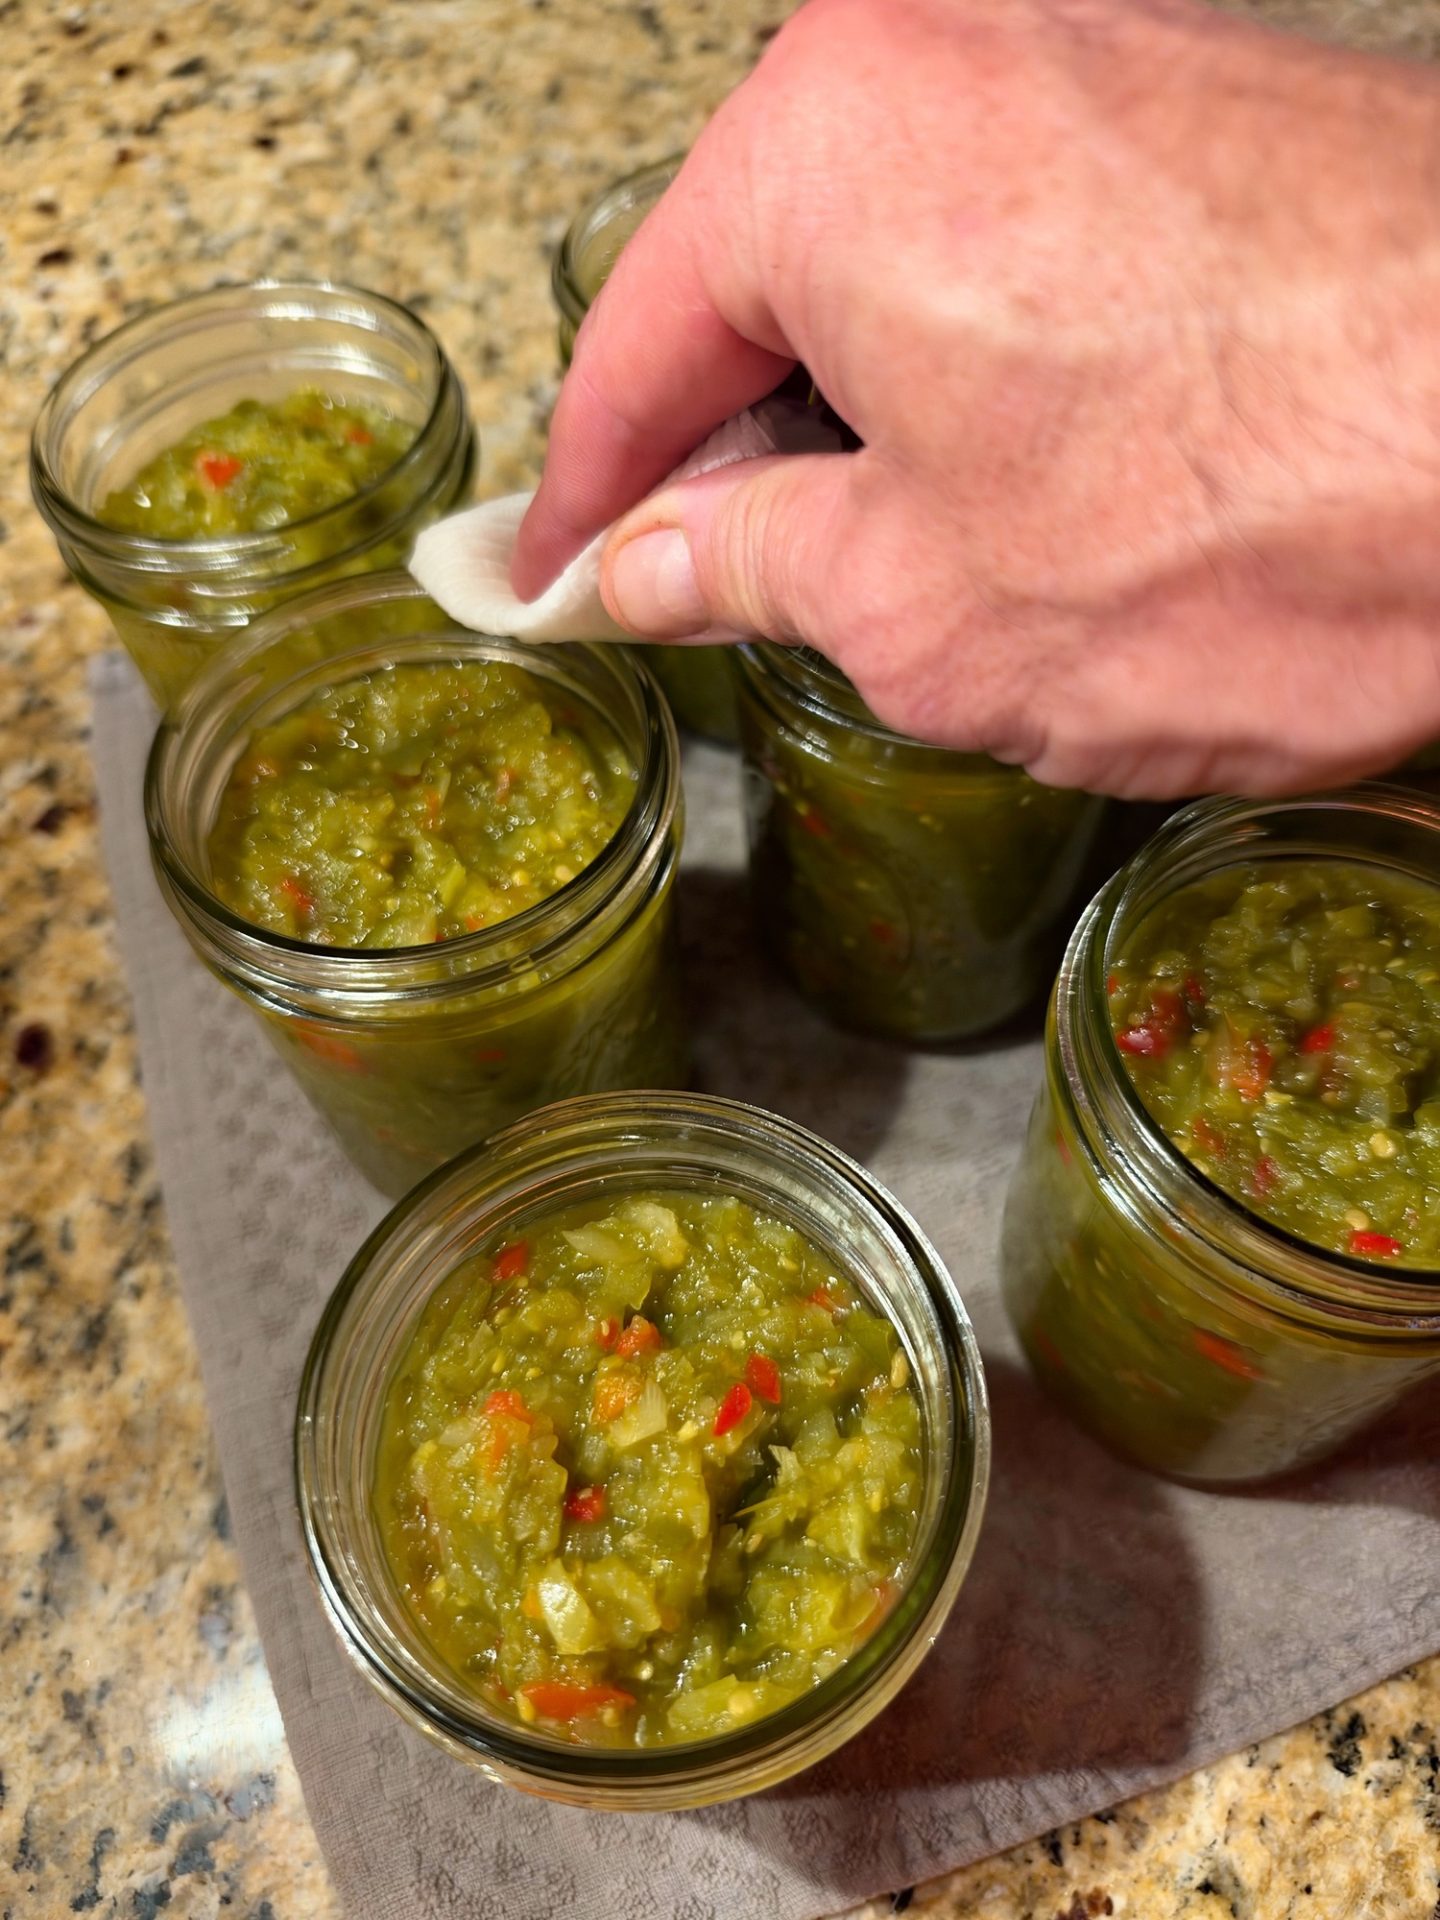
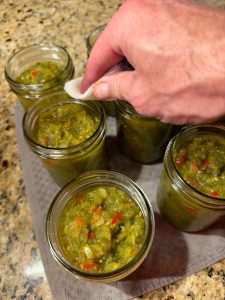
Wipe each rim with a clean cloth dampened with white vinegar. We always do this. The vinegar cuts through any relish or syrup spillage that would keep the lid from getting a solid seal. I don’t skip this, ever.
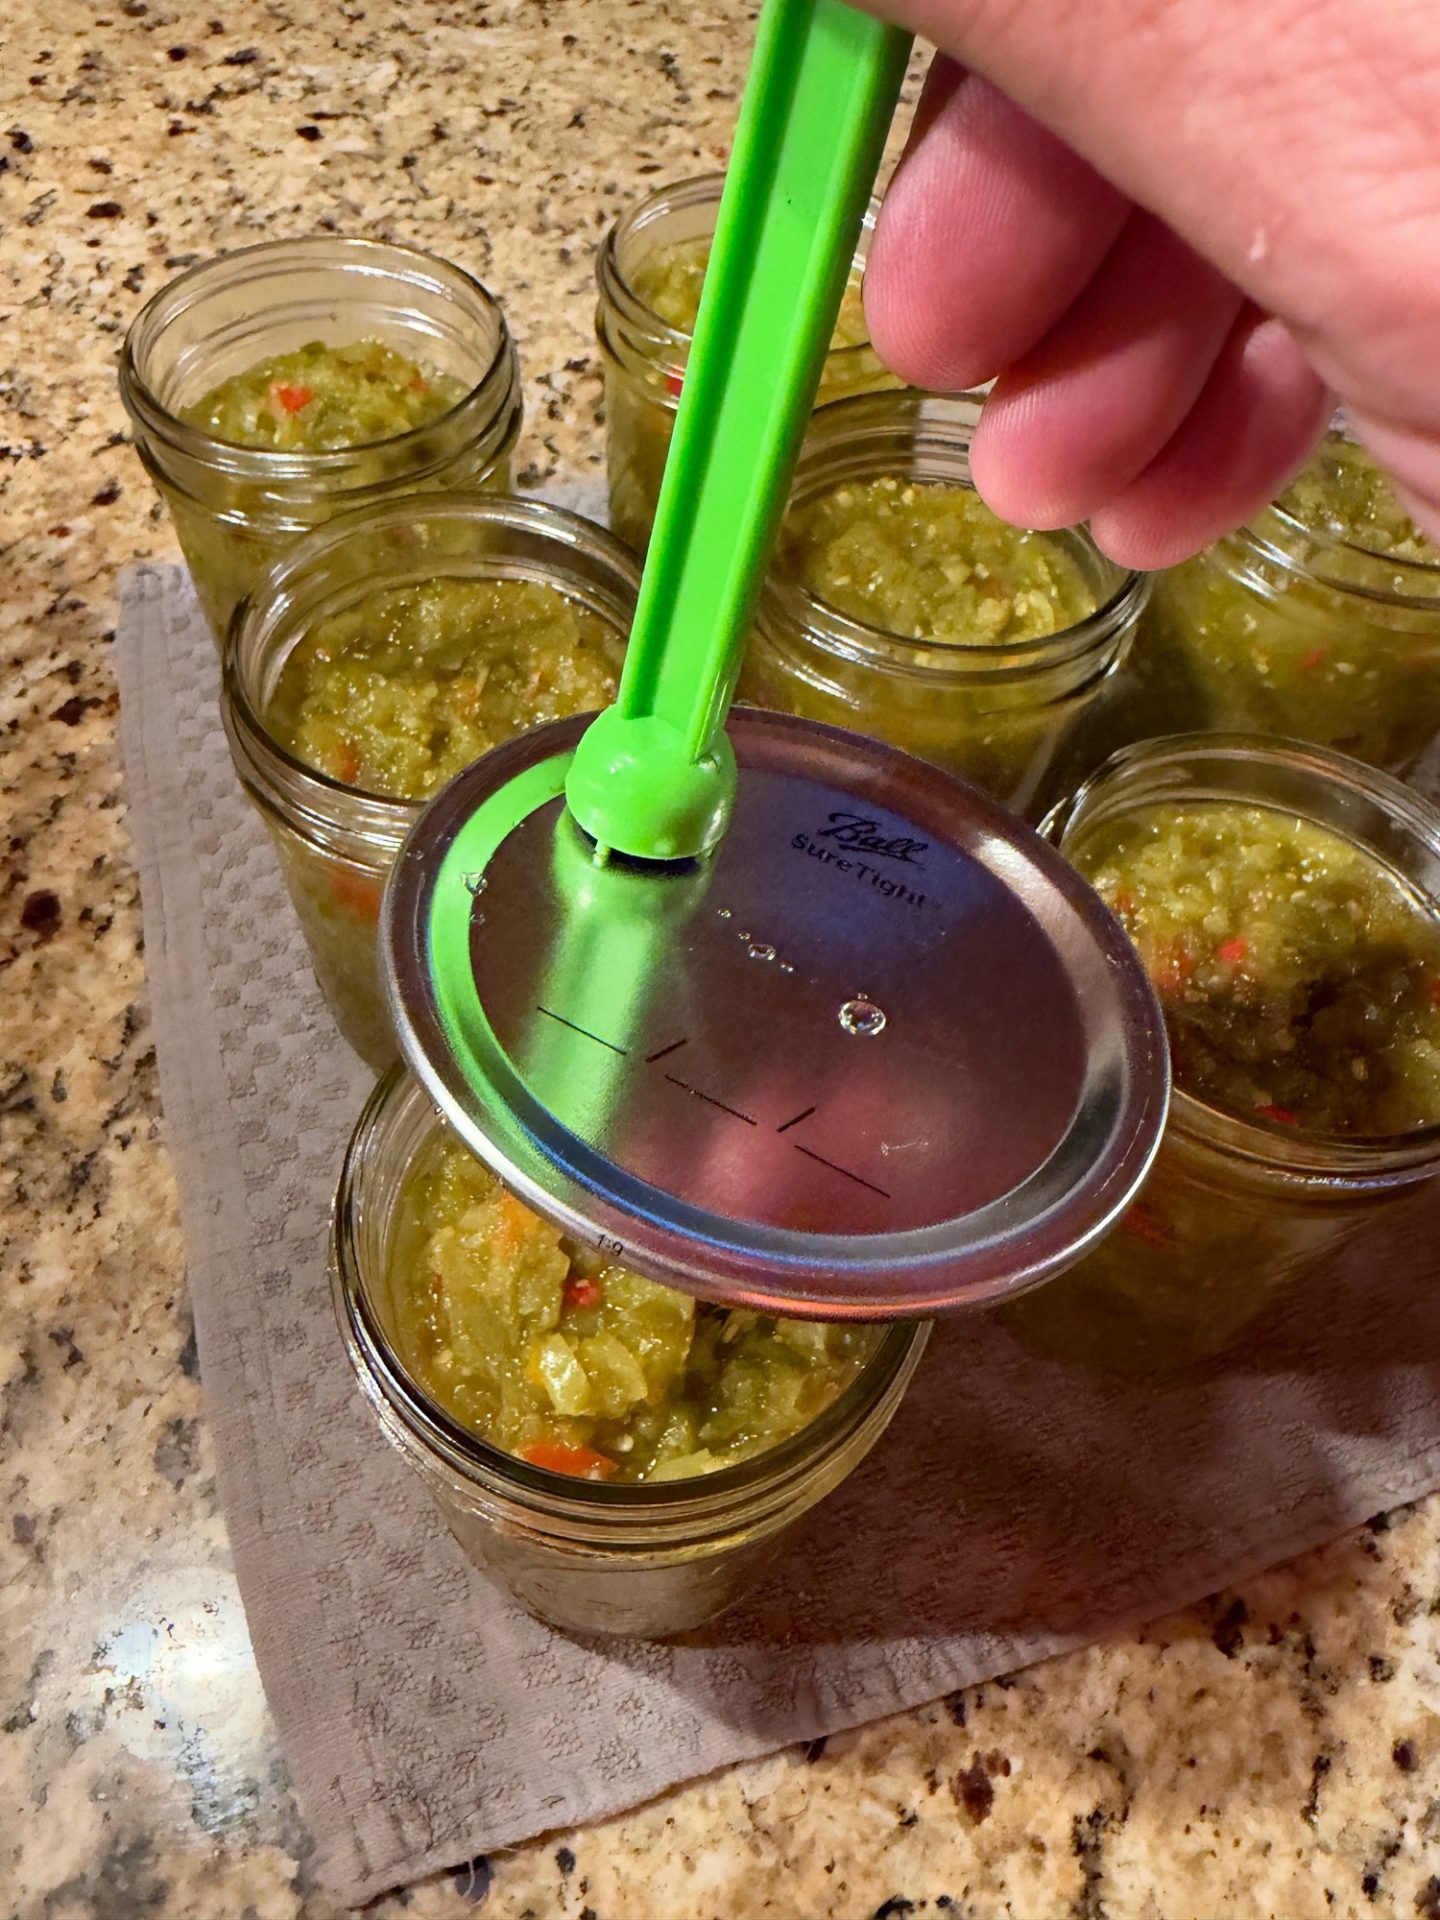
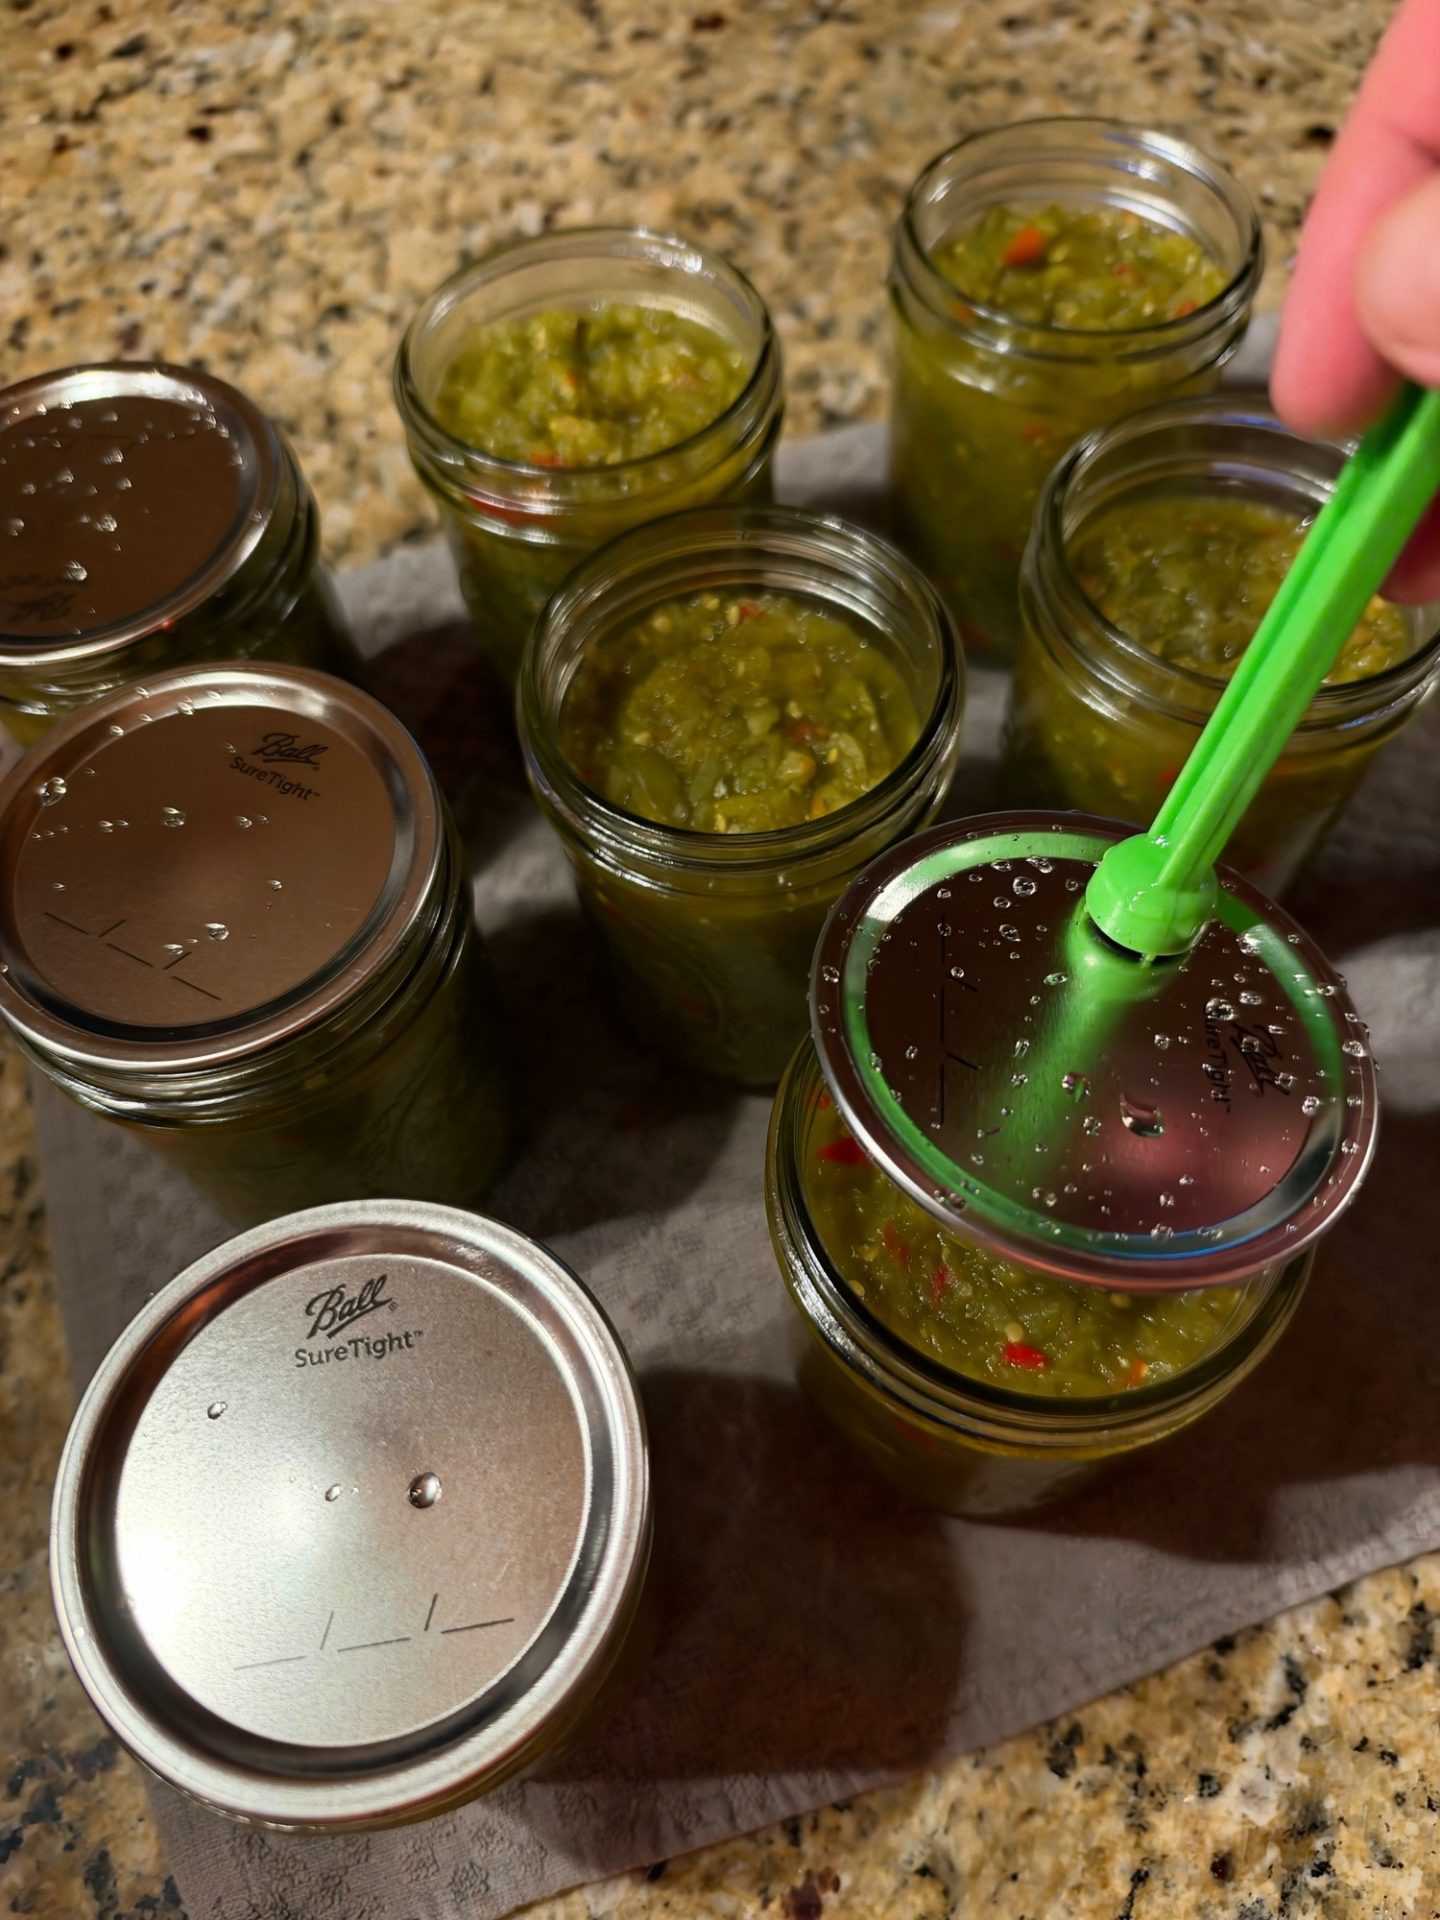
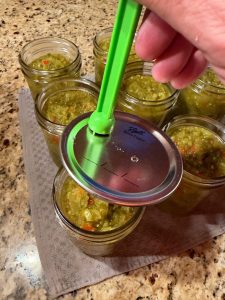
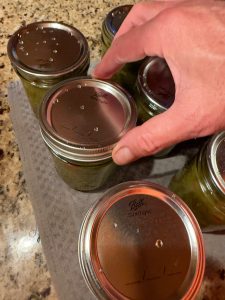
I use a lid magnet to set the lids. It keeps fingers off the clean lid and the rim. Then screw the bands on fingertip tight.
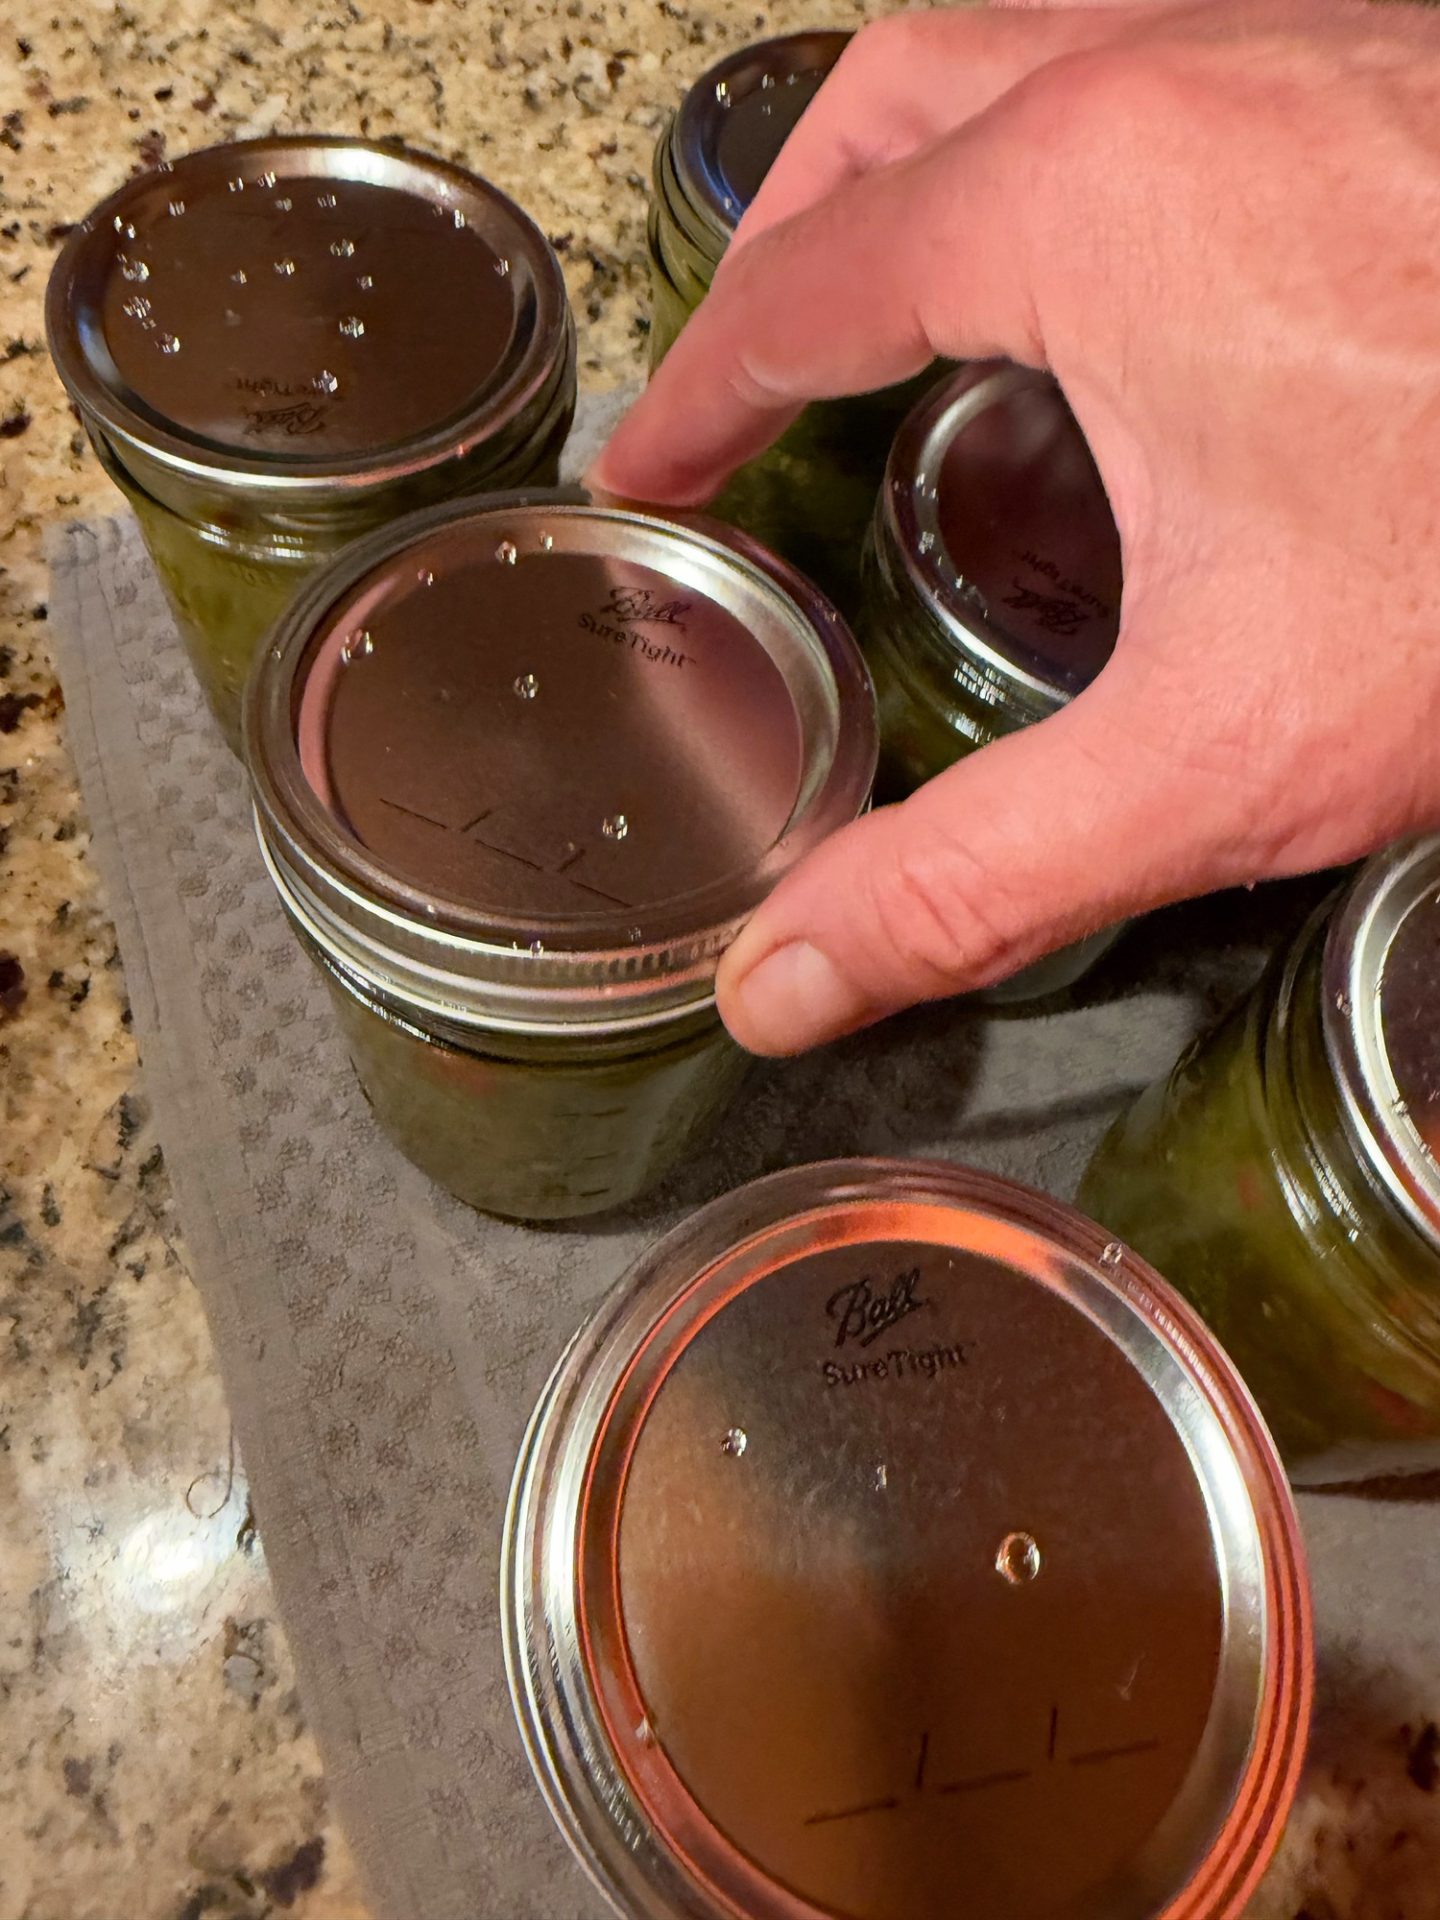
Process in a boiling water canner
Set the jars in the canner. Make sure the water covers the jars by at least 1 inch. Bring it to a full rolling boil, then start your timer.
We’re at 0 to 1,000 feet in Blythewood, so my process time is 5 minutes for pints. If you live higher up, add time:
| Jar size | 0–1,000 ft | 1,001–6,000 ft | Above 6,000 ft |
|---|---|---|---|
| Pints (hot pack) | 5 min | 10 min | 15 min |
Process times from the NCHFP Pickled Green Tomato Relish recipe.
When time’s up, turn off the heat and lift the jars out. Set them on a towel and leave them alone for 12 to 24 hours. Then listen for that sweet “ping.”
I canned in pints, which is what the NCHFP table covers. Don’t use quarts for this recipe.
The Payoff: Jars on the Counter
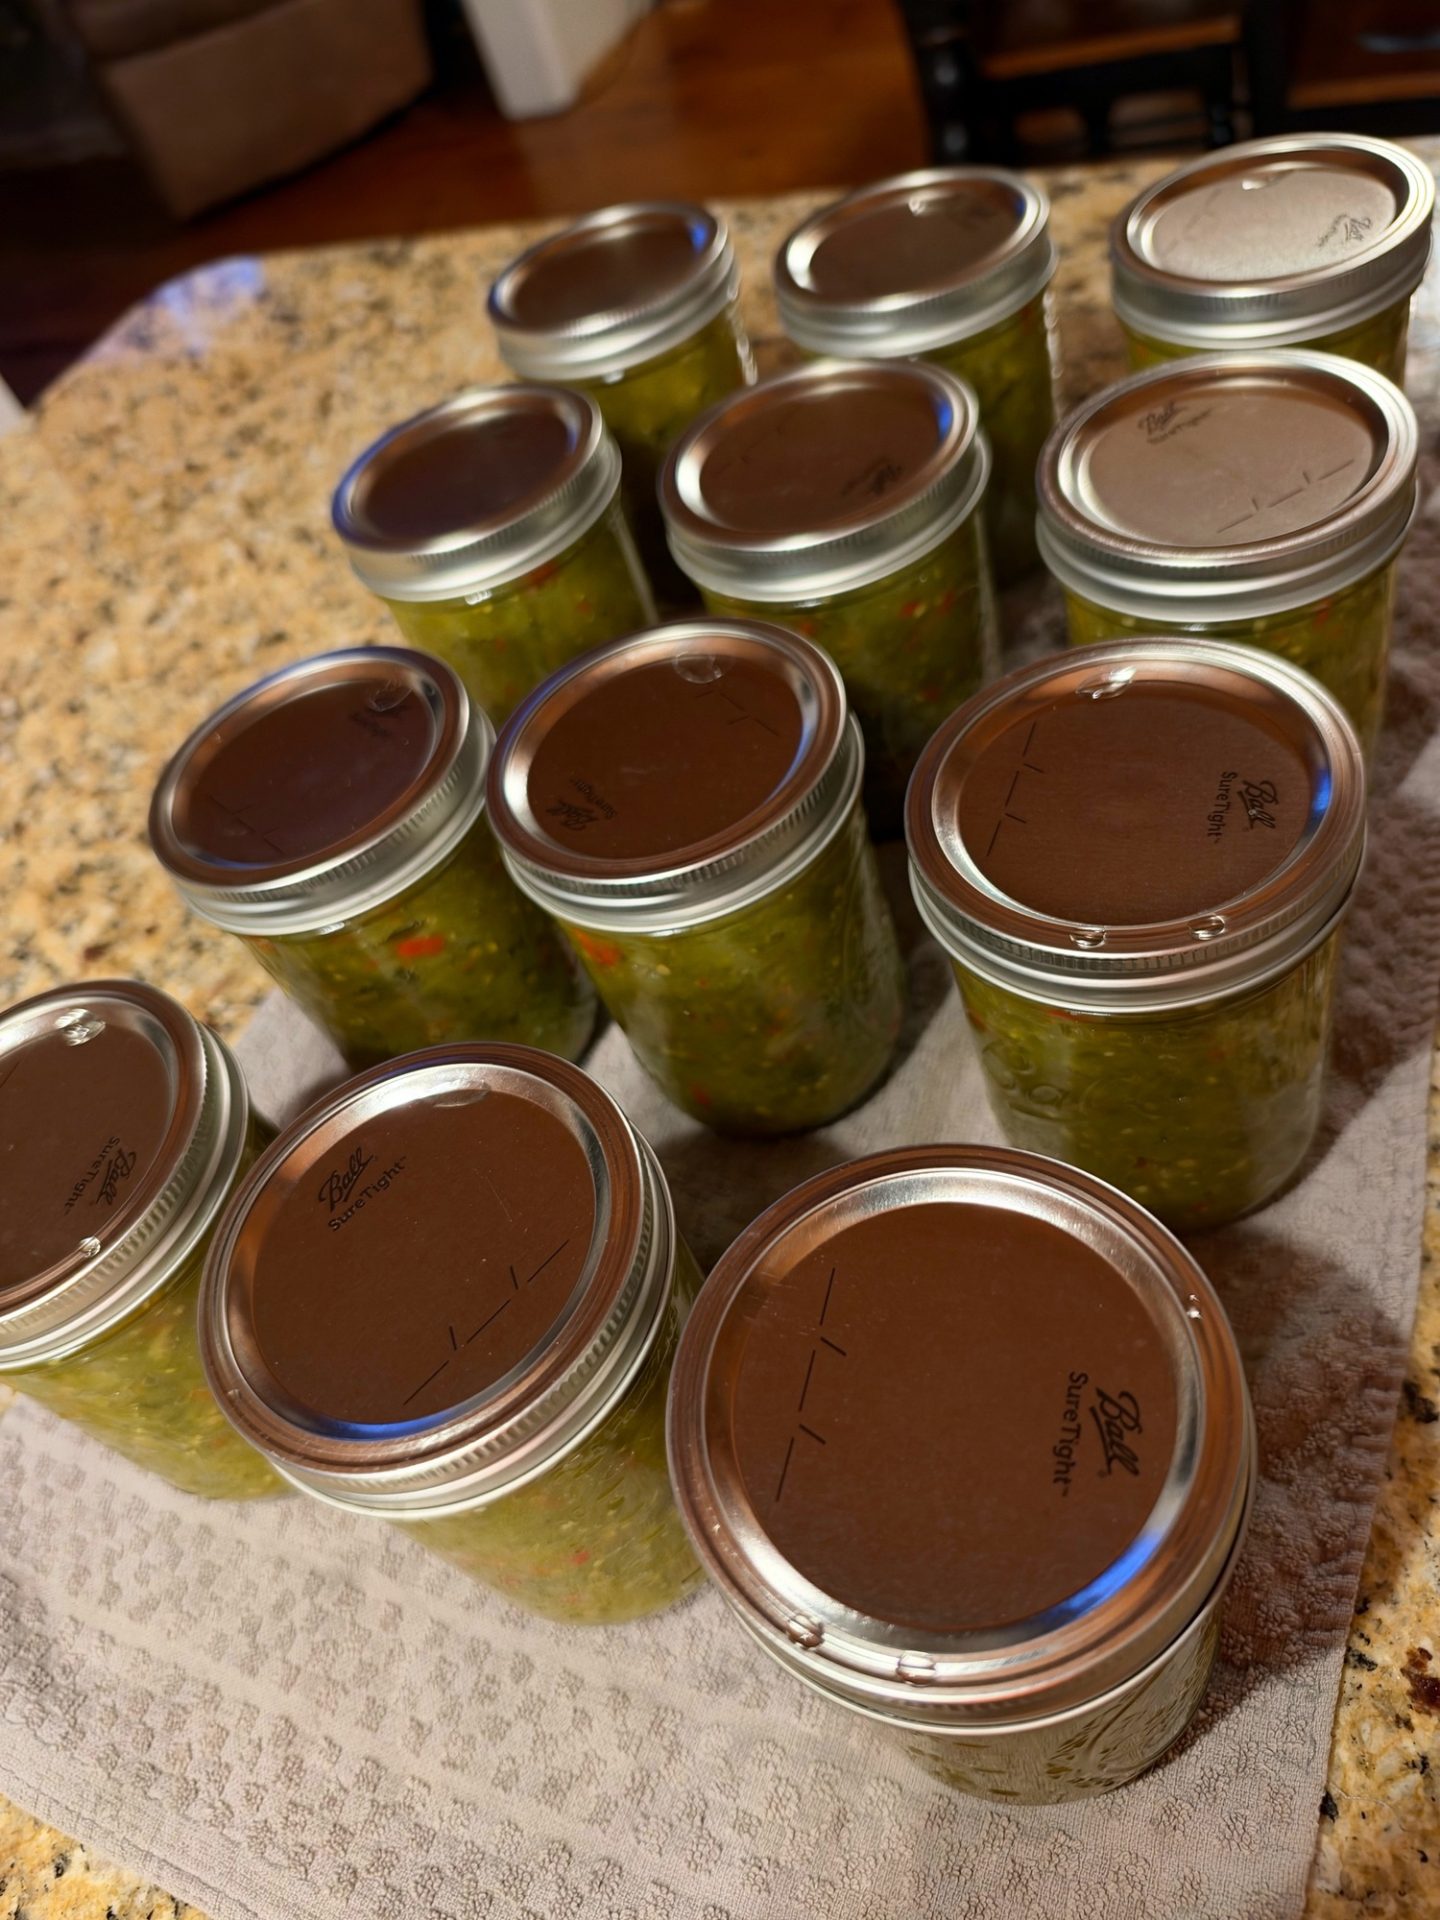
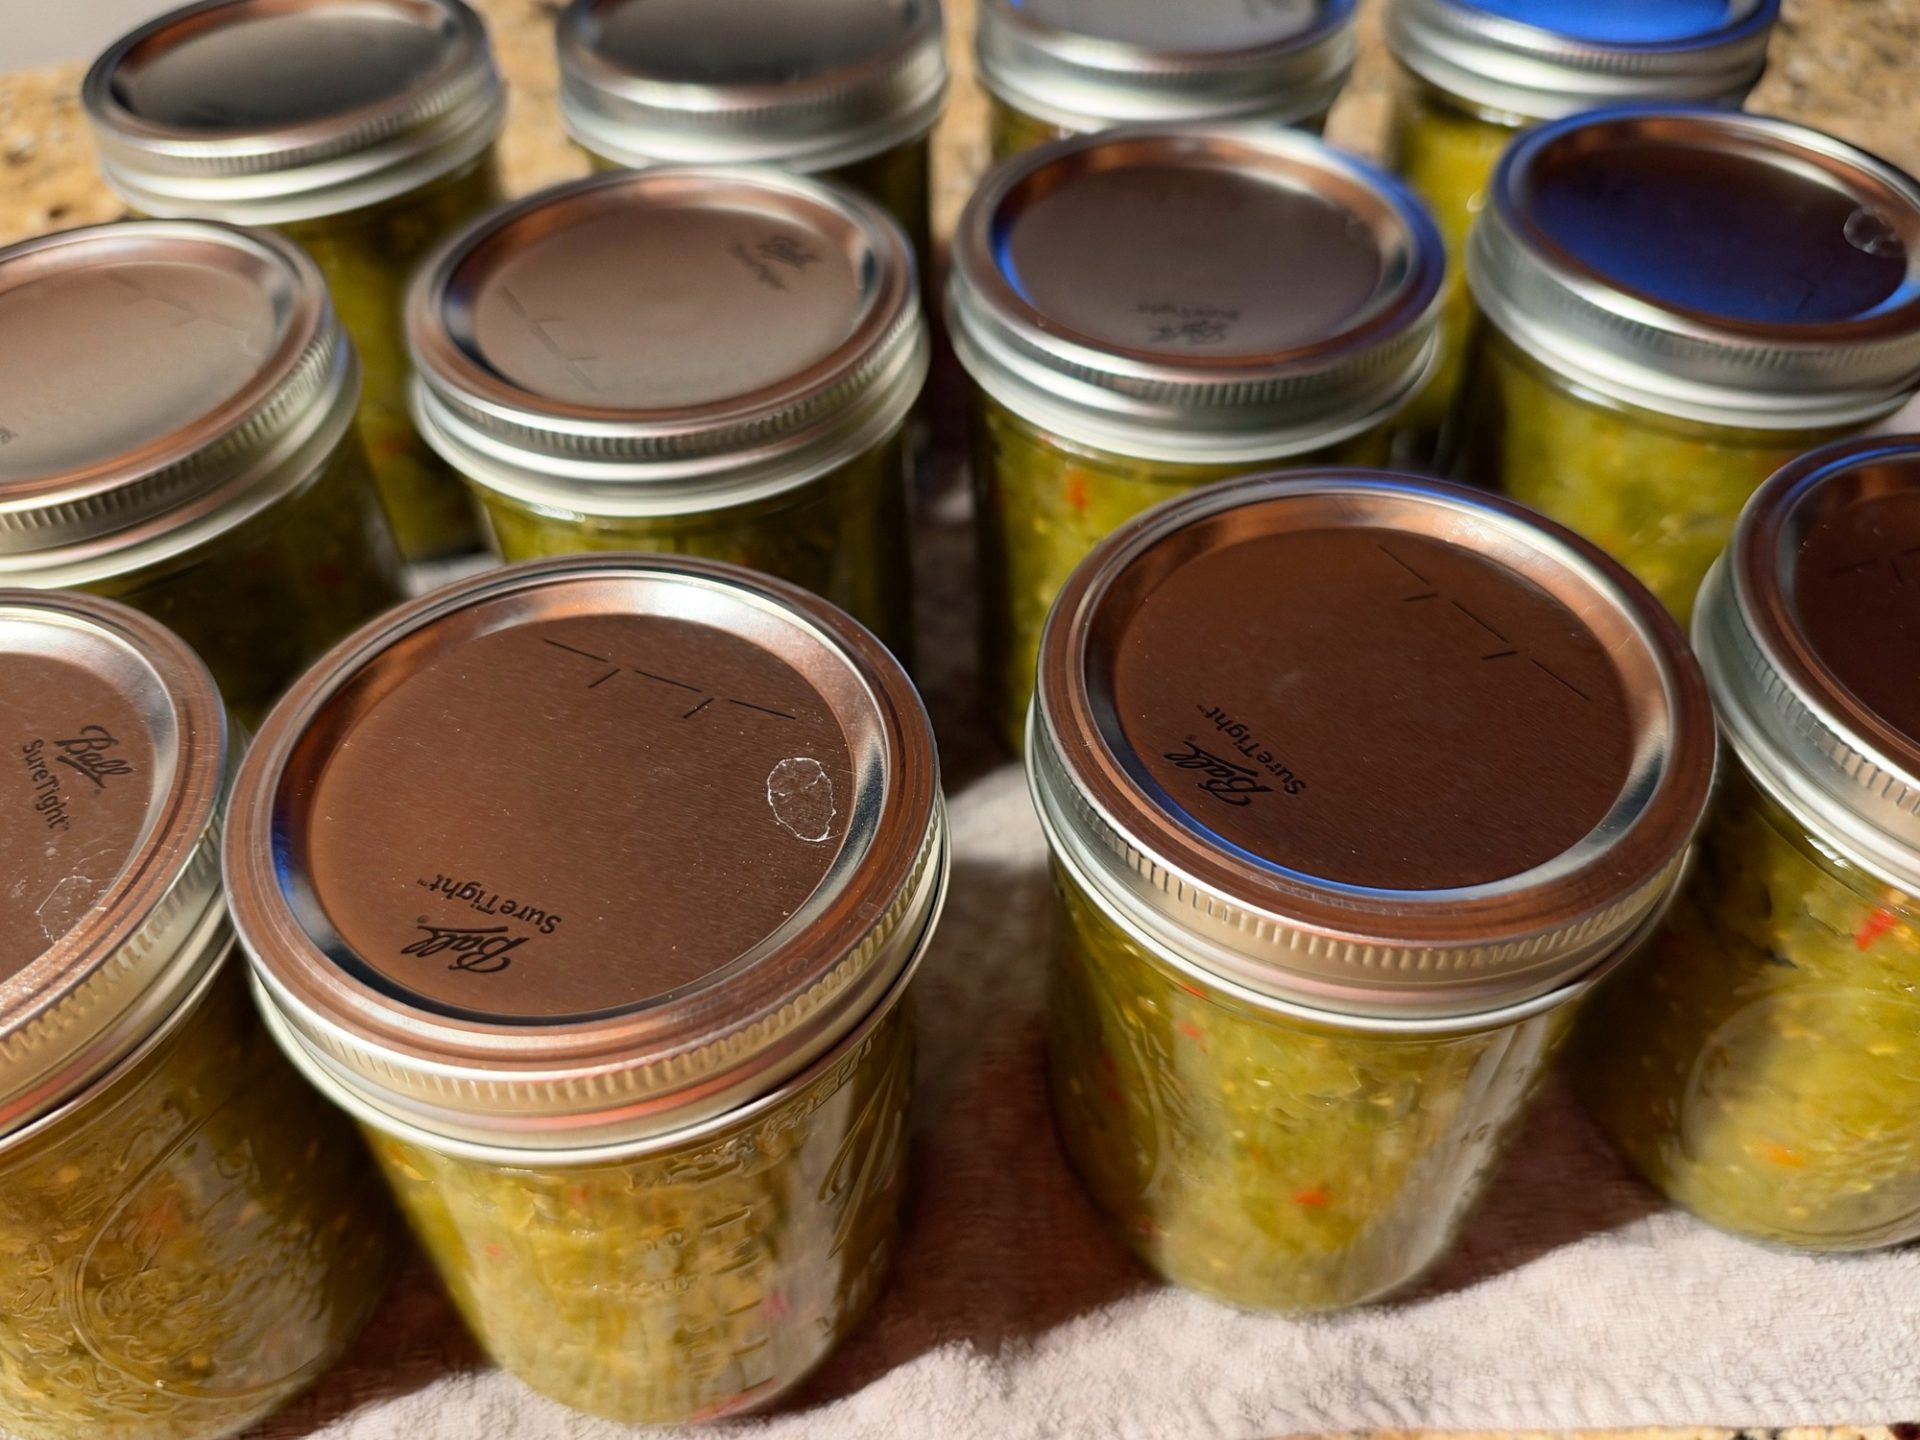
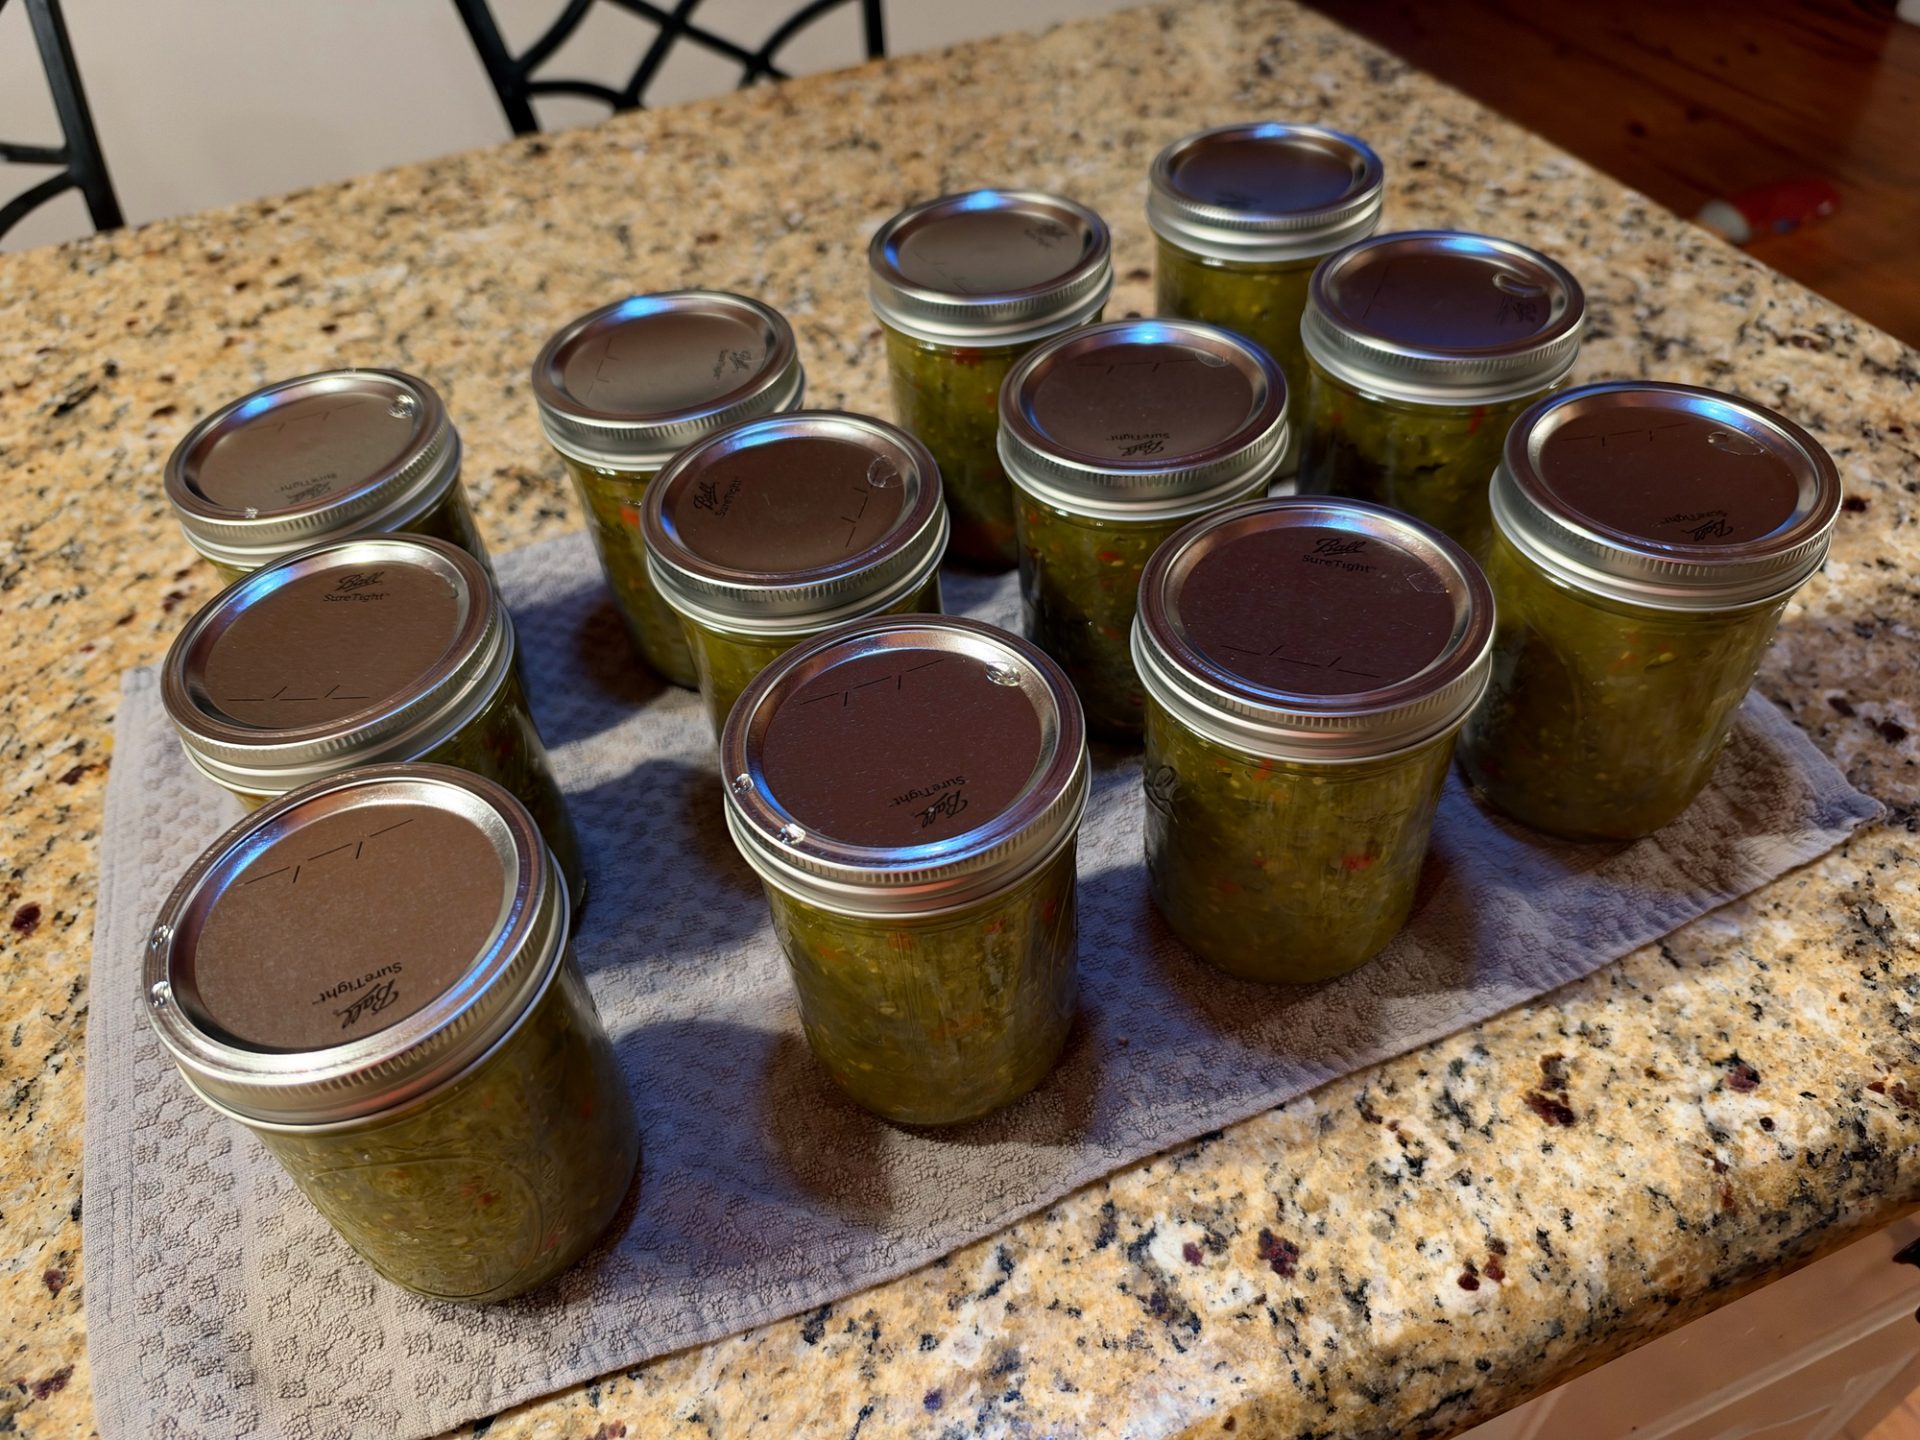
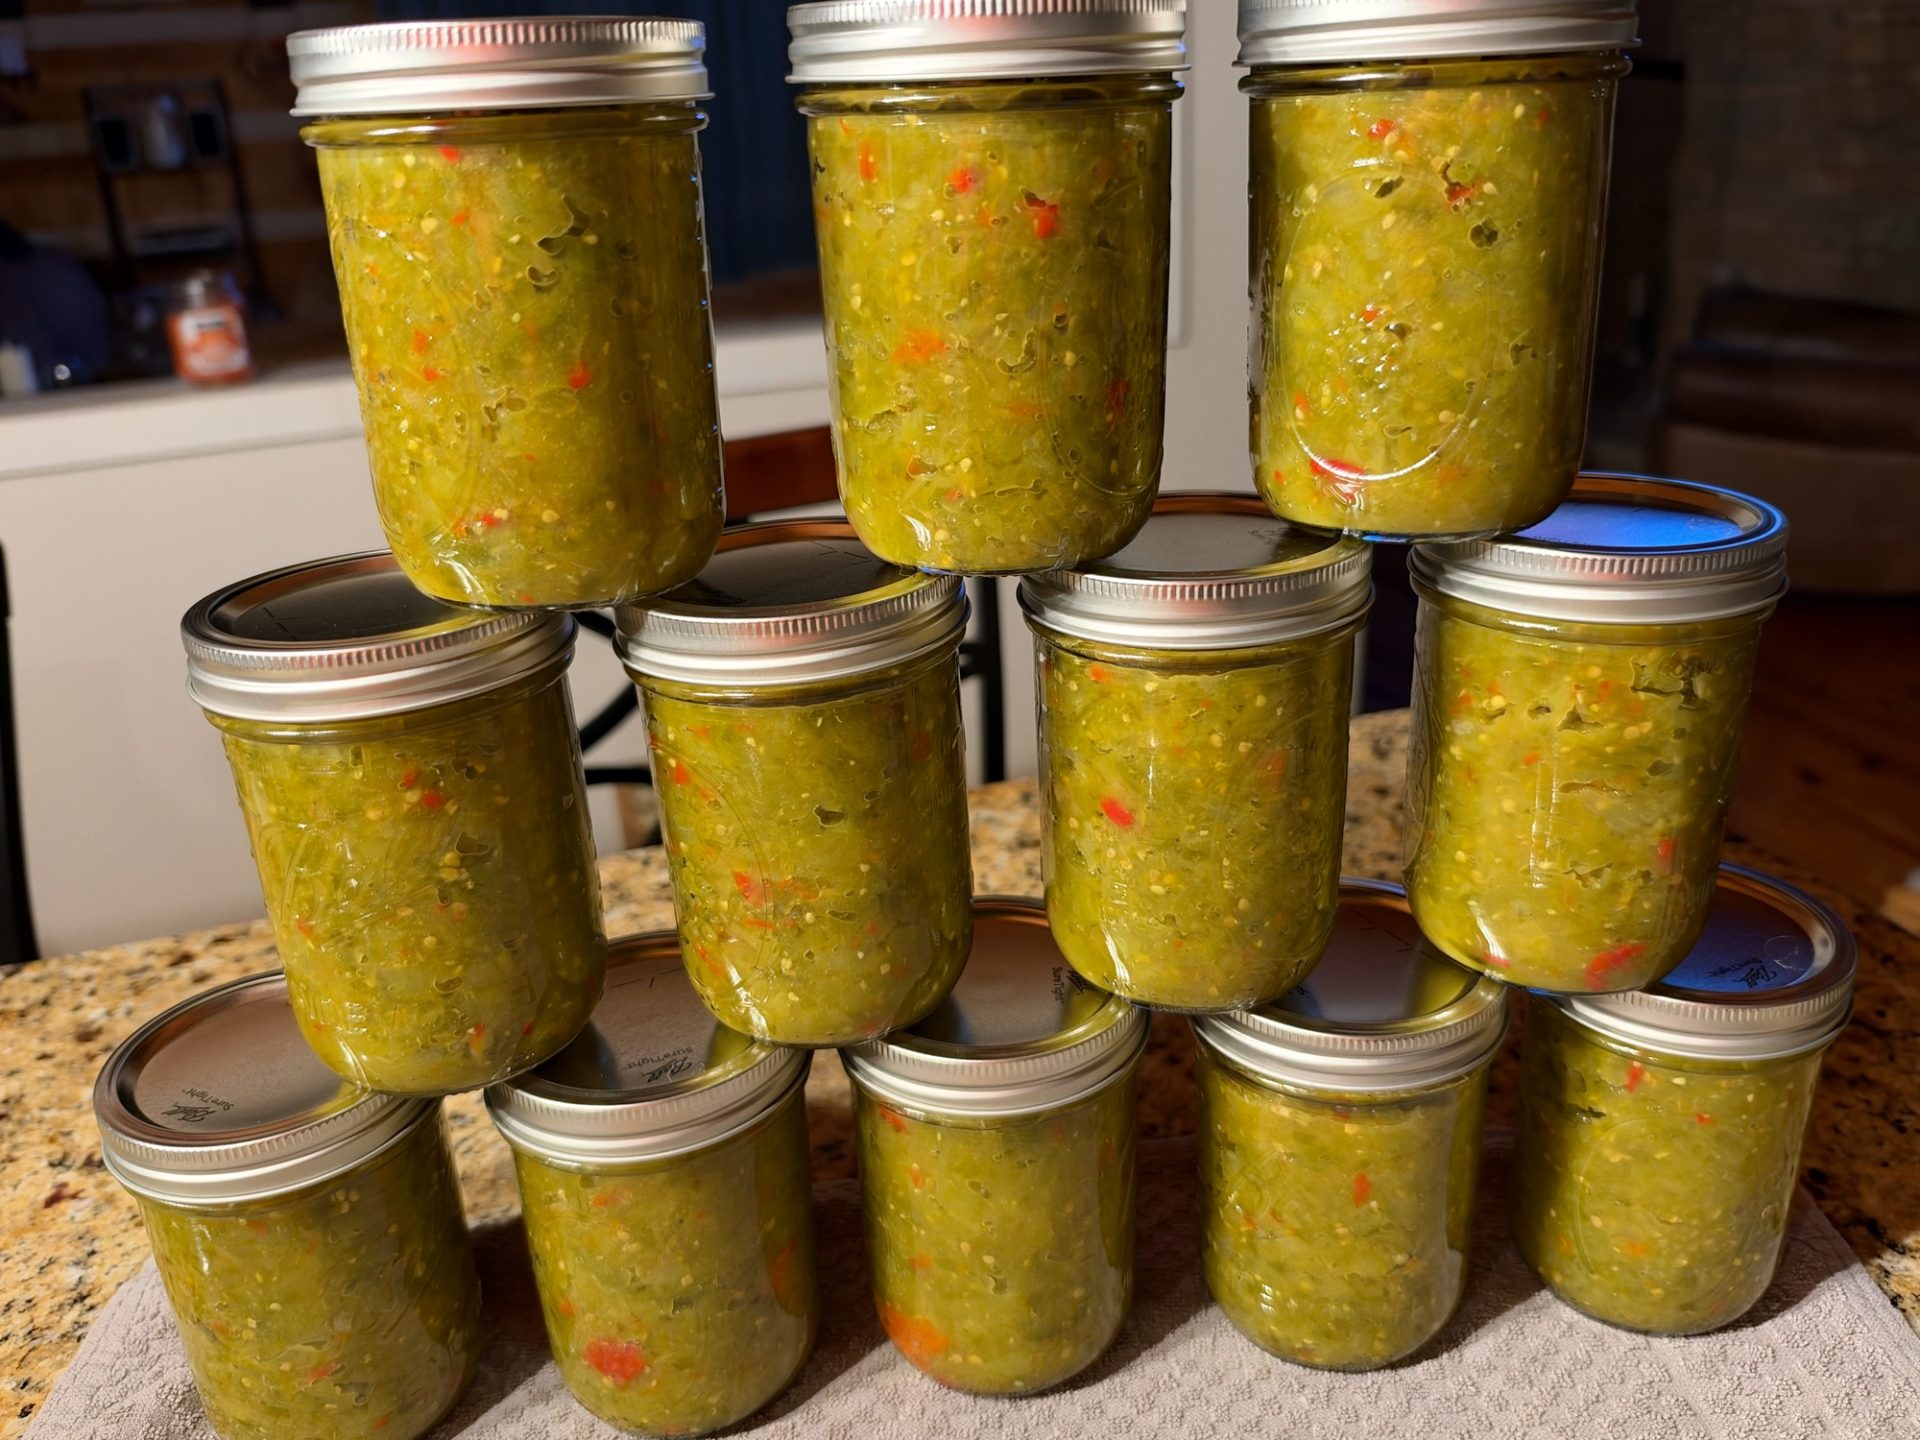
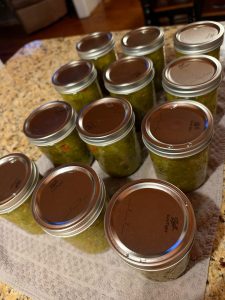
After they cooled, I checked every seal. Press the middle of the lid. If it doesn’t flex or pop, it’s sealed. Any jar that didn’t seal goes in the fridge and gets eaten first.
The recipe says it makes 7 to 9 pints. My batch made 12 pints of shelf-stable relish. I’m not complaining. And every one of those 12 pint jars sealed. That’s a perfect score, folks.
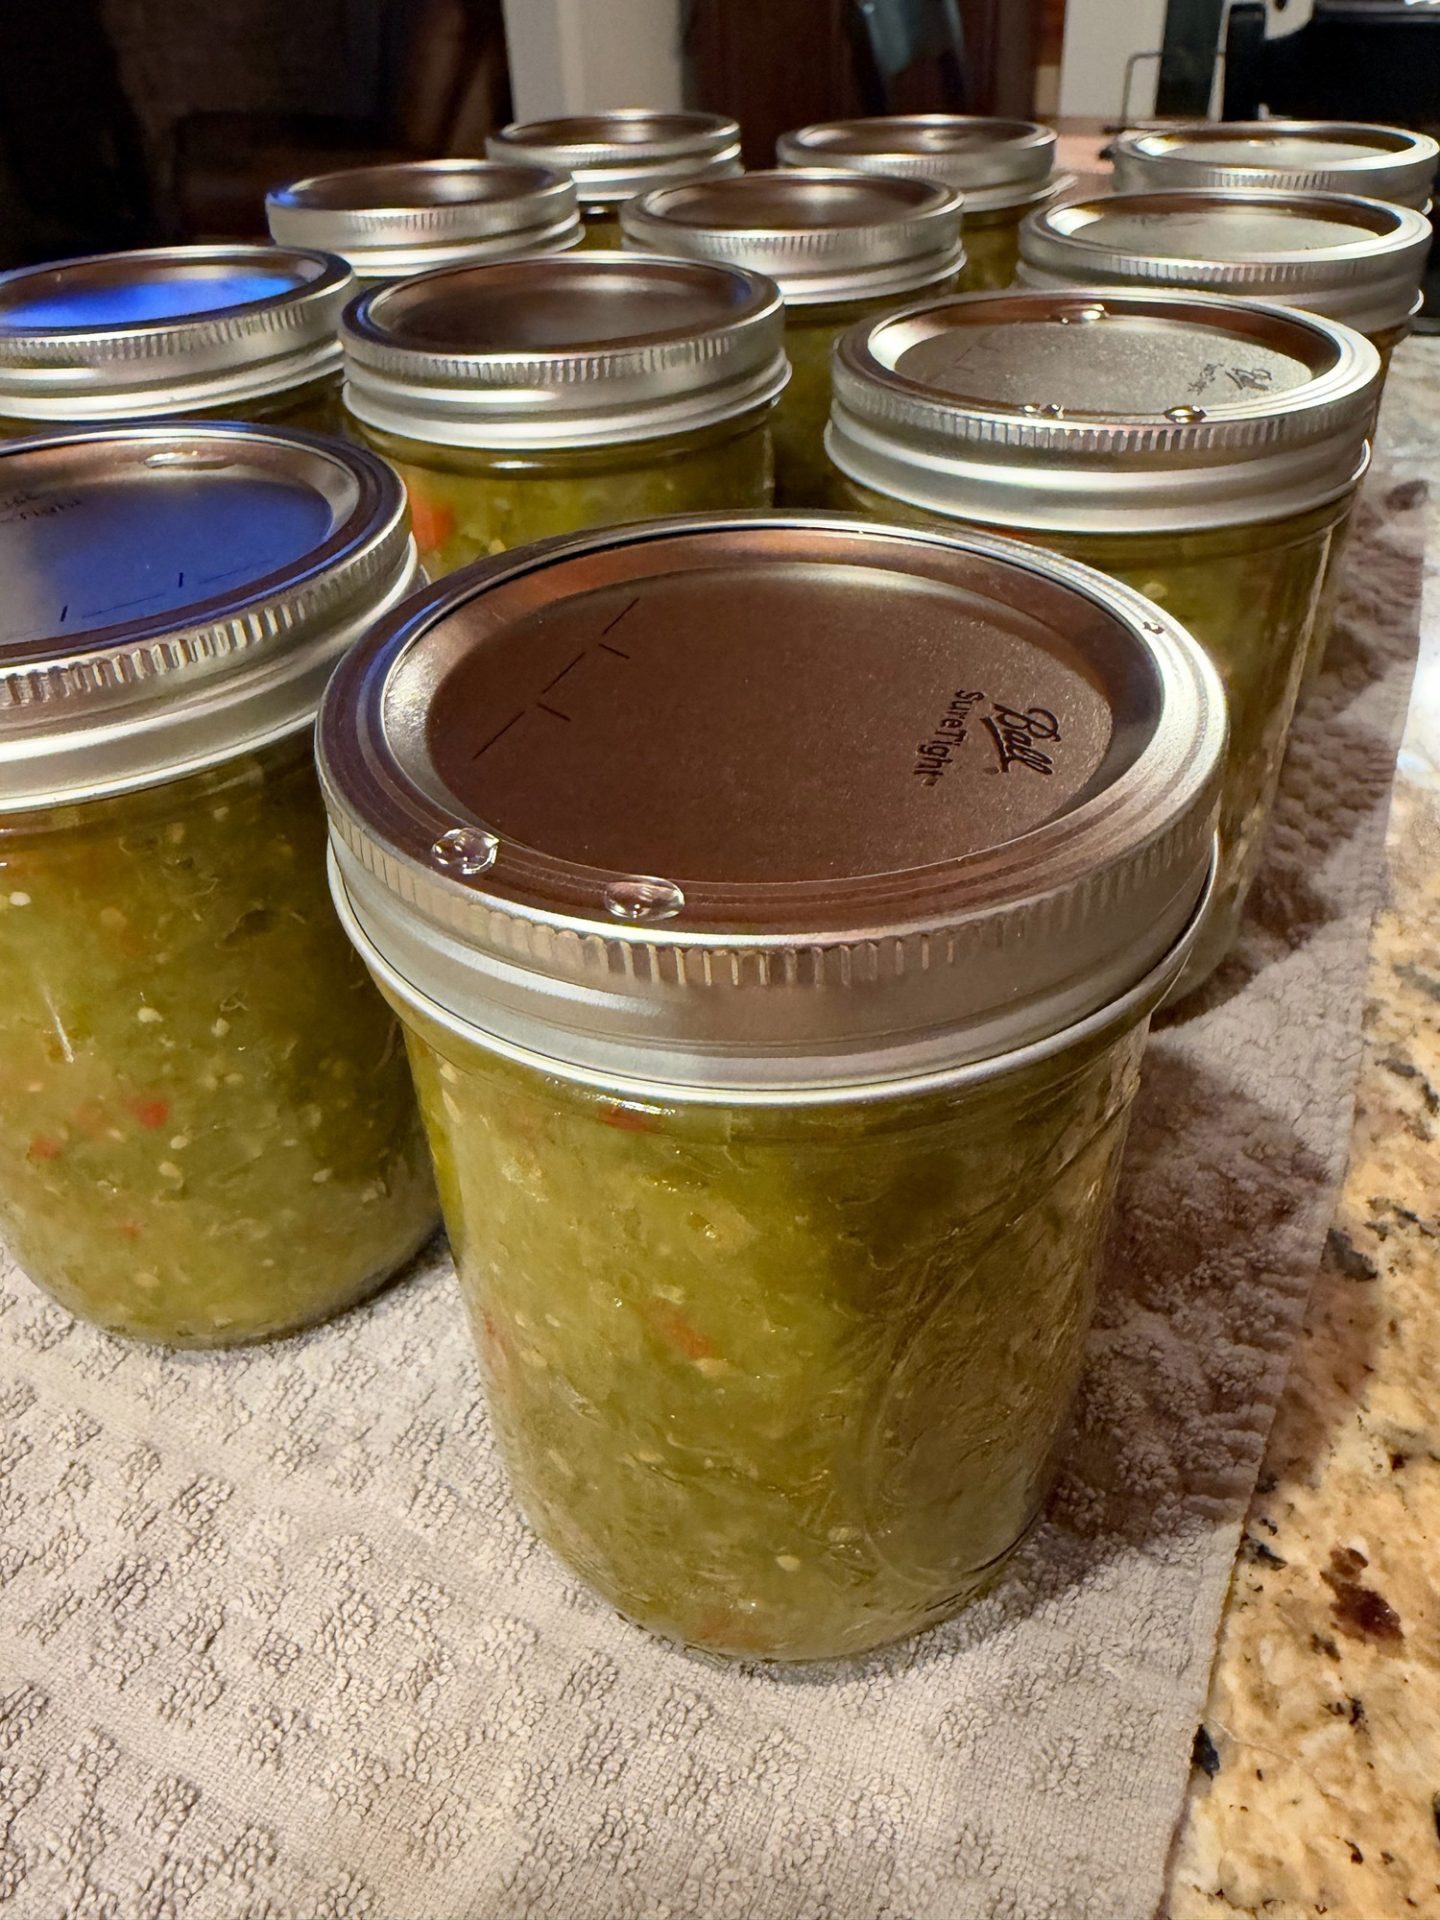
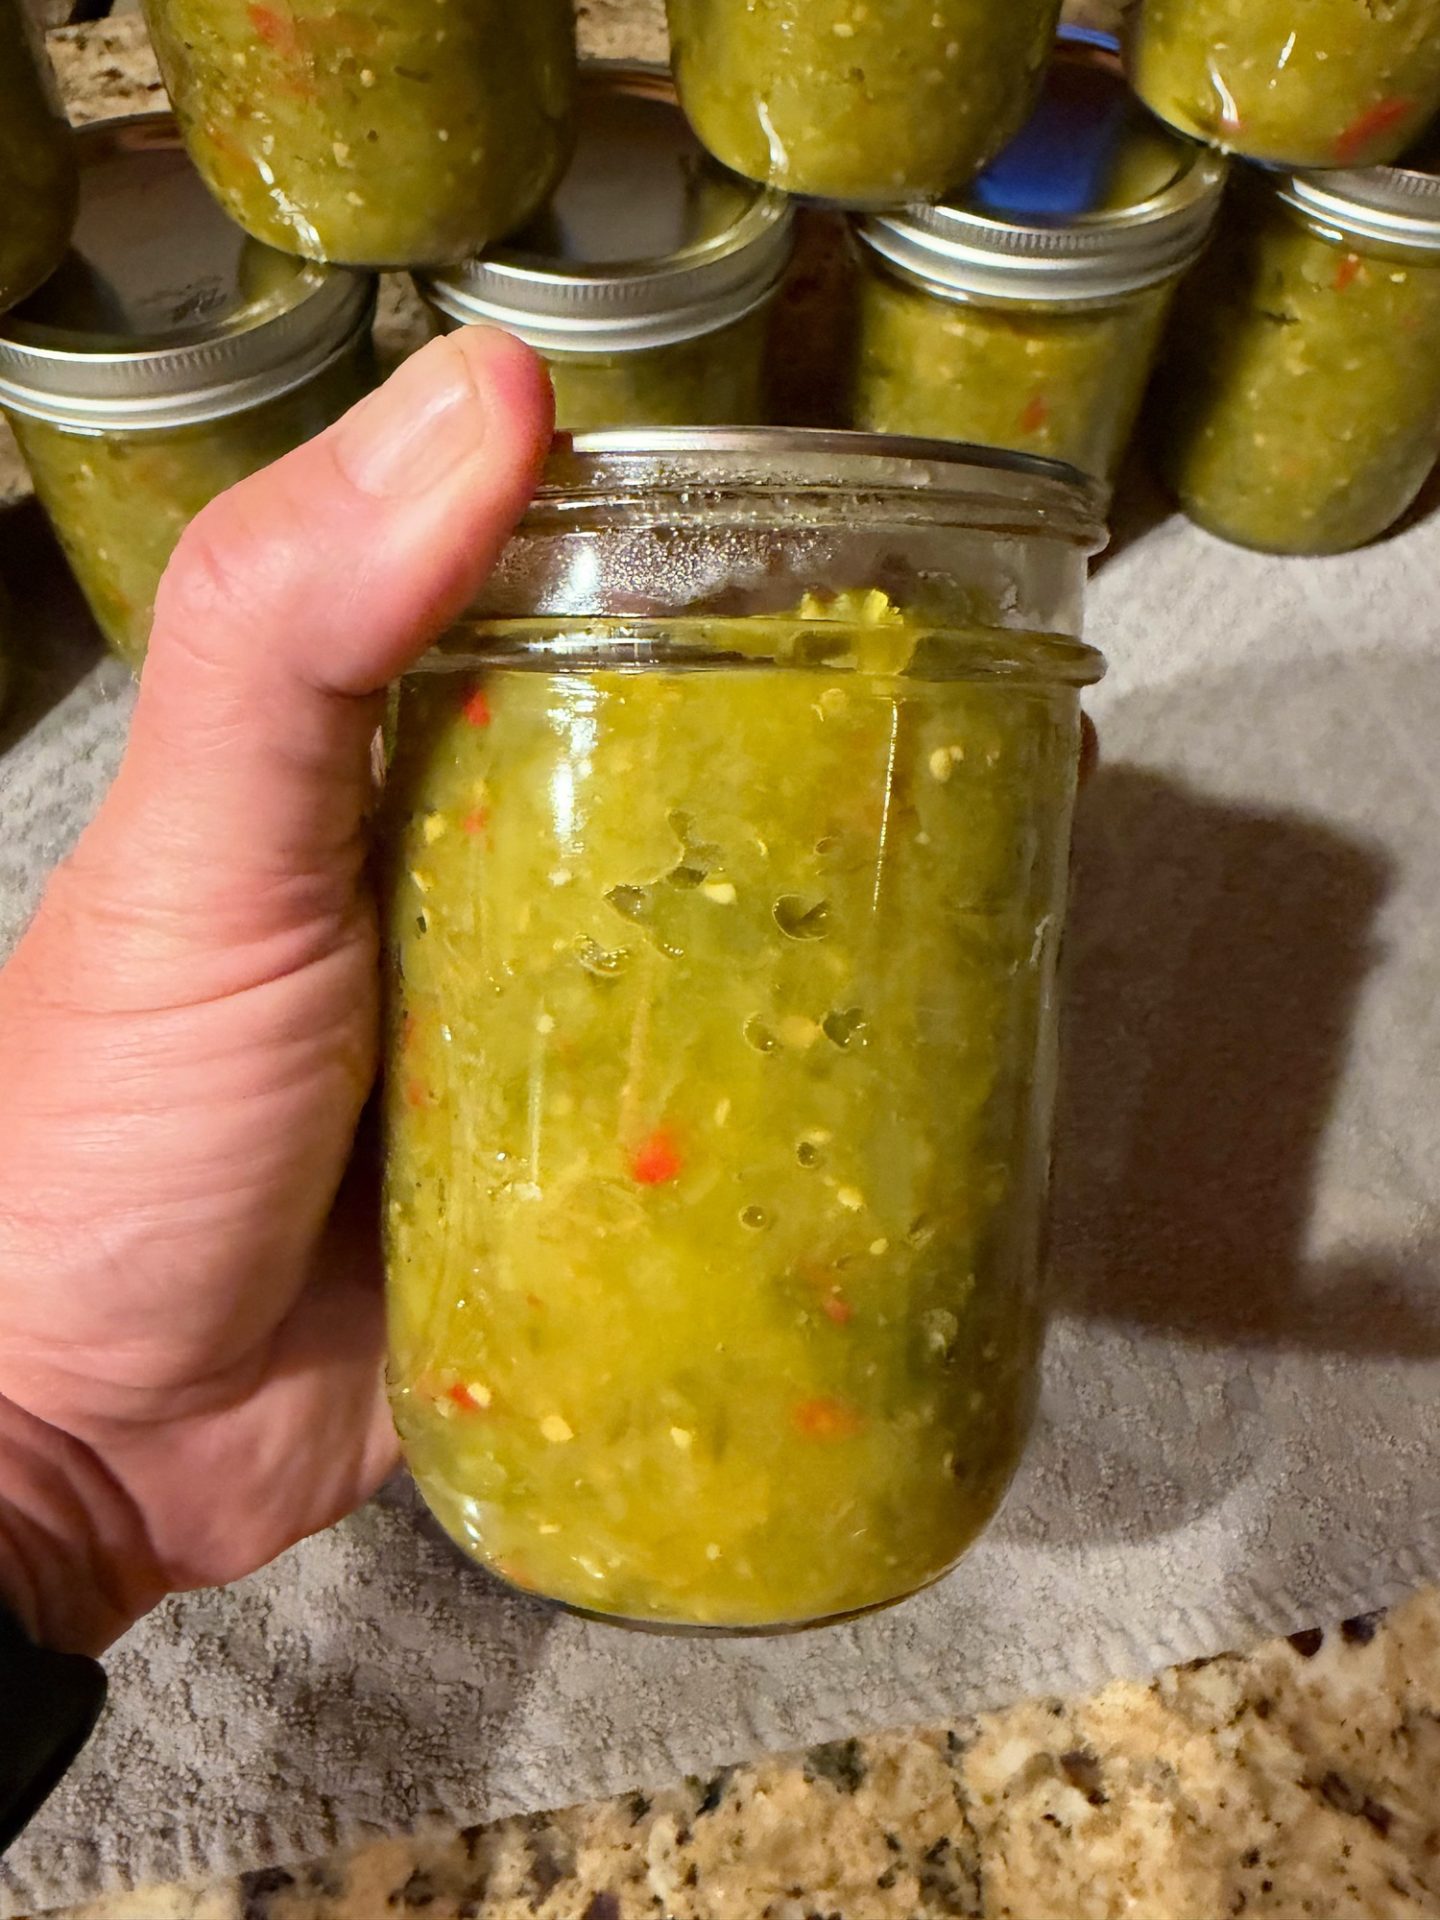
Now, here’s the funny part. My daughter’s question started this relish, and she hasn’t tasted it yet. She gets her taste test when she comes home for Christmas. Her jars will be waiting on her. No pressure, kiddo.
How to Use Green Tomato Relish
This is a sweet, tangy, mustardy relish. It works anywhere you’d use sweet pickle relish, and then some. A few ideas:
- On hot dogs, burgers and brats
- Stirred into tuna, chicken or egg salad
- Mixed into deviled eggs
- Spooned over a bowl of pinto beans or field peas with cornbread
- Next to pork chops or pulled pork
- On a cheese and cracker tray
How Mimi uses it
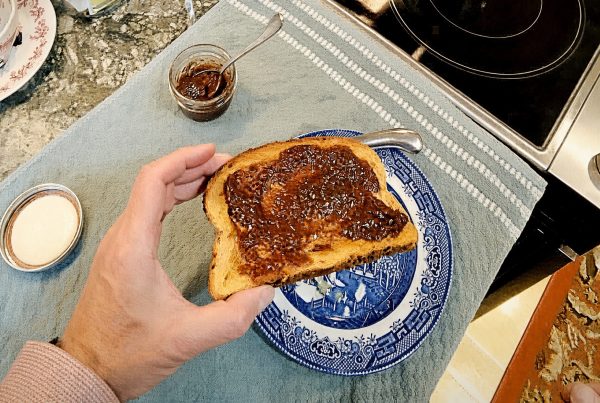
In our house, Mimi is the one putting this relish to work. She uses it in several meals. Her best one is a mean healthy cheeseburger bowl. She uses the relish in a faux “Big Mac sauce” for it. I’m working on getting her to let me share that cheeseburger bowl in a future post. Stay tuned.
Storage and Shelf Life
Store sealed jars in a cool, dark, dry place. Take the bands off first, and wipe the jars. For best quality, use them within about a year.
Once you open a jar, keep it in the fridge. Use a clean spoon every time.
Never eat from a jar with a bulging lid, a broken seal, mold, or an off smell. When in doubt, throw it out.
Green Tomato Relish
Ingredients
Method
- Harvest. Pick small, hard green tomatoes from healthy vines before any frost. Pick the peppers.

- Wash. Wash the tomatoes and peppers well.
- Weigh. Weigh the tomatoes, peppers and onions to match the recipe. Swap sweet peppers only by weight.
- Trim. Trim the onions, tomatoes and peppers. Remove pepper stems and seeds.
- Grind. Grind the tomatoes, peppers and onions in a food processor in batches, pulsing to a fine relish texture. Transfer to a large pot.
- Brine. Dissolve ½ cup canning salt in 1 quart water and pour over the vegetables.

- Boil and drain. Bring to a boil and simmer 5 minutes. Drain in a colander. Return the vegetables to the pot.
- Cook. Stir in the sugar, cider vinegar, mustard and cornstarch. Bring to a boil and simmer 5 minutes.
- Prepare jars. Wash pint jars, set them on the canner rack, cover with water by 1 inch, and boil 10 minutes (0–1,000 ft; add 1 minute per extra 1,000 ft). Keep the jars in the hot water until filling.
- Fill. Fill hot pint jars with hot relish, leaving ½-inch headspace. Remove air bubbles.
- Wipe rims. Wipe each rim with a clean cloth dampened with white vinegar.
- Lids. Center lids with a lid magnet. Screw bands on fingertip tight.
- Process. Process in a boiling water canner: pints 5 minutes at 0–1,000 ft; 10 minutes at 1,001–6,000 ft; 15 minutes above 6,000 ft.
- Cool and check seals. Cool undisturbed 12–24 hours. Check seals. Refrigerate any unsealed jars.
Nutrition
Notes
- Yield: 12 pints (Pap Steve’s batch; the recipe estimates 7 to 9 pints).
- Do not reduce the vinegar. Use vinegar labeled 5% acidity.
- Total peppers must be 3 lb. Swap sweet peppers only by weight. Do not add extra peppers, onions or other vegetables.
- Use canning/pickling salt, not table salt.
- Sterilize jars by boiling 10 minutes, because processing is under 10 minutes.
- Do not use tomatoes from frost-killed or dead vines.
- Store sealed jars in a cool, dark, dry place; best quality within about a year. Refrigerate after opening.
- Nutrition is an estimate (not lab tested), per 2 Tbsp serving.
- Recipe source: National Center for Home Food Preservation, Pickled Green Tomato Relish.
Tried this recipe?
Let us know how it was!Green Tomato Relish FAQ
Can I use cherry tomatoes or San Marzanos?
Yes. I used both. Any firm, hard green tomato works, including Romas and other paste types. Weigh them after trimming so you hit 10 pounds.
Can I cut back the sugar or vinegar?
Don’t touch the vinegar. It’s there for safety. I used 5% cider vinegar; any vinegar works if the label says 5% acidity. Sugar affects flavor and texture in this recipe, and I don’t change a tested recipe. If you want less sugar, look for a recipe that was tested that way.
Can I swap the peppers?
Yes, sweet pepper for sweet pepper, by weight. I swapped some red sweet banana peppers in for part of the red bell peppers. Keep the total pepper weight the same.
Can I use green tomatoes after a frost?
Not from vines that froze or died. Pick before the frost hits, and only from healthy plants.
Why do the jars need to be sterilized?
This recipe only processes for 5 minutes. That’s not long enough to sterilize the jars in the canner. So you sterilize them first.
Is green tomato relish the same as chow chow?
They’re cousins. Chow chow usually leans on cabbage and spices. This relish is all about green tomatoes, peppers, onions and mustard. Don’t mix and match recipes, though. Each one is tested as written.
Wrapping Up
That’s the whole trip, from the raised beds all the way into jars. A bed full of green tomatoes that looked like a lost cause turned into 12 pints of relish. My daughter got her answer about the green tomatoes, and she’ll get her taste test at Christmas. Mimi’s already putting it to work. And the rest won’t all stay in our pantry. Over the course of the year, we usually ship our kids a sampling of the canned goods so they can enjoy the harvest too. A jar of relish travels a lot better than a bushel of green tomatoes. And I got to clean out the garden with a smile on my face.
If you’ve got green tomatoes hanging on right now, don’t toss them. Grab a scale, a big pot and a tested recipe. Then tell me how it turns out in the comments.
— Pap Steve


 English